Someone was digging through the archives and asking questions about fletching arrows and the difficulty involved in the process, as well as some needed tools. This is a simple “how to fletch your own arrows” tutorial. I shoot a traditional recurve bow off the shelf, so therefore use feather fletchings on a carbon arrow. Now, I know some truly traditional guys who would look at my arrow setup and shudder because I do not use wood shafts or specific glue. That’s ok. This is the simple way to fletch your own arrows.
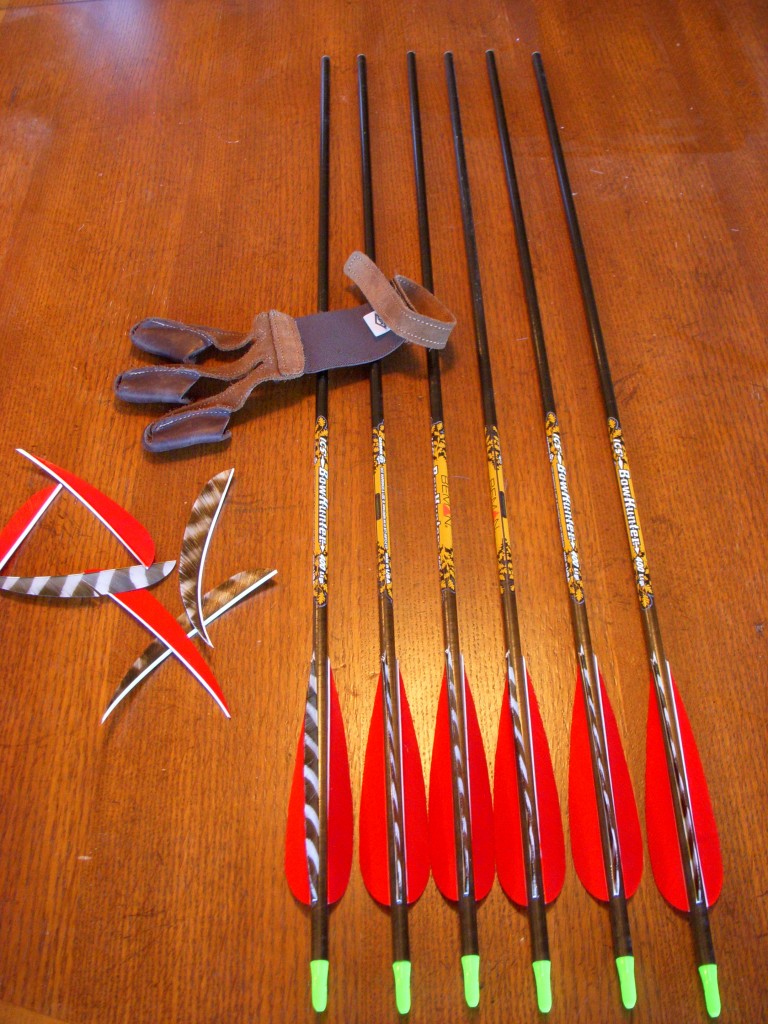
There are several reasons why I fletch my own arrows.
1. Fletching your own arrows gives a sense of connection to the whole process of shooting a traditional bow by becoming a small part of the building the arrows.
2. Fletching arrows allows you to replace old feathers and give new life to older arrows. The newer carbon arrows can withstand tons of abuse. Trust me… I know. Fletchings are usually the first thing to fall apart on the arrows and being able to replace them cheaply is nice.
3. If bowhunting is an intricate part of your life, you will inevitably be buying arrows more than once or twice, which like everything becomes expensive. Ultimately, I believe that over the years, my setup will pay for itself.
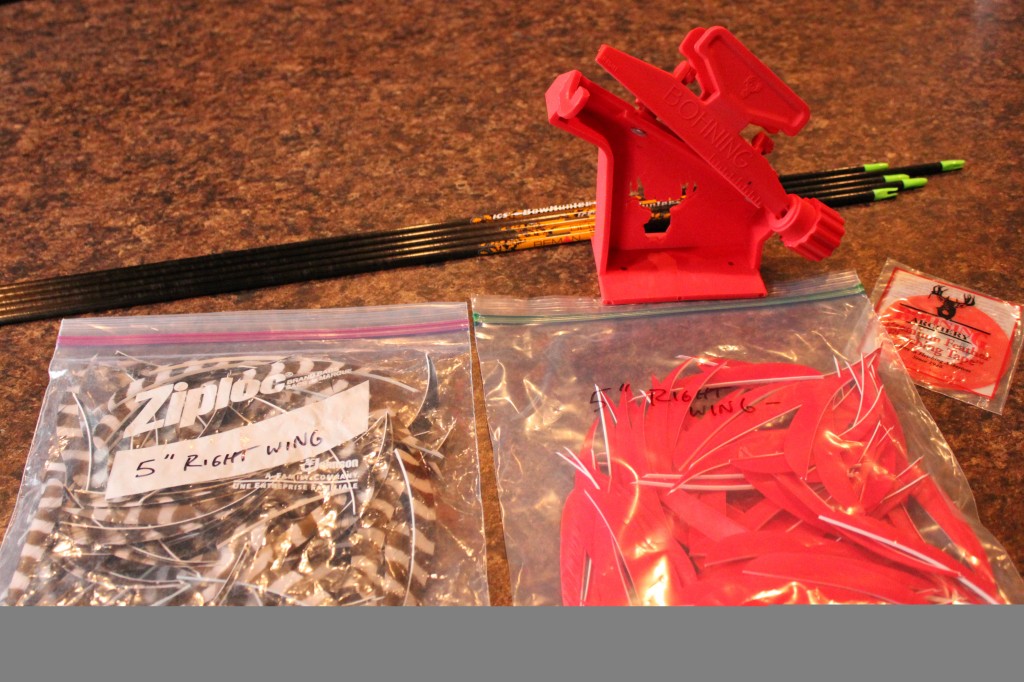
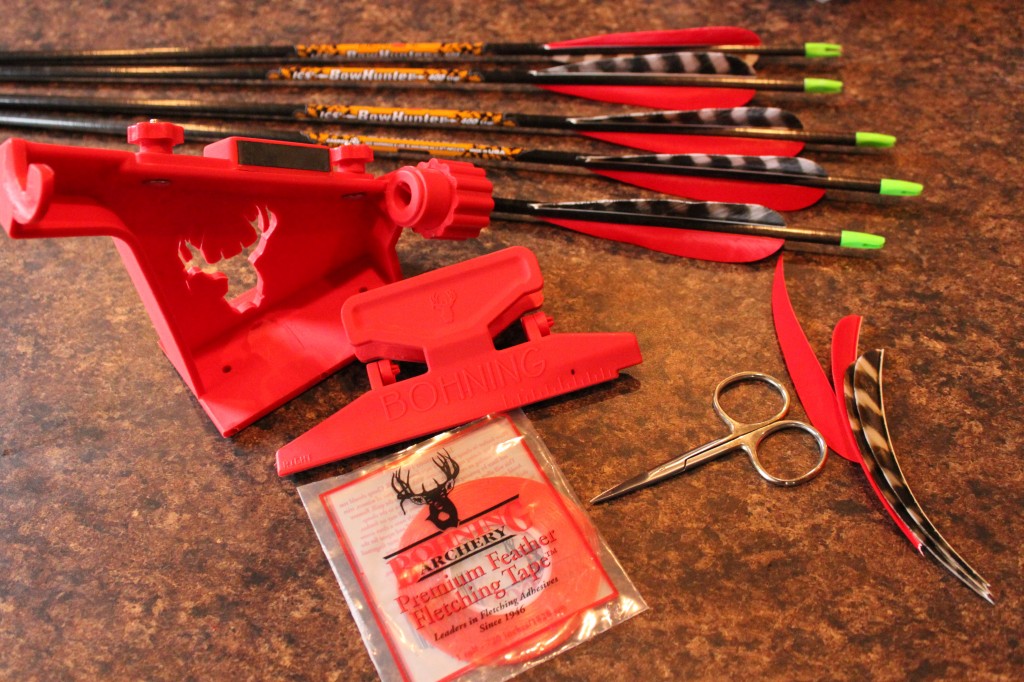
Needed Supplies:
– Arrow Shafts
– Fletchings (I use TrueFlight 5 inch right wing parabolic feathers, personal preference)
– Fletching Jig (I use the Bohning Pro-Class Fletching Jig, again personal preference)
– Fletching Tape
– Fletching Glue (You can use Super Glue instead)
– Small pair of scissors (I use my old beat up pair of fly tying scissors for this)
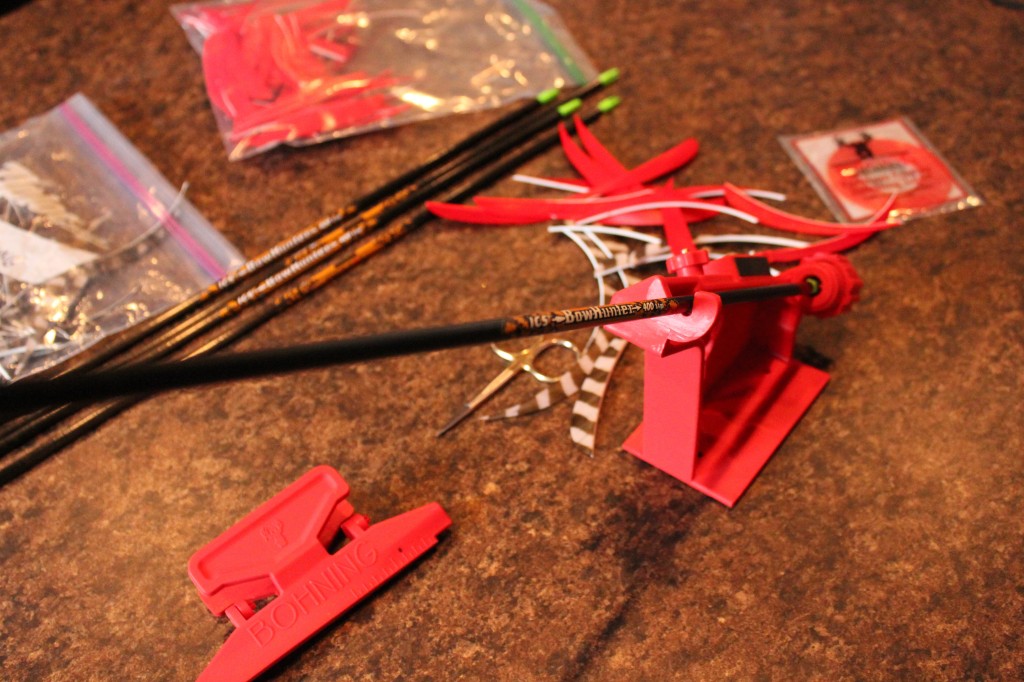
Step 1 – The first feather you put on is going to be the cock feather. This feather is an indicator for how your arrow will sit on the string. My arrow sits on the rest with the cock feather facing out. Make sure to adjust you arrow in the jig, so that the cock feather will be in the correct position.
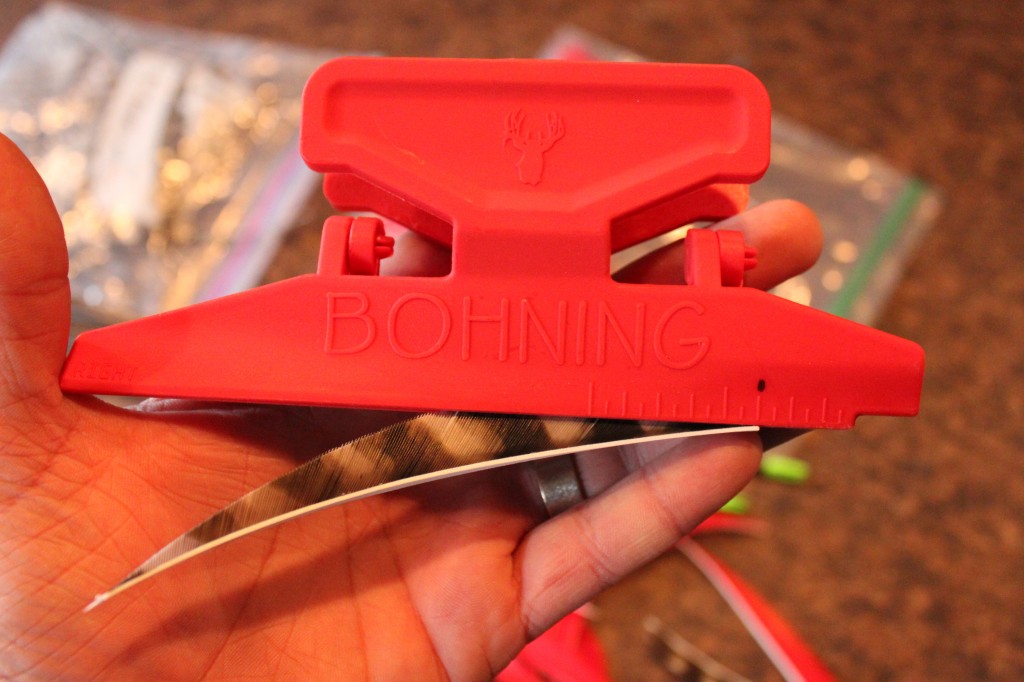
Step 2 – Place the feather in the clamp. As you can see on my clamp, I have marked a position for the back of the feather. The mark is there so that every feather can be placed in the same spot from session to session.
Note: The clamp is specific to a right or left winged feather. Be sure you have the same clamp to match the feather.
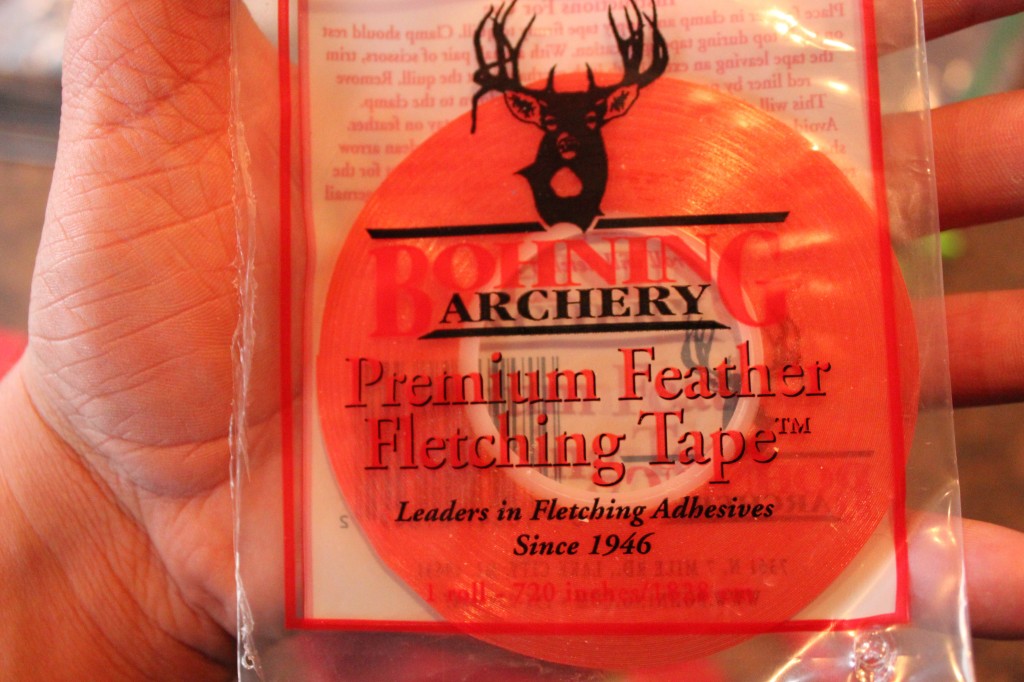
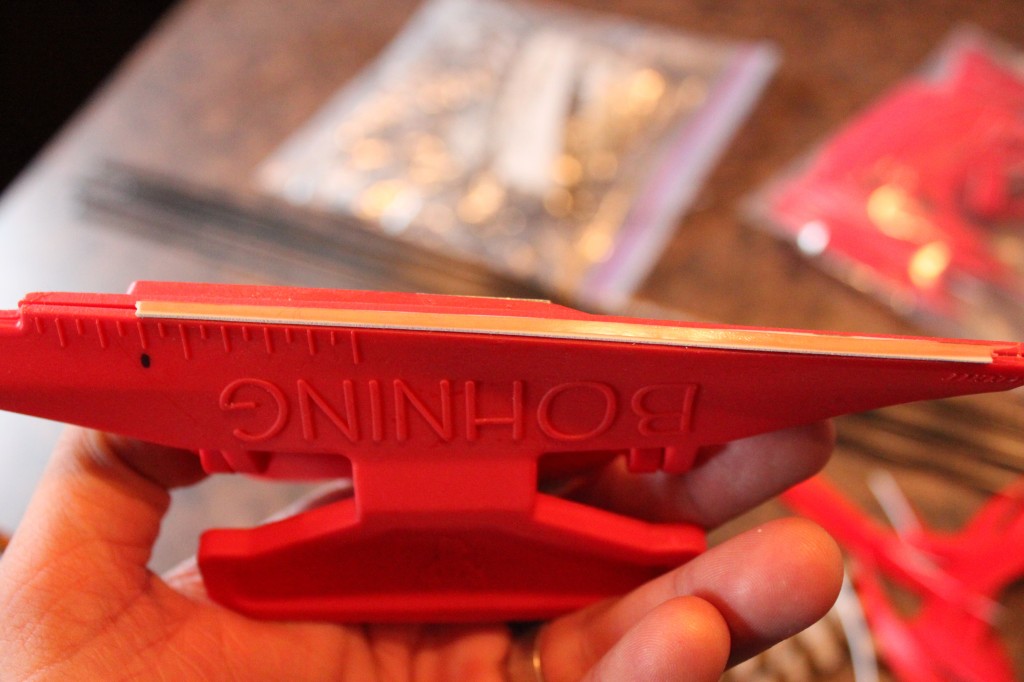
Step 3 – The double sided tape is the tricky part of the process. The tape should run the length of the feather. Use the tip of the scissors or a fingernail to peal the protective layer off of the tape.
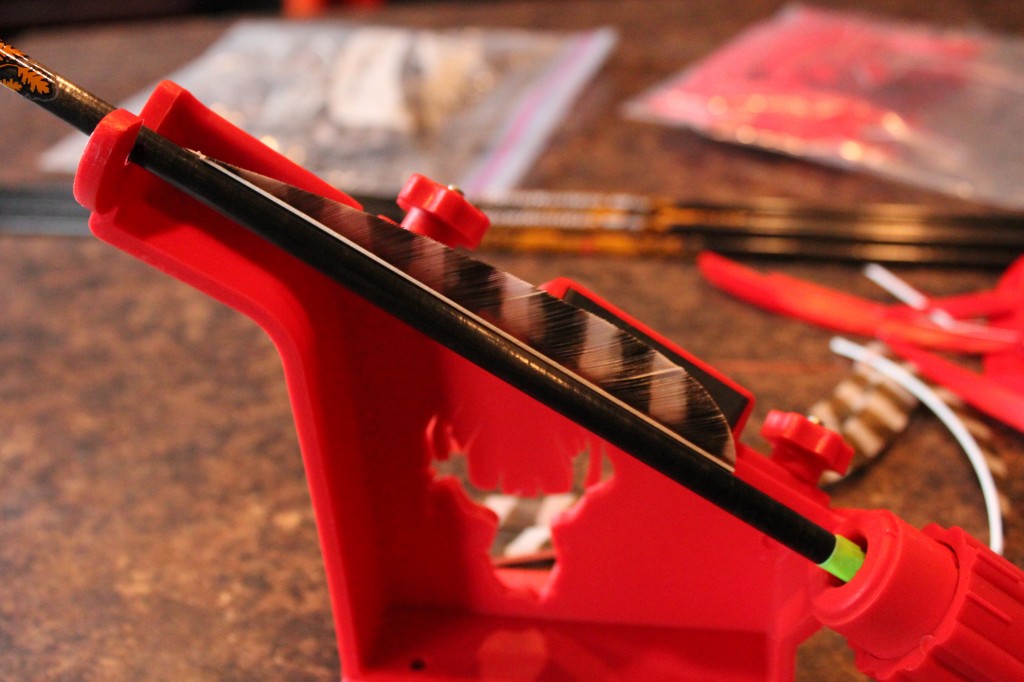
Step 4 – Place the magnetic back of the clamp on the jig and fix the feather to the arrow shaft. Take the clamp off the feather. Run your finger over the feather to secure the feather and tape.
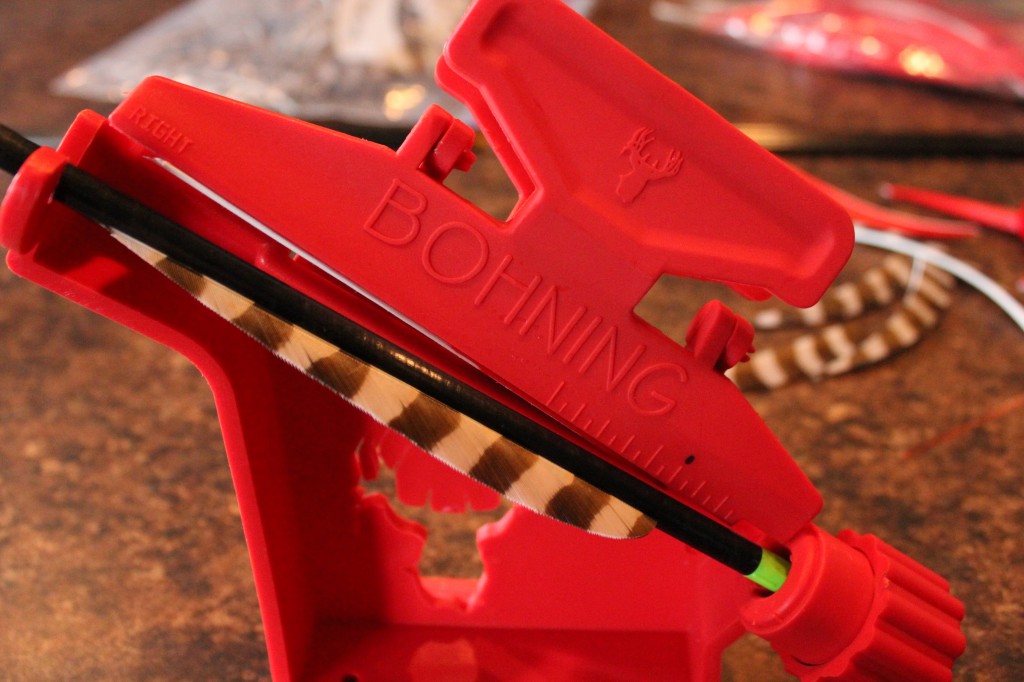
Step 5 – Swivel the arrow in the jig and affix the other two fletchings. I like to put a dab of Super Glue on the front and back of each of the fletching to solidify the feather. This will give the feather durability for many days of shooting.
Let me know if this helps in any way. Feel free to shoot me an email or comment if you have any other questions.

Does the tape hold up to alot of shooting? I use super glue on vanes but I use it all the way down the length of the vane. I am new to fletching feathers and was going to use glue on them. Is it OK to use glue all the way down the length of the feather?
Jason,
The tape holds up very well. You can also put a little dab of superglue on either end of the fletching to secure it, but I stopped doing that a couple batches of arrows ago and never have a problem with the fletching coming off. Good luck.
Ben
How do you set up the jig to get the arrow placement right. I just got this jig today and having difficulty finding instructions on how to set up the jig so the feather fletchings line up correctly. I got a left wing jig and left wing feathers on wooden shafts. I am trying to get the cock feather to line up with the marking on my bohning nocks
Nina,
Once you have your nocks on your arrow, you will fit the nock into the jig. The first fletching you put on your arrow will be your cock feather. What happens then is when you put your arrow on the string of your bow, your cock feather will be facing out. If there is a mark on your nocks to indicate the cock feather, simply rotate the arrow and start where the mark is. Hope that helps. Best of luck.
Ben
Thanks for your input on how you set up your fletchings . Nina (Norway)
Thanks:)