Search Results for "float trip"

Rambling Review: Fisknat Landing Nets

Rambling Review – Fisknat Landing Nets by Bob Nelson
Fisknat Landing Net
Fisknat Landing Net

Why:

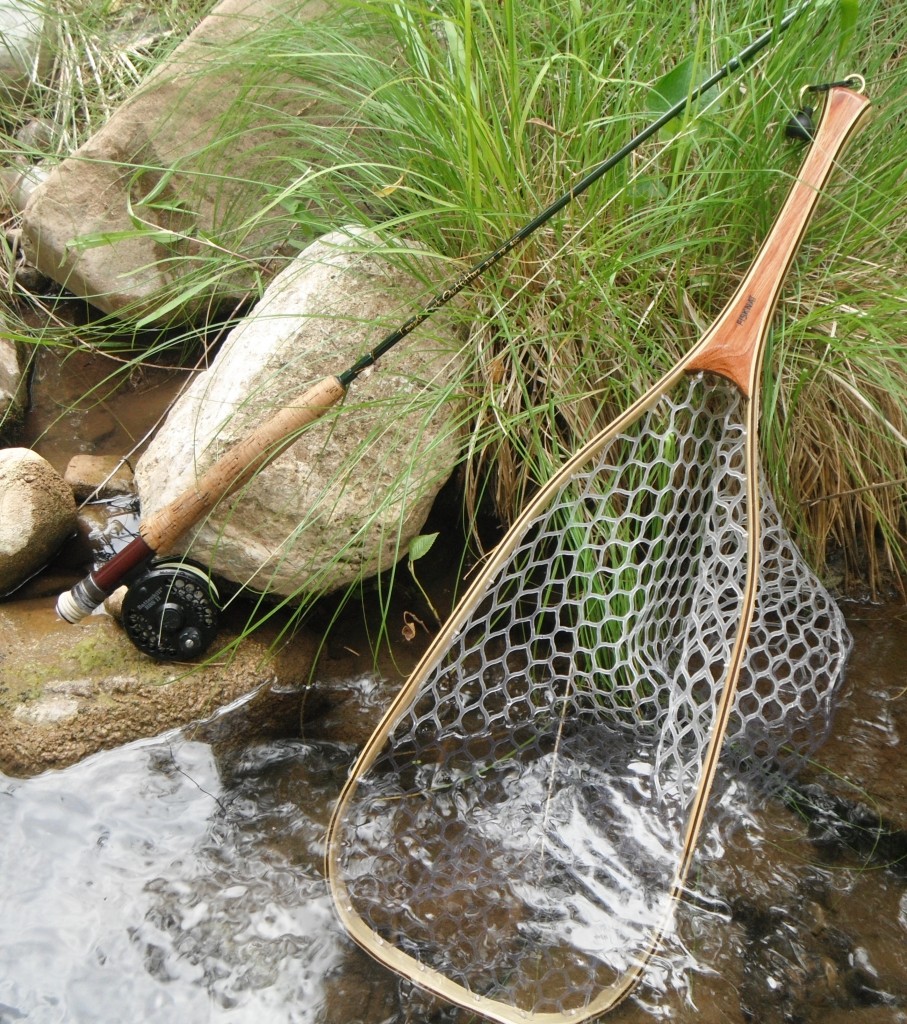
A landing net becomes an intricate part of a fly fisherman’s tools, especially when there is lunker on the other end of the line. Having a quality net as part of your gear is a necessity and Bob Nelson has a great line-up of handcrafted landing nets to choose from. After a bit of debate, it was decided that the San Juan Model would be a great net for my neck of the woods.
Fisknat Landing Net
Fisknat Landing Net

First impressions:

The Look – This net has a real classy look with the bow being constructed of ash and walnut while the handle is fashioned from bubinga wood. The San Juan style net has a long sleek look, that with the different choice of woods, is really appealing to the eye.

Dimensions – The San Juan Net has an overall length of 27″ with a bow of 9×18″. This is a great net for some of the bigger streams and rivers here in the Southwest.

Rubber Net – The more I learn about and use the rubber nets, the more I love it. The newer style of rubber netting that is being used on modern nets has some really great advantages. No more are my hooks getting hopelessly lodged into the old standard mesh netting, which would leaving me sitting on the side of the stream anxiously trying to untangle the mess I created. The science behind the rubber netting claims that the rubber net is less harmful to the protective coating on fish than the older knotted mesh style net.
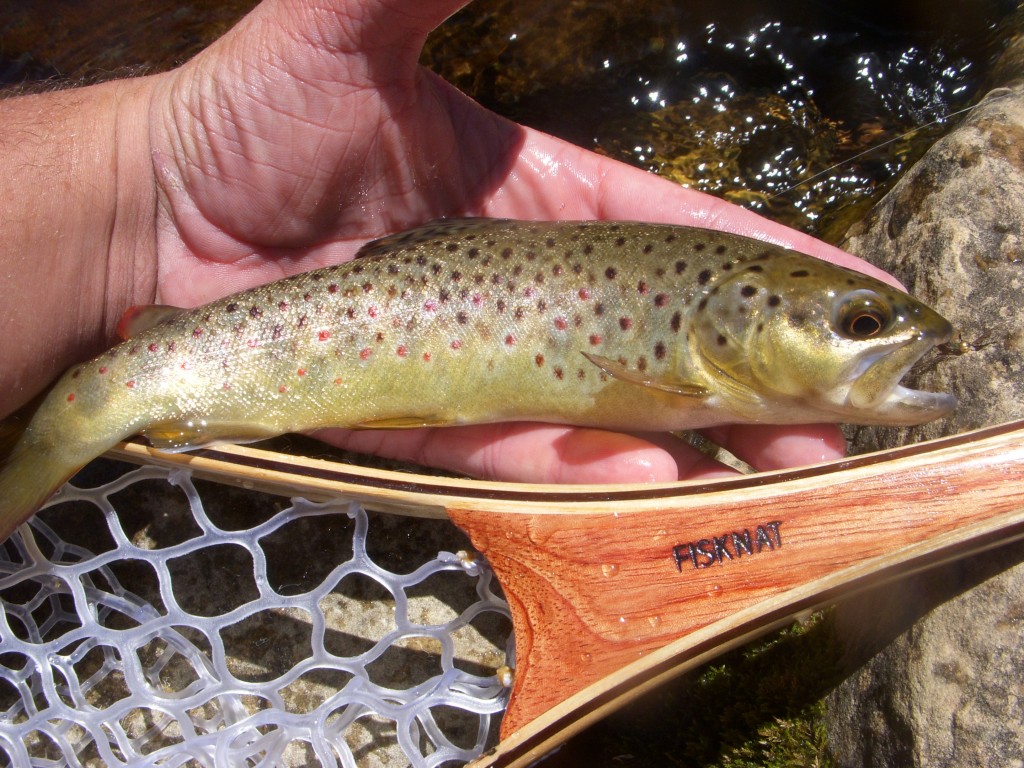
Fisknat San Juan Net

Field Use:

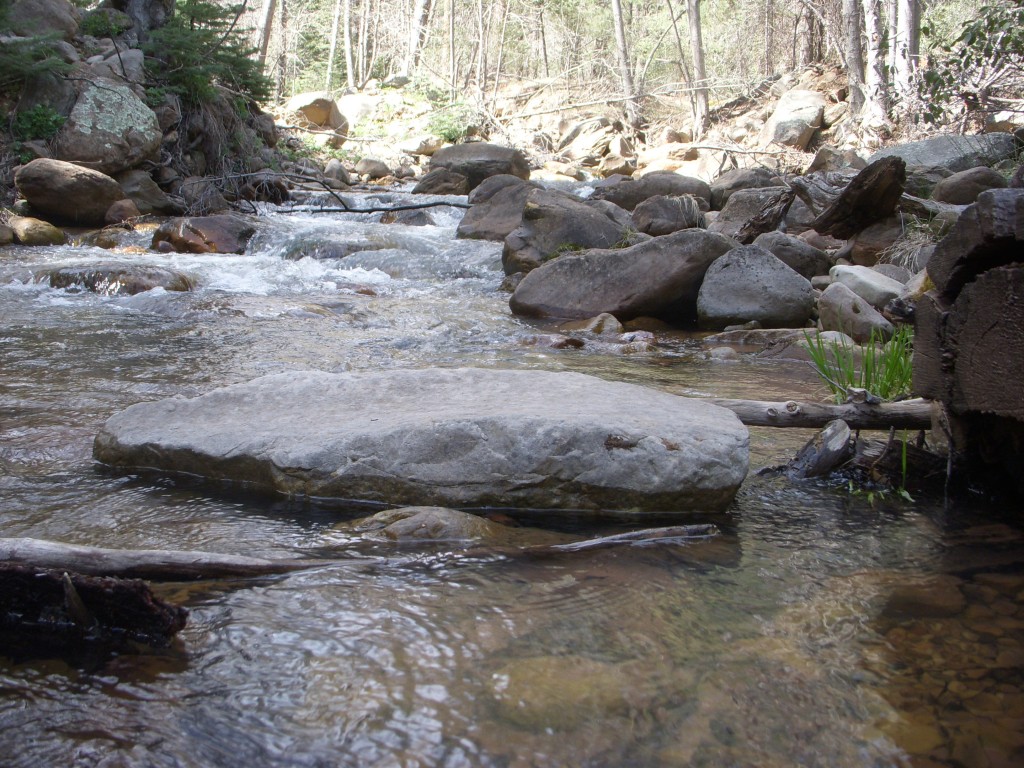
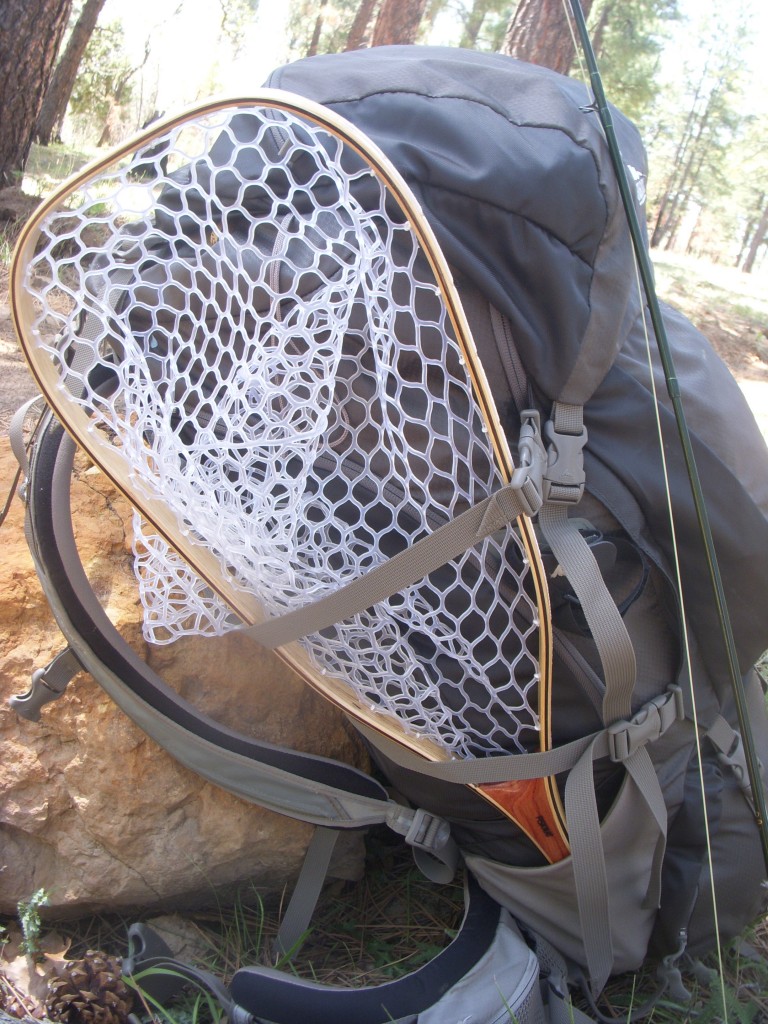
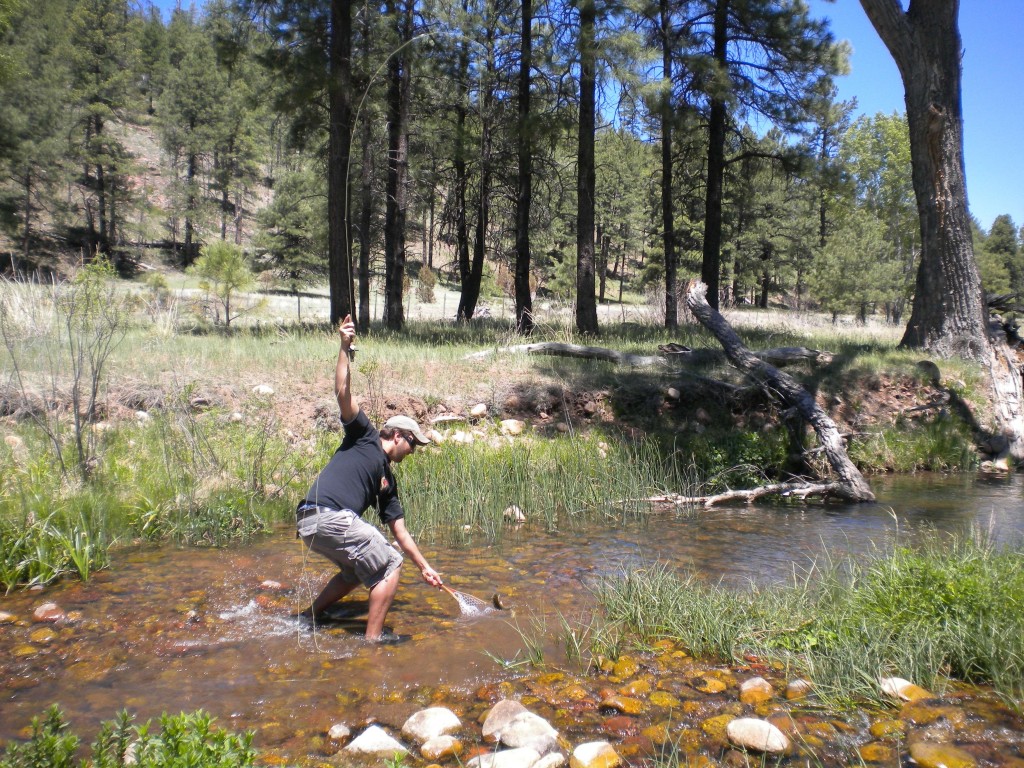
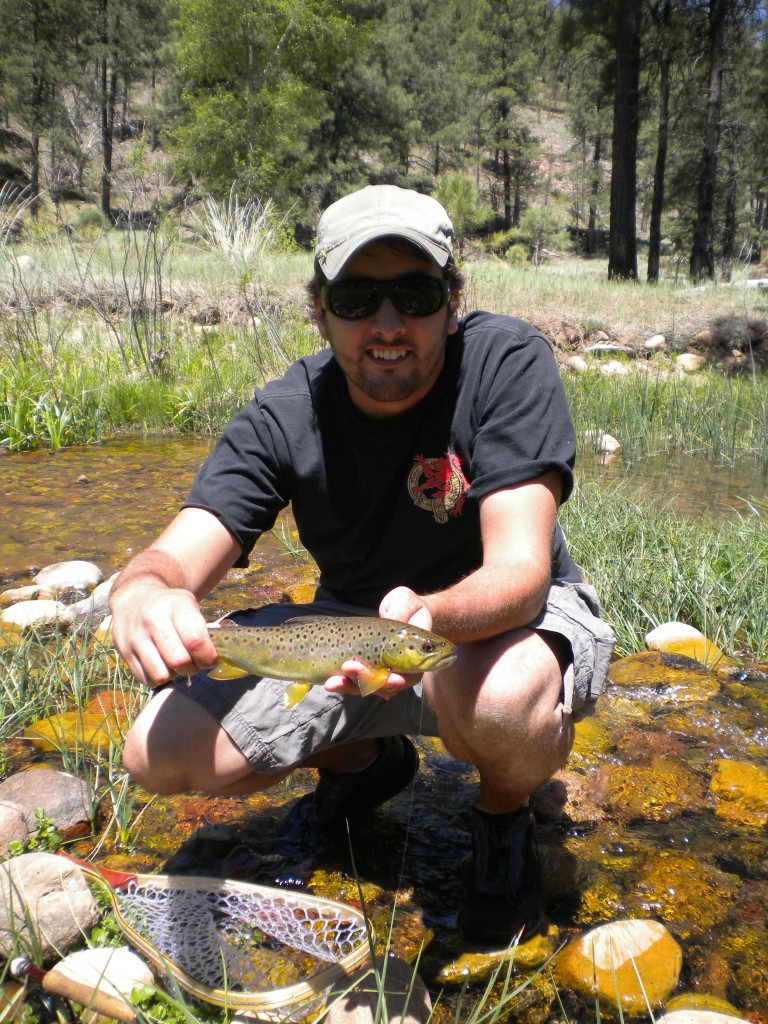
I have had some really nice times toting the Fisknat San Juan style net around the hills and ponds of Arizona. One of the more memorable times was a 3 day trip into some of the backcountry creeks on the Mogollon Rim chasing the trifecta of trout. With the Fisknat net strapped to my pack, I hiked down into a couple of canyons in search of big Arizona browns. While I did not catch my monster, several nice Arizona browns made their way into this net.
Fisknat
This fiesty brown made a mad dash for that mess of tree branches...
Fisknat Landing Net
Why I love a quality net...

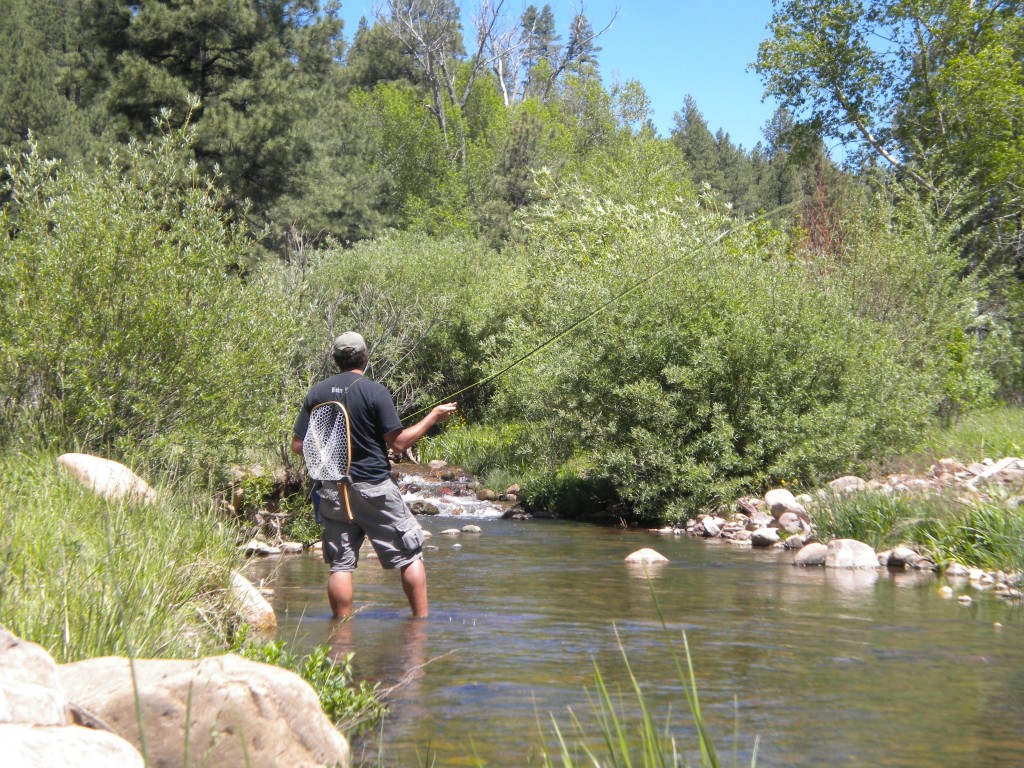
I can attest to the durability and ruggedness of Bob Nelsons quality craftsmanship. This net has seen some serious backcountry bushwhacking and gnarly rock scrambling in the harsh canyons or Arizona. I truly appreciate gear that will stand up to the test of hard fishing and the Fisknat net was not a disappointment.

Bob has a whole lineup of different styles of hand nets to choose from as well as pontoon/float tube specific nets  and even longer boat nets. Bob’s lightweight nets are sold all over the United States by many different fly shops or you can check out his website here.

Pros:

Quality Handcrafted Construction

Fish/Hook Friendly Rubber Net

Wide selection of styles

Light Weight

Durability and Ruggedness

Made in the USA

It floats (I may or may not have lost a net in deep water…)

Cons:

There are definitely cheaper nets on the market, but you get what you pay for.

Prognosis: I highly recommend checking out Fisknat’s lineup of nets as there is something there for everyone. High quality product that will last a lifetime.
 

Fisknat Landing Net
Fisknat Landing Net


Disclaimer:

The reviews at Arizona Wanderings are my honest opinion. This net was provided by Fisknat for the purpose of this review. My independent status may change in the future but, as of the date of publication, no relationship other than described above has been pursued or established.

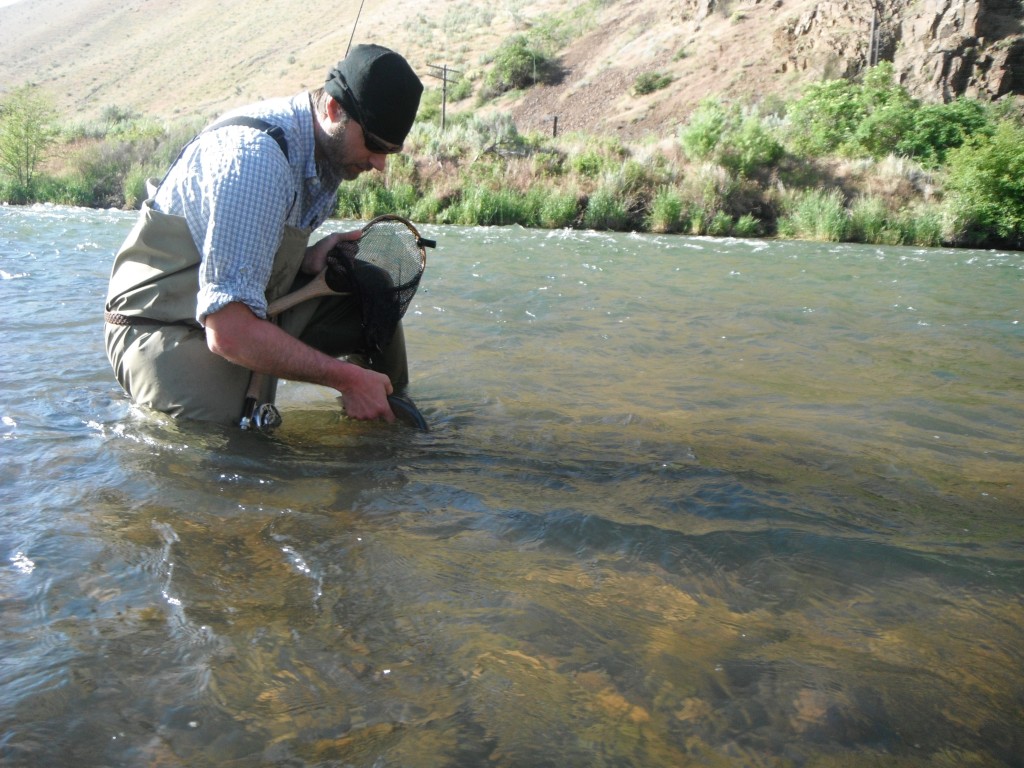
Fly Fishing Oregon – The Deschutes River (Final)

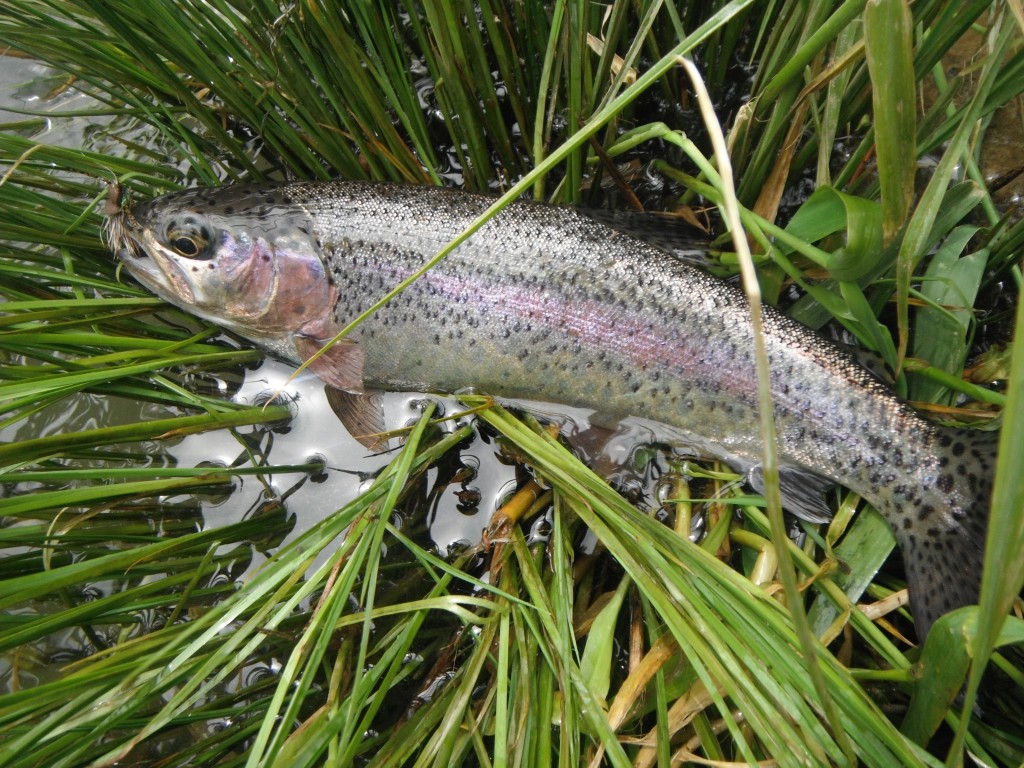
Good Morning Release

Our final day on the river found us cooking the last of our eggs and diving into some instant oatmeal. The black coffee as always helped to prop our eyelids open. Knowing that some of the best fishing was behind us and that most everyone was all stacked up on this section of river, we decided to take our time, enjoy the river, and not push ourselves too hard.

Yearling Chrome
Yearling Chrome

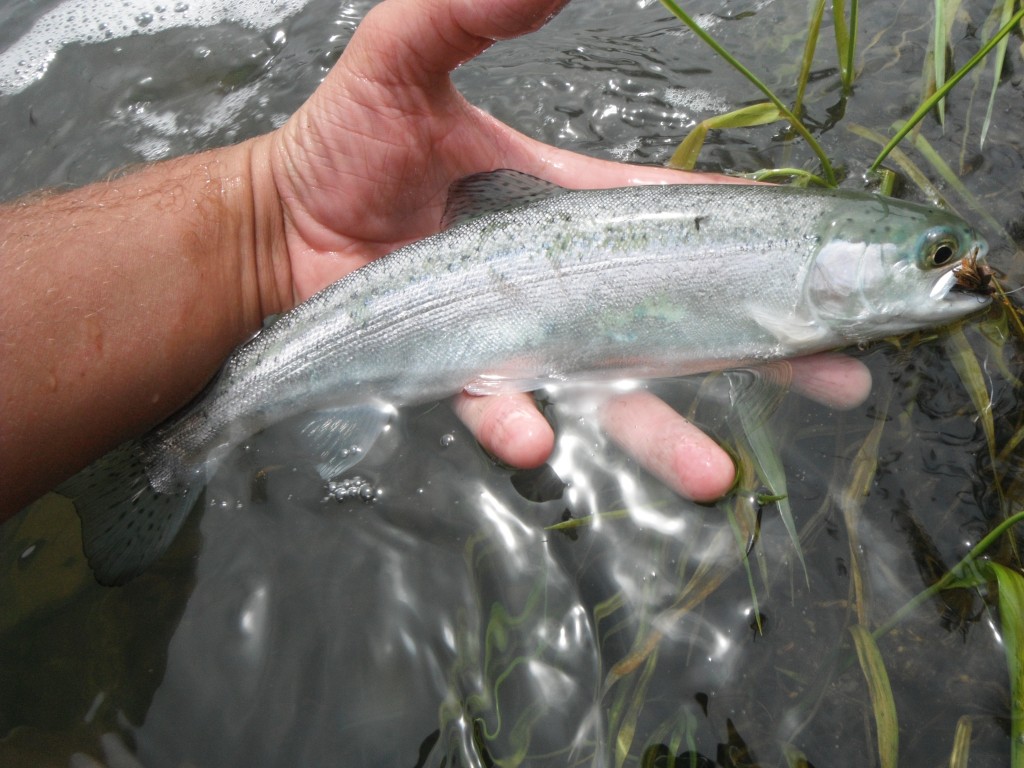
Just downriver of our camp, Eric anchored the boat mid-river in a gravel bar, which gave us an opportunity to fish a great looking riffle section. We pulled a couple of decent fish from the riffle and then pointed the boat down river.

Blue
Blue

As we continued to work water, less and less fish were coming out to play which we had planned on. Most of the guides were ahead of us and we figured we were fishing water that was already stressed. So we (and when I say “we” I mean Eric) put the oars to work and pushed on ahead.
Rattler
Rattler

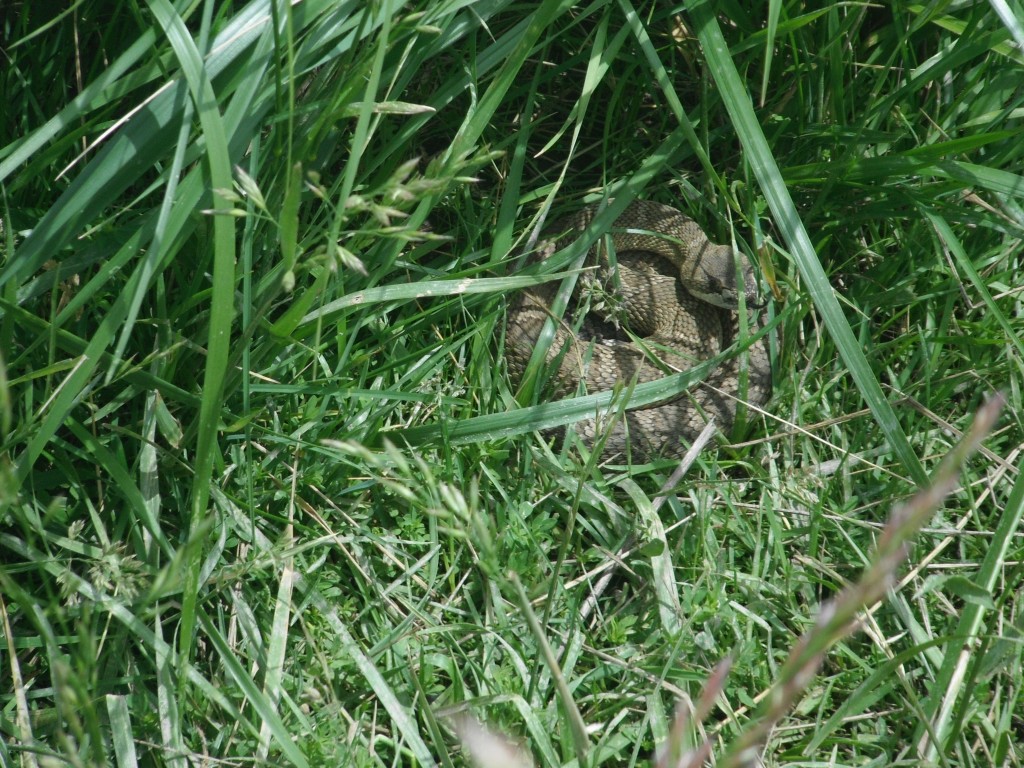
At the beginning of our trip, Eric imparted some wisdom on me. He said, “Two things can kill you on this trip. Whitehorse rapids and rattlesnakes.” He went on to warn me that he does not ever go a trip without seeing at least one rattler. So the whole trip in the back of my mind, I am conscious about watching where I am stepping and overall just being careful. By day 4 though the last thing on my mind is snakes.  After securing the boat, Eric and I made our way through some tall grass to fish one of the fishy looking spots in a riffle when Eric stops dead in his tracks. He points out a coiled rattler sunning himself in the tall grass. Warily we move around him to encounter another snake coiled and rattling at us in a menacing tone.  We did not have much choice and fished the water that was in front of us, but getting out was going to be a trick. The eddy was too deep to walk through back to the boat and the entire bank was covered in this tall grass and large woodpile, where presumably the snakes were living. These snakes held two grown men at bay while we planned (read “worked up courage) to walk through the snakey habitat.  After arming ourselves with a couple of stout sticks we beat the grass and hopped, skipped, and jumped our way though and joyfully climbed back into the boat.
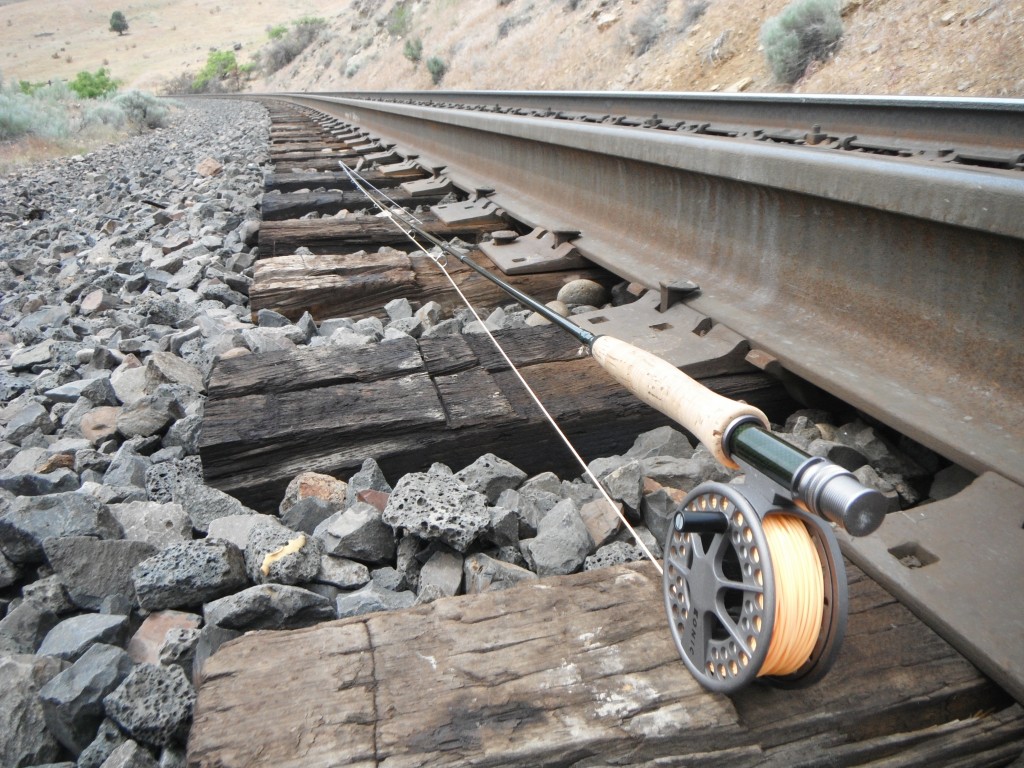
Railroad and Rod
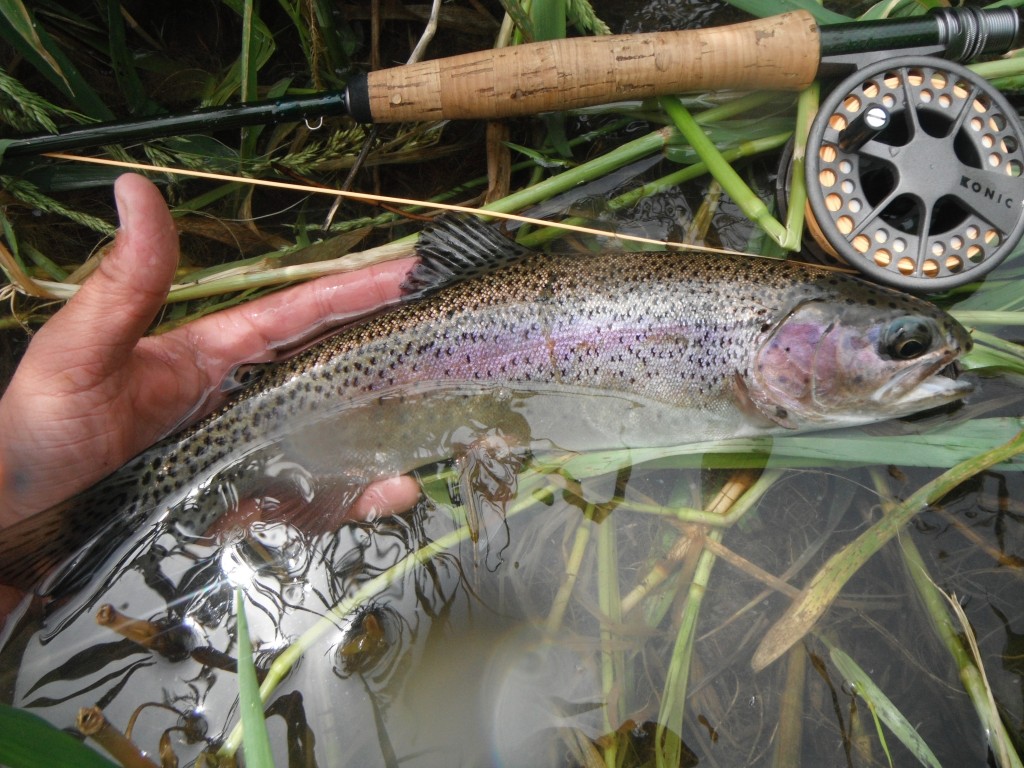
Loved my TFO BVK and Konic combo...

We started to eat up river miles and joined a train of boats headed for the take out. As we drifted, we rounded a corner and saw a couple of boats leaving the bank a couple of hundred yards ahead. We figured they had just fished the bank but has we floated towards the bank where they left, we could see and hear fish rising to the surface and sucking down on some sort of bug.  Deciding that it was too good of an opportunity to pass up, we backed ourselves in and started working the bank. There were midges on the water and some other small bugs, but the fish would not come up for anything small we offered. I worked through several other flies and then opted for some foamy stonefly patterns. Bingo.

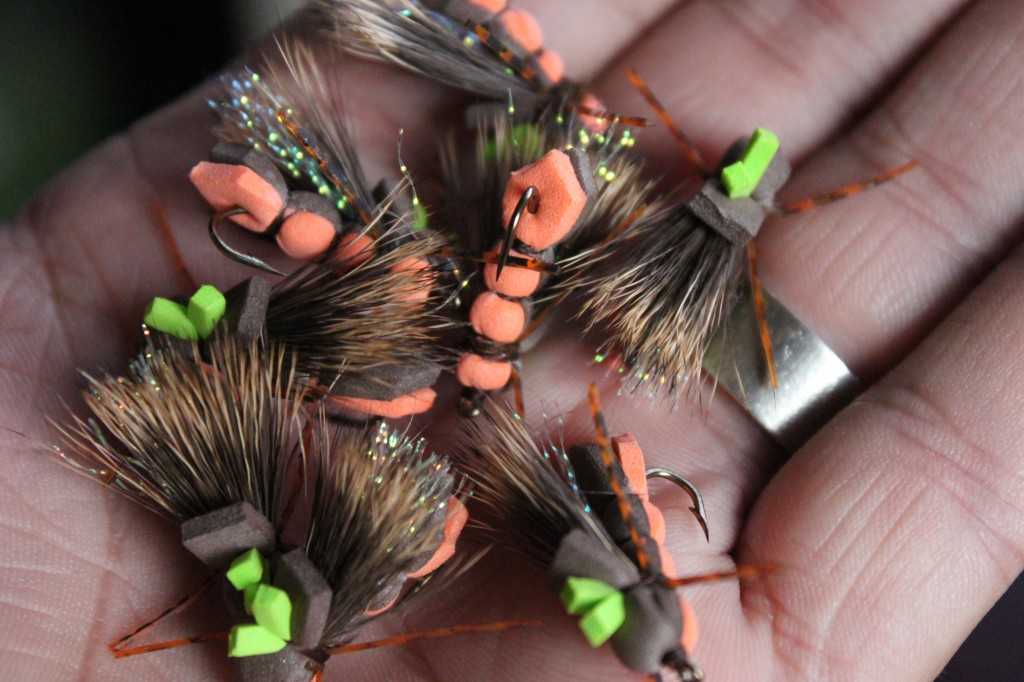
The "Splashything" Fly (Tutorial to come...)

I pulled five fish from the pocket water and lost a monster. Once I hollered down to Eric what the scoop was, he started bringing fish in as well. I inevitably filled my waders again when I stepped on what I thought was a rock, which turned out to be a four foot drop. There is nothing like slopping around with a couple gallons of water in your waders, while happily pulling big rainbow trout out of the river. It truly was a great ending to the fishing and we both felt this was a the best way to end our float.

Redside and Reel
Redside and Reel

The rest of the trip was uneventful and as we broke down our rods and stowed away gear, I could not help but smile, thinking back over the previous four days. It was a remarkable trip filled with good fish and great memories. The river will not be forgotten and I look forward to the next time I can get back out in the drift boat. We opted for a greasy burger, fries, and extra thick milkshakes at a local joint in town before heading back to bend for a shower, a real bed, and more fishing.

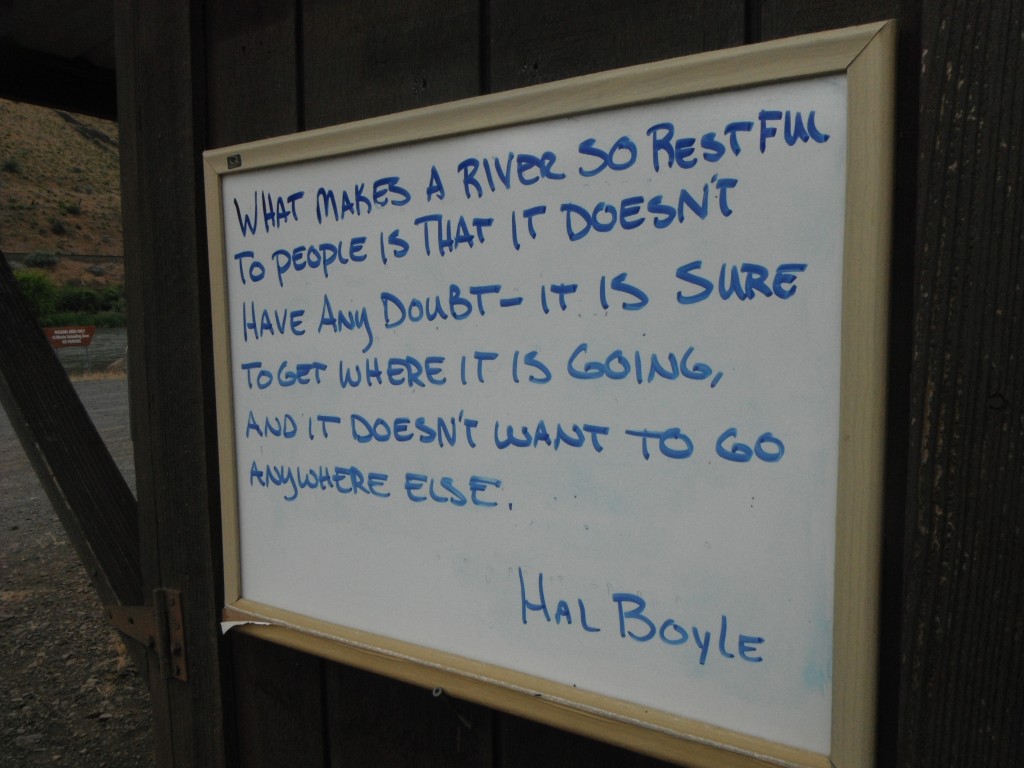
On the whiteboard at the take out...

The Easy Hopper Juan: My variation and tutorial

Hopper Juan Variation

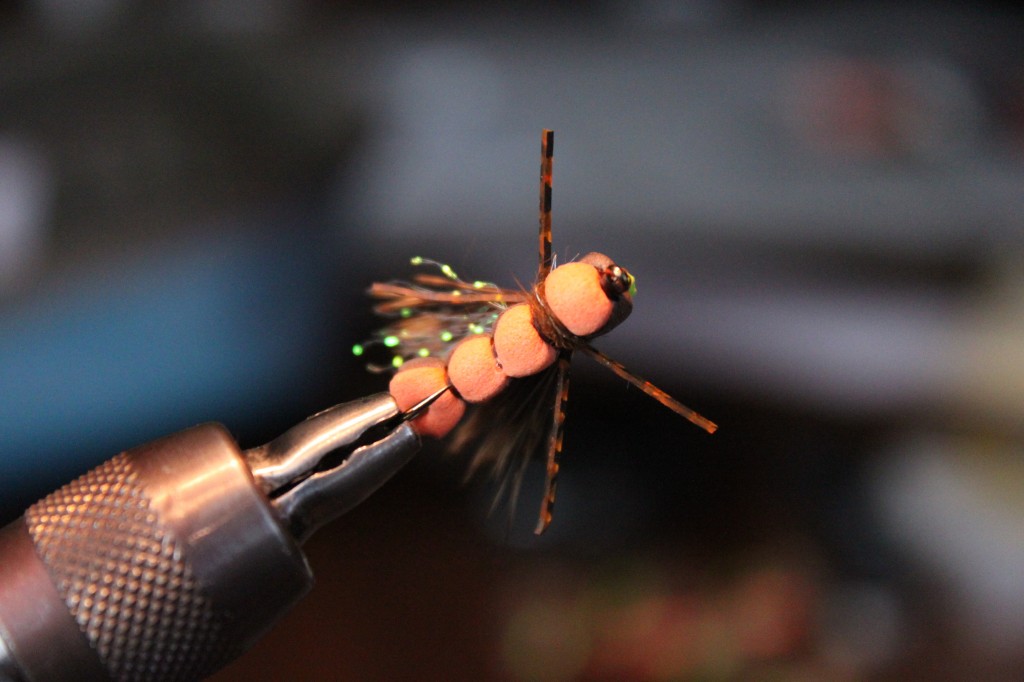
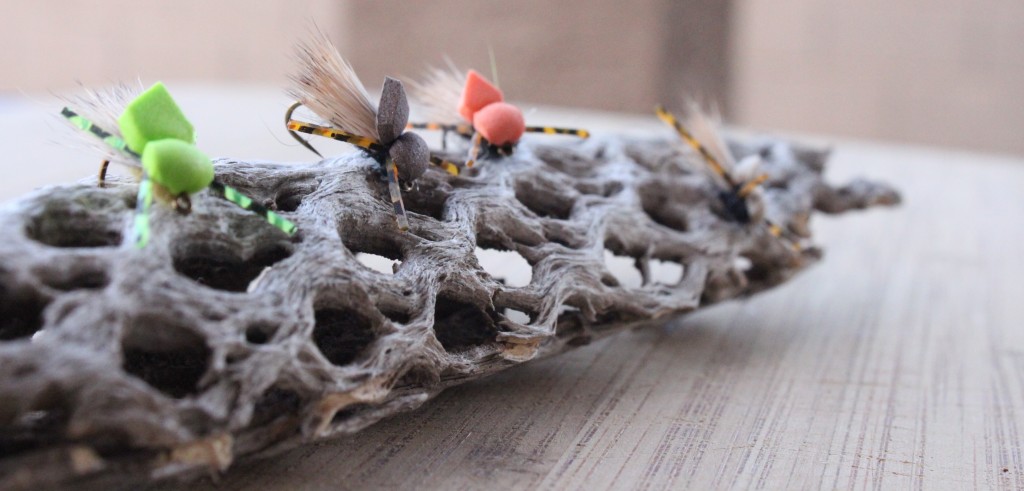
The original Hopper Juan fly was developed by Juan Ramirez from Colorado Springs. When I first started thinking about getting into fly tying, there were two flies that really got me excited to learn, the parachute Adams and the Hopper Juan. Juan’s pattern can be found on his site, the Hopper Juan, with a detailed recipe and material list. I really like this pattern and have had great success with it. I recently tied up a batch for a fly swap on a local forum and was asked for the recipe. The bugs I tied were a variation of the original Hopper Juan. Here is my variation:

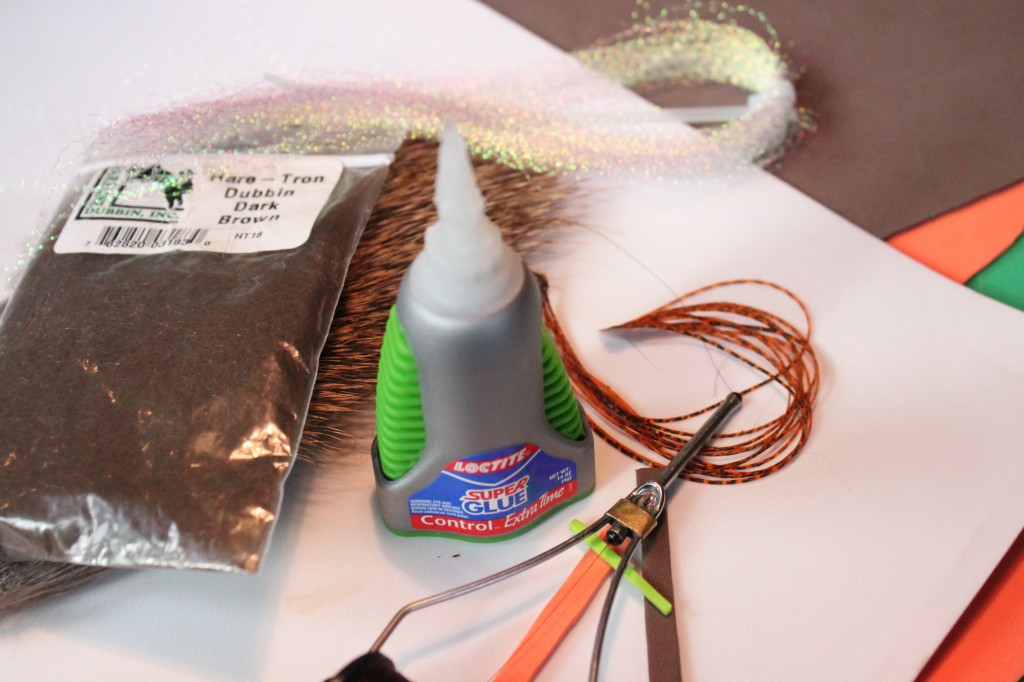
Materials
Materials

1. Foam – 2-3 colors – bottom, top, indicator (the 2mm stuff from the craft store works just fine)

2. Thread – I like the thread to match the top layer and I really like to use 6/0 Uni-Thread

3. Dubbing – I prefer the Hare-Tron Dubbin, but anything will work

4. Deer Hair

5. Super Glue

6. Leg material

7. Something sparkly for the underwing – I use Krystal Flash because that is what I have…

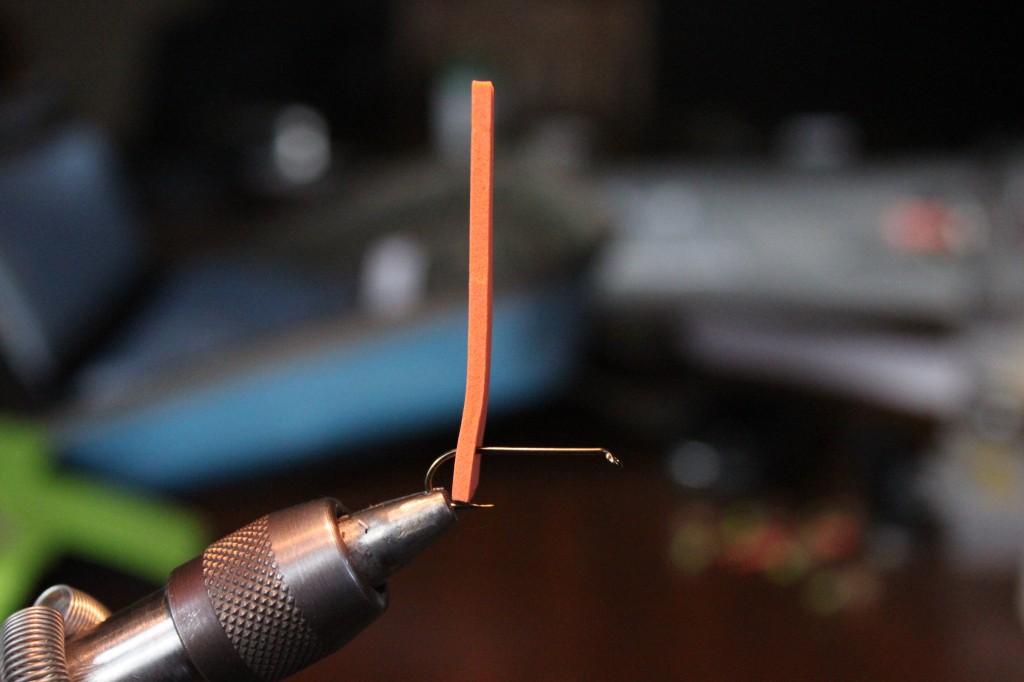
Step 1
Step 1

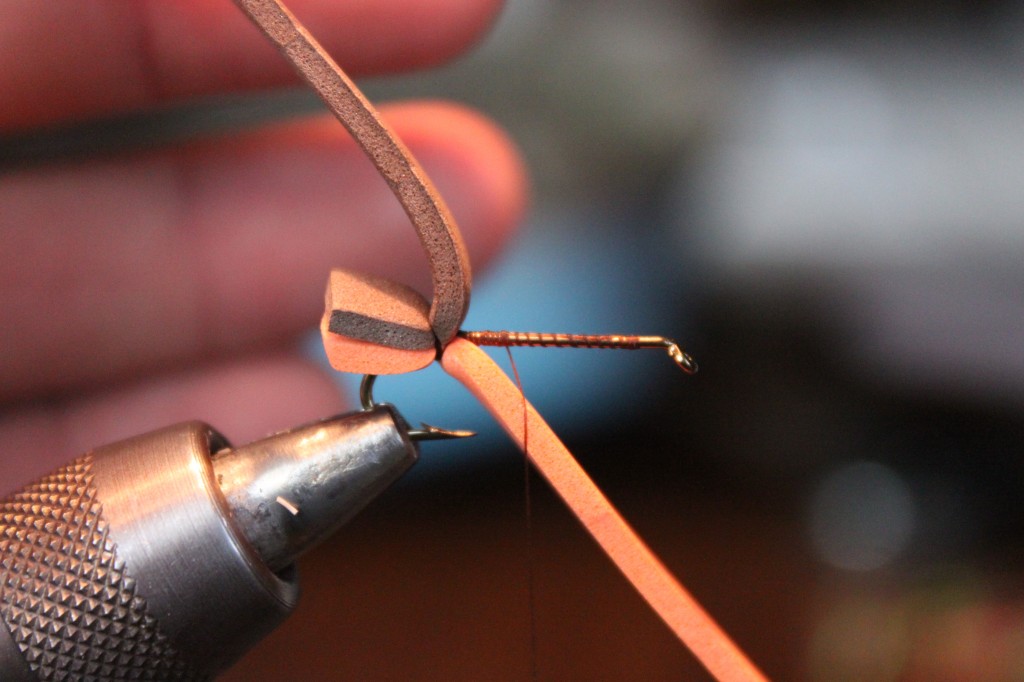
Take your bottom piece of foam cut in a 1/4 inch wide strip. Pierce it onto the hook shank.

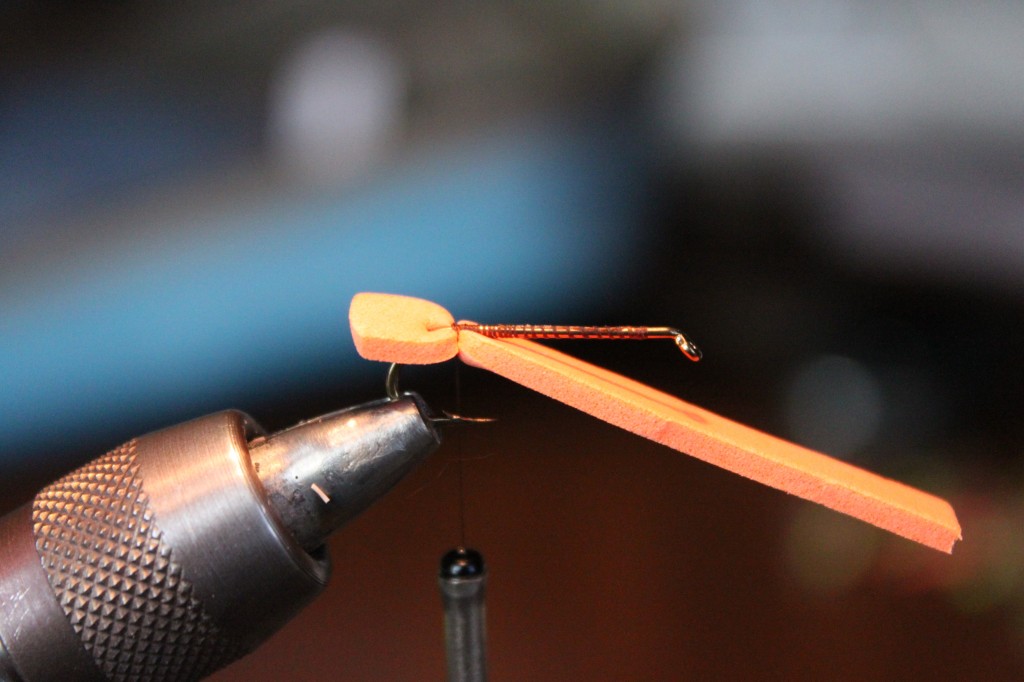
Step 2
Step 2

Tie on thread and secure the bottom layer of foam to at the back of the hook. Add a drop of superglue right on the thread and foam.

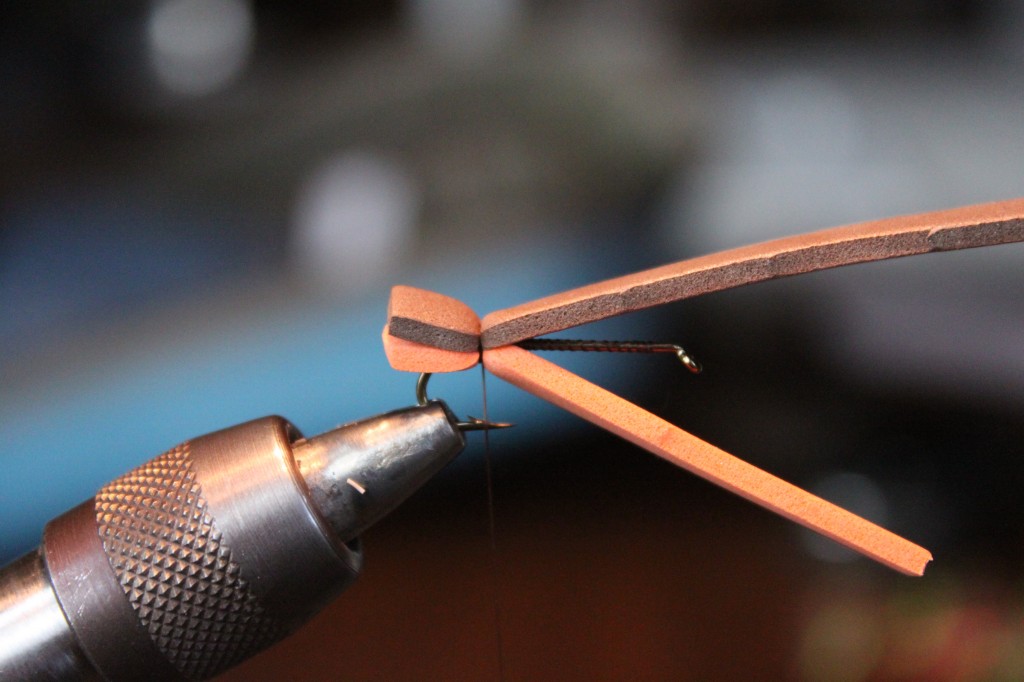
Step 3
Step 3

Tie in top foam with 3-4 wraps.

Step 4
Step 4

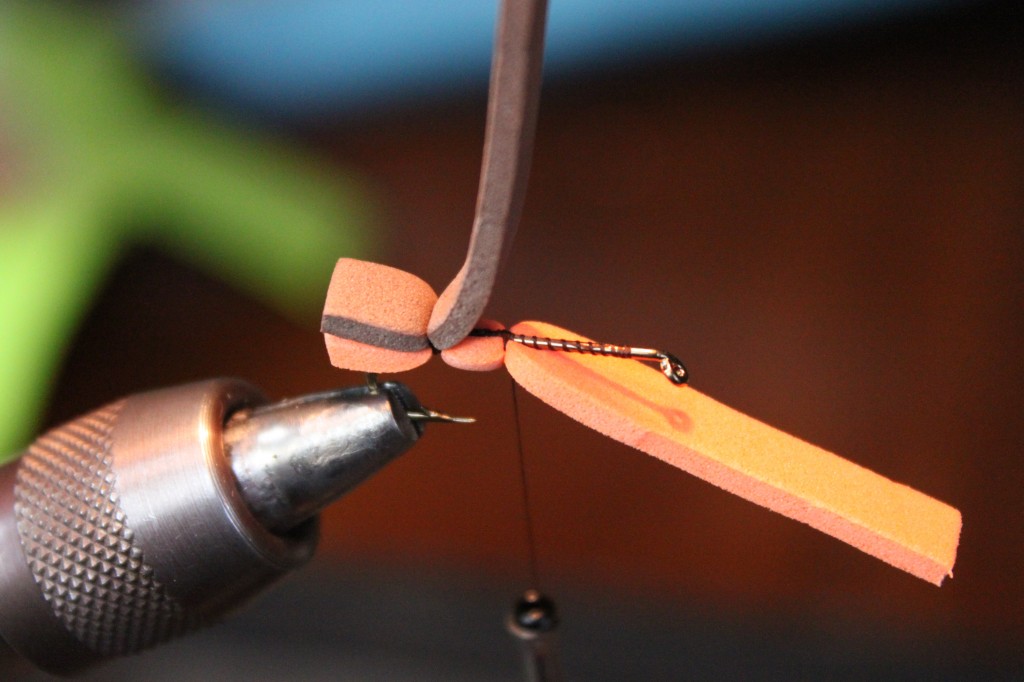
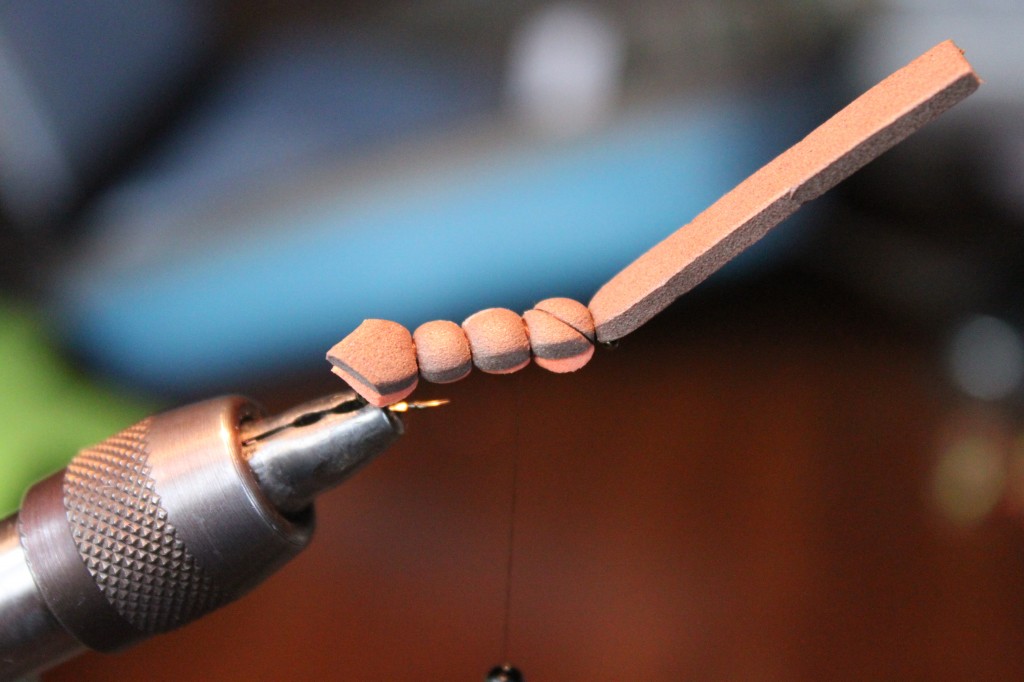
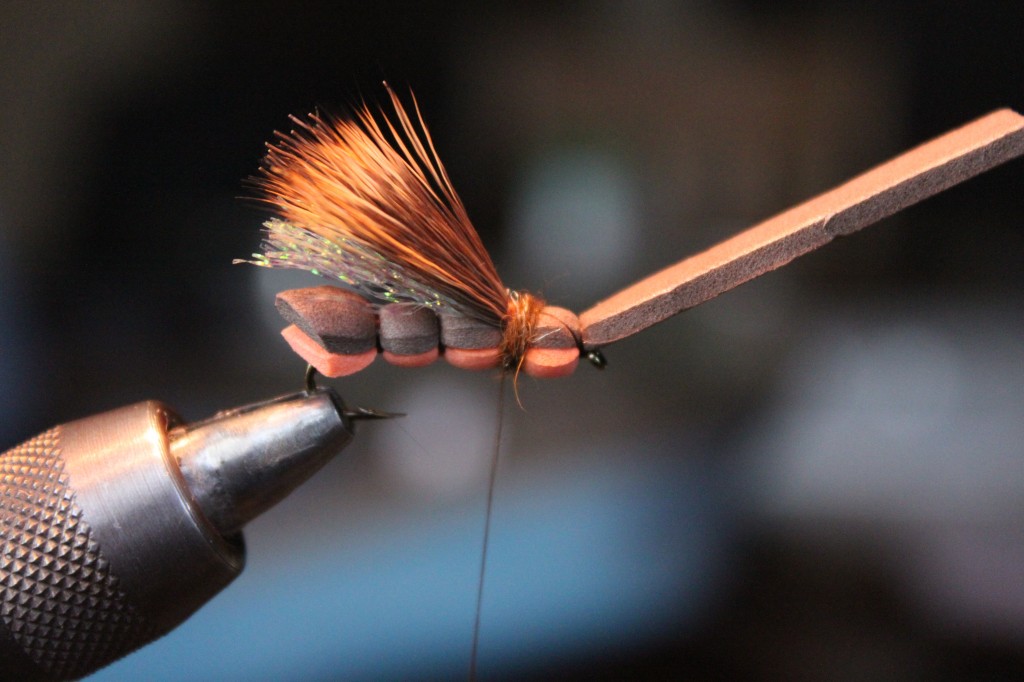
Open those two pieces of foam up and wind thread forward. This takes some forward thinking because ultimately you are going to have three body segments ahead of you. Make sure you space it evenly so that all the segments are the same size.

Step 5
Step 5

Secure bottom layer of foam with a couple of wraps and drop a dab of superglue in the cup-like area that you just created. Then tie in the top layer.

Step 6
Step 6

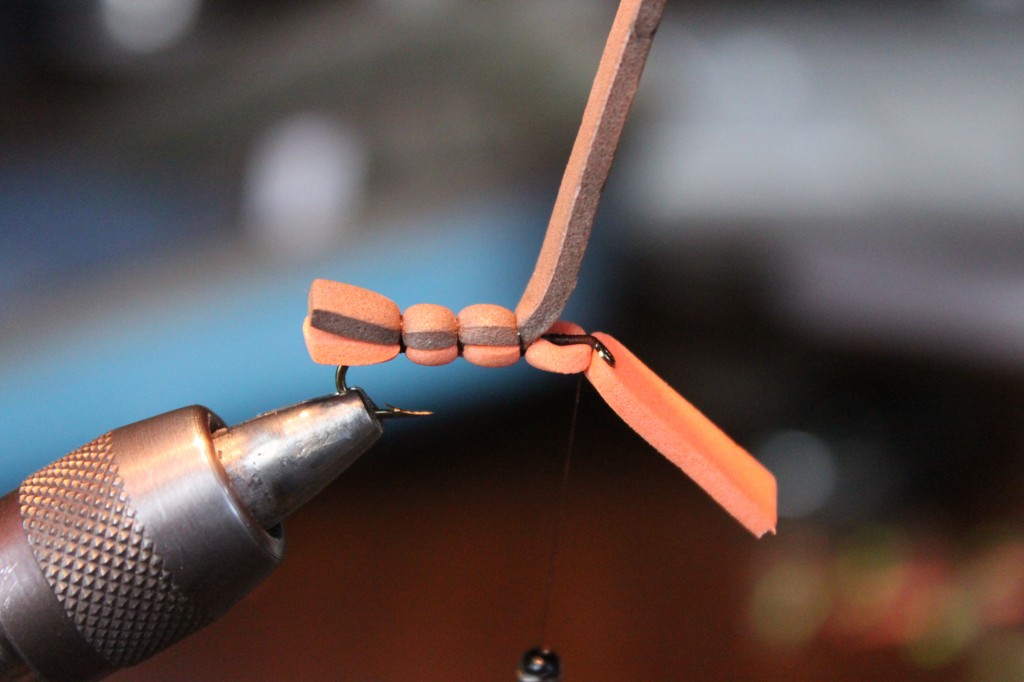
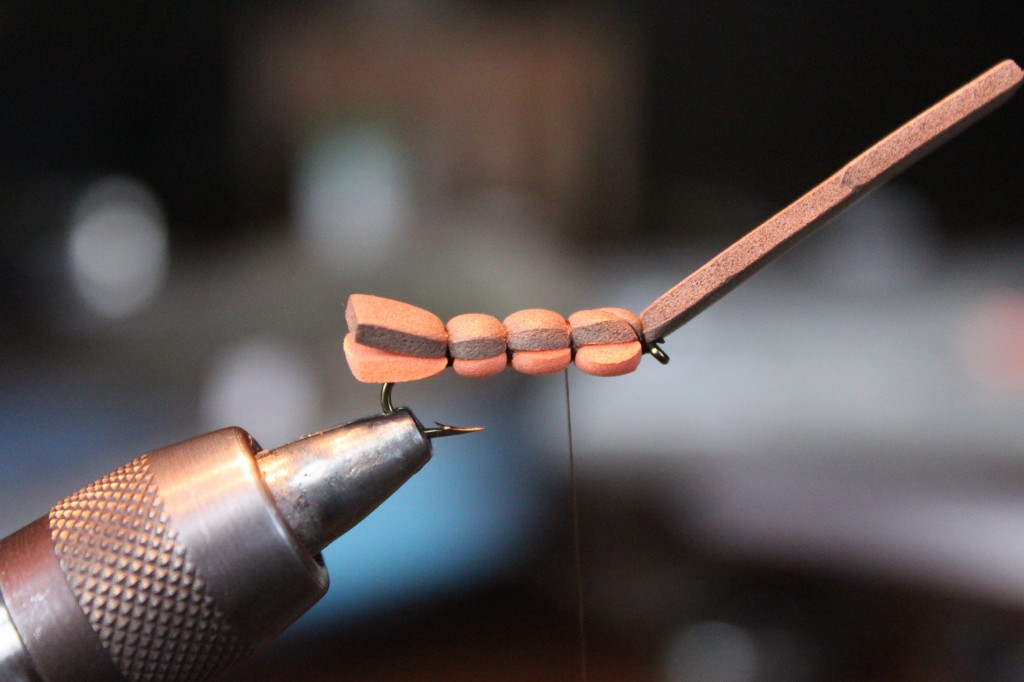
Repeat until you reach just behind the eye of the hook. Firmly secure the bottom layer of foam.

Step 7
Step 7

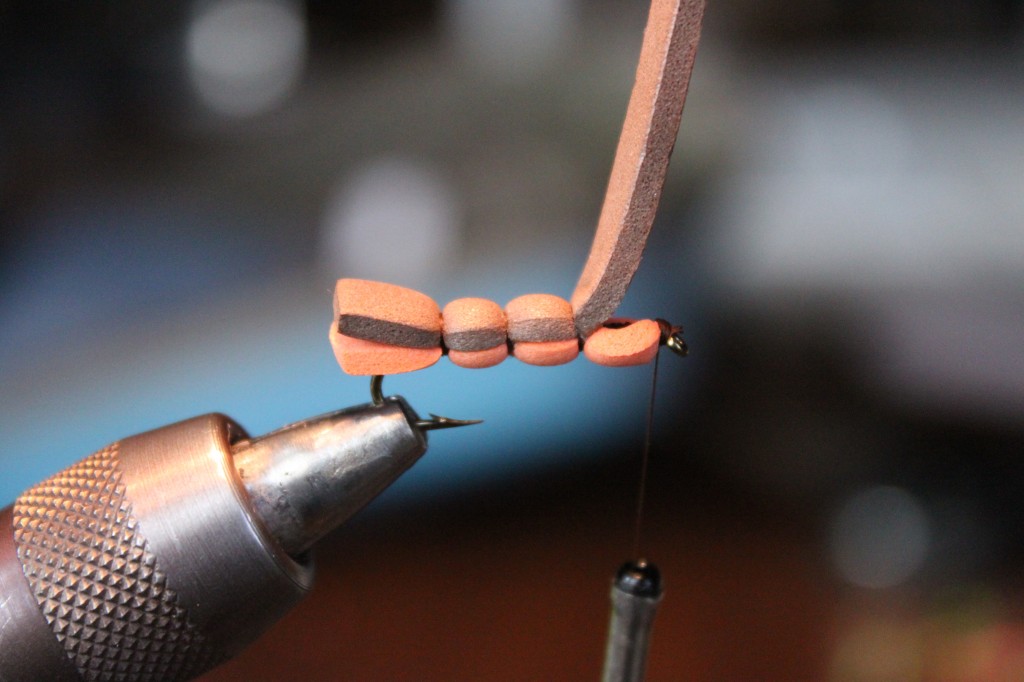
Carefully and as close as you can, cut the bottom layer of foam and cover the extra foam with thread wraps.

Step 8
Step 8

Tie in the top layer but do not cut it.

Step 9
Step 9

Wrap back to the last body segment with one cross wrap. this is usually the best time to trim the tail. (I have no idea if the tail should be cut like this, but I think it makes it look nice…)

Step 10
Step 10

Note: At this point, all the rest of your material will be tied in at this point. Try to limit the amount of wraps because it will get bulky real quick.

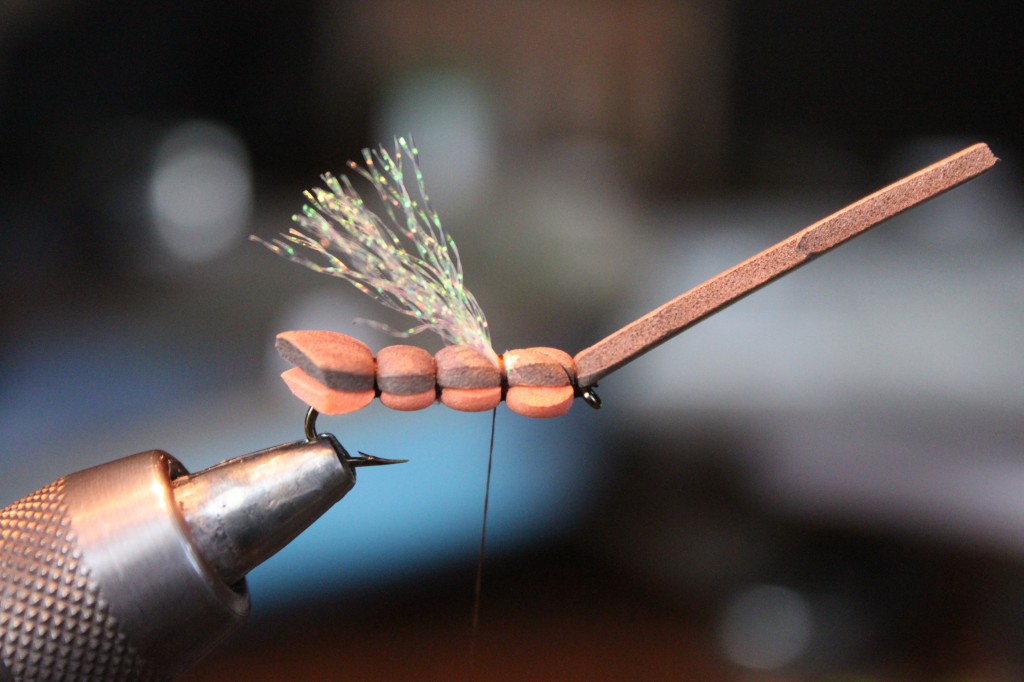
Tie in Krystal Flash (or whatever other flash material you have).

Step 11
Step 11

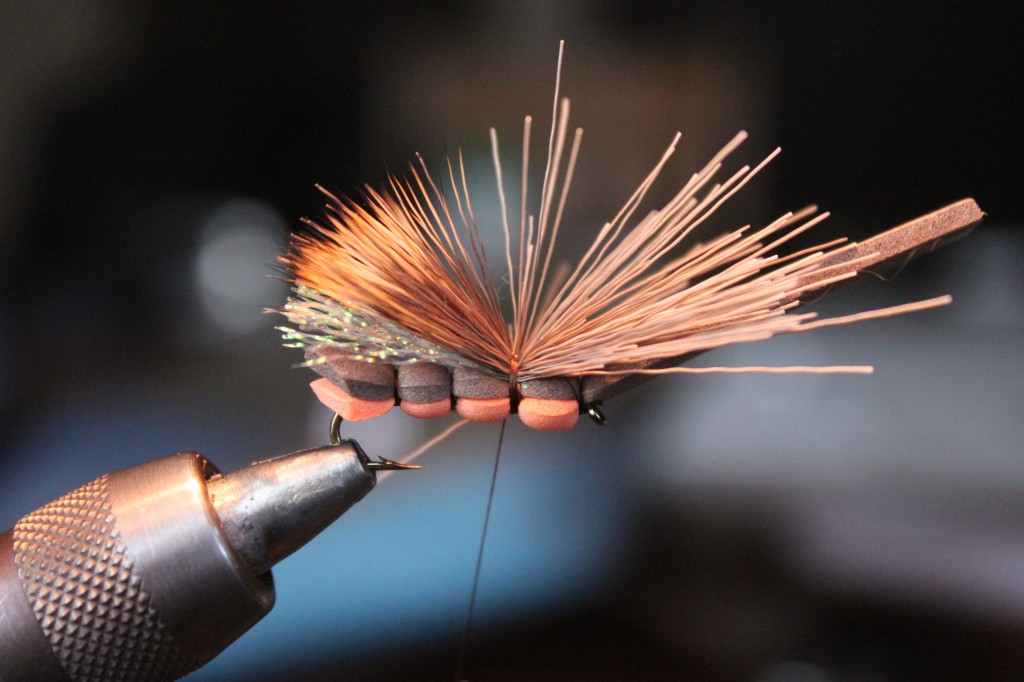
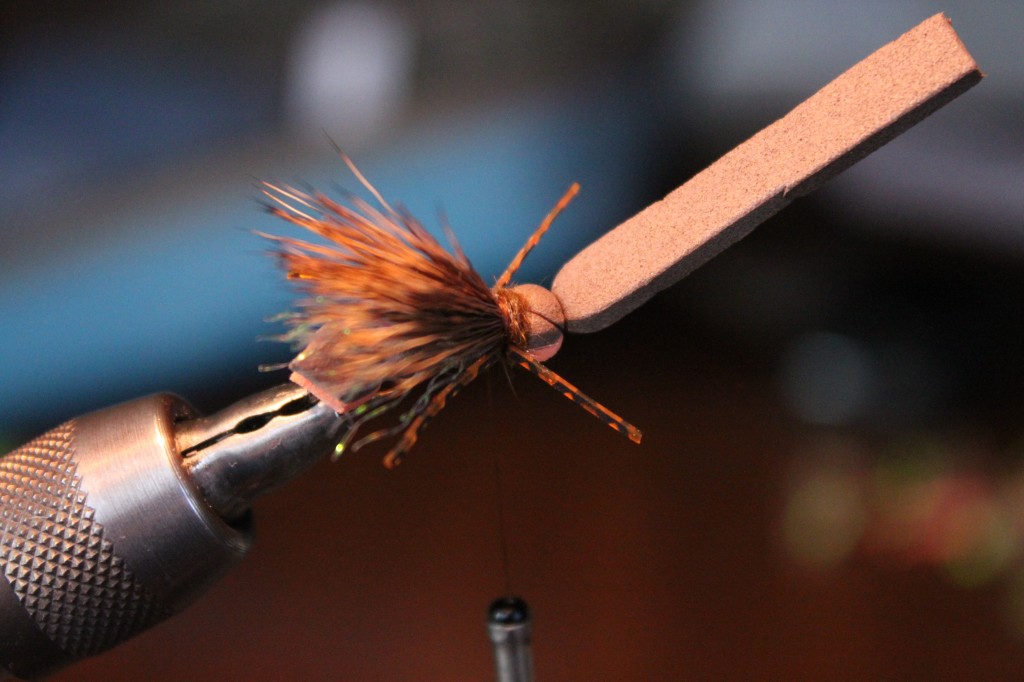
Tie in deer hair.

Step 12
Step 12

Trim and had dubbing. (Dubbing hides a multitude of sins…)

Step 13
Step 13

Add your legs. Right here I add one more drop of glue in the dubbing and on the exposed foam.

Step 14
Step 14

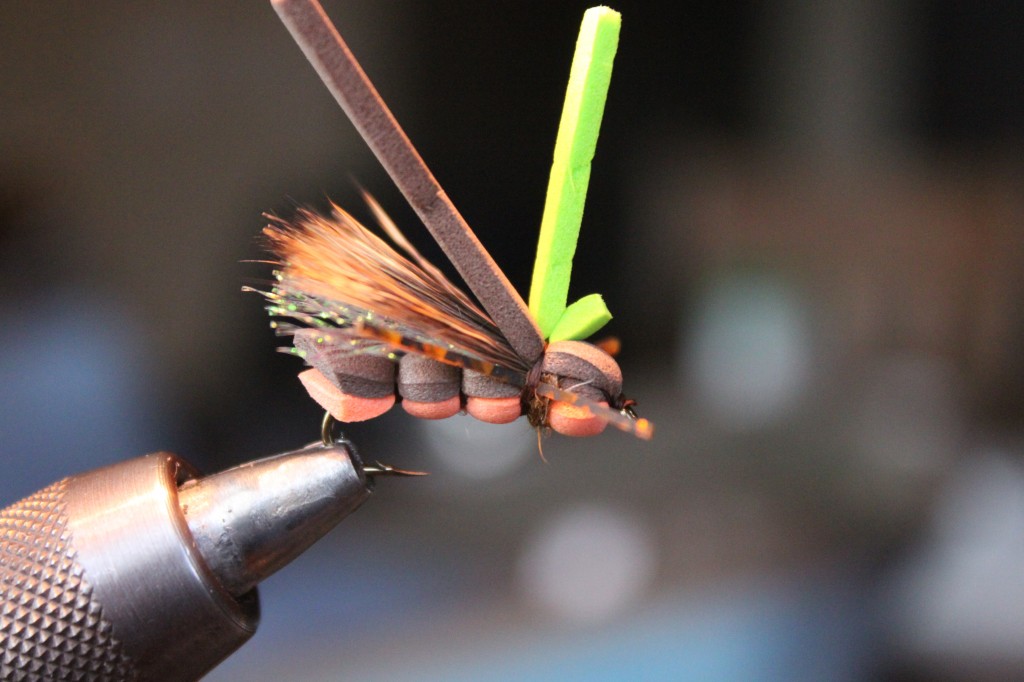
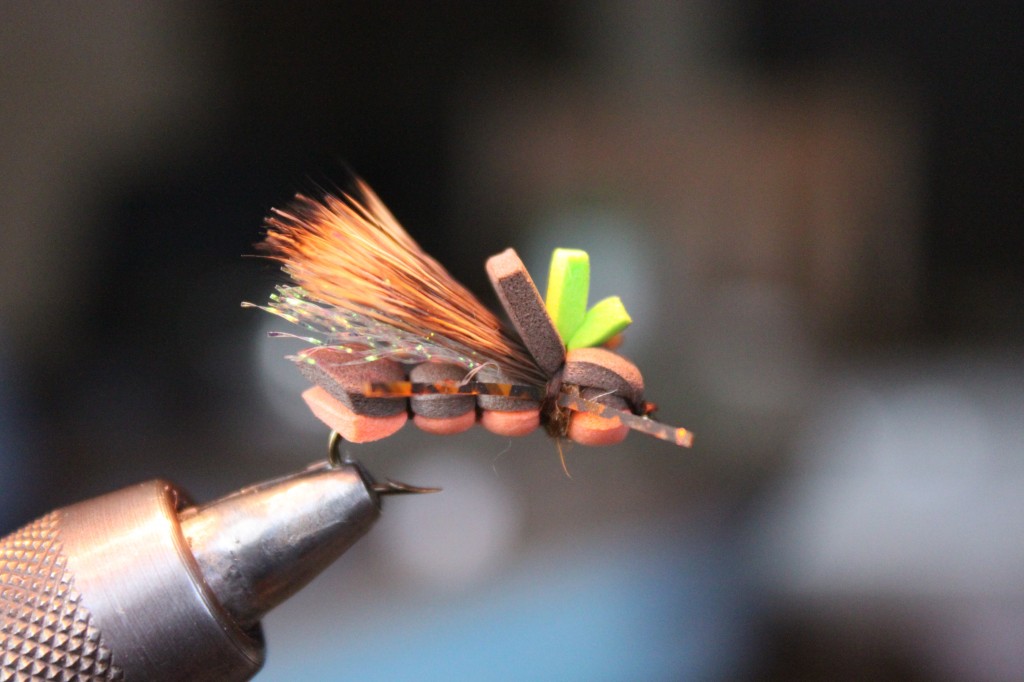
Bring back your top layer of foam and secure with 1-2 wraps then add in a very thin piece of bright foam as your indicator. You can whip finish right there in the foam or you can take the thread back up to the eye of the hook. I think the whip finish in the foam works just fine. Trim foam.

Finished Product
Finished Product
Bottom View
Bottom View

What you have is a bullet-proof bug that will float all day, catch fish, and act as an indicator for any dropper you throw underneath it. A quality fly created by a quality tier. I have tied up a bunch and look forward to throwing these on the Deschutes during my upcoming trip. Thanks Juan for a great bug.

Arizona Wanderings: News Updates…

At the start of this new year the realization of several ideas finally began to take shape. The first, was switching over the site from wordpress.com to a self-hosted shindig that has been really fun to play around with. With that new site another piece has fallen into place with a new logo that has graced the top of the page for several days. I would like to send a big thank you out to Jason Jones for his help in taking my randomness and honing it down into the work of art that is the new logo.

New Logo
New Logo

With the new logo in place, stickers and some other Arizona Wanderings paraphenalia should be showing up within the next couple of weeks. Please keep your eyes open for these additions.

Mini-Hoppers
Mini-Hoppers

The second bit of news is more of an update. In mid February, I set up a small sales page for the mini-hopper to try and guage interest in these Arizona tied flies. I really appreciate the support of all who have contacted me and the great response I had to these flies. The sales page has been updated with a PayPal/credit card button, so that purchasing these flies is now a whole lot smoother and easier for both parties. If you have not had a chance yet, check out these bugs. I already have been having success on our small Arizona creeks and several buddies have found that the big bass love the mini-hopper as well.

Mini-Hoppers for Sale

The last bit of news is some really amazing upcoming trips. This spring I will be headed up to Bend, Oregon to float the Deschutes with Eric from Hooked Up Films and wrapping up with a cruise through Alaska with the wife and in-laws. I have grand plans of getting on some Alaskan water  for at least a day of fishing and experience all that area has to offer. With all that said, I will be tying like a madman trying to fill a box or two for the trip, so expect to see a good amount of fly tying. I will also be fixing myself up with a 6 weight rod/reel combo for the trip, so I always value recommendations. Remember that I am a junior high teacher, so funds are limited at best. (If you are a company looking for a rod/reel review, feel free to get in touch…that would be nice)

Spring
Spring

As always, I really appreciate all the kind words and support. I look forward to bringing more quality content as the fishing season here in Arizona is really starting to pick up. If you are in the area, shoot me an email and we’ll get out on some water.

Ben

Fly Fishing the San Juan River: Tips and Lessons Learned

San Juan Rainbow Kype
Kype

After I made it home and spent a day on the coach allowing my body to recover from four days of fishing, I wrote up my trip report full of pictures and stories. Looking back to my time on the water, there were a whole bunch of little things that brought this whole trip together. Many of these things were tips that others had shared with me before my trip to the San Juan River. Others were lessons that the actual trip educated me on. So the following is a somewhat random list of do’s and don’ts, tips, reviews, and all around good ideas if you are visiting the San Juan River.

Navajo Lake State Park

Lodging – I stayed in a tent at the Navajo Lake State Park. Fishing consumed all of my daylight hours and lodging was secondary. Having said that, the Navajo Lake State Park was perfect for me. It was not even half full during this time of the year and my ten dollar primitive camping ticket bought me a place to pitch my tent, a warm shower, and covered the 5 dollar charge to park on the San Juan River. Not a bad deal when it comes right down to it. Hands down, great decision to stay at the Navajo Lake State Park.

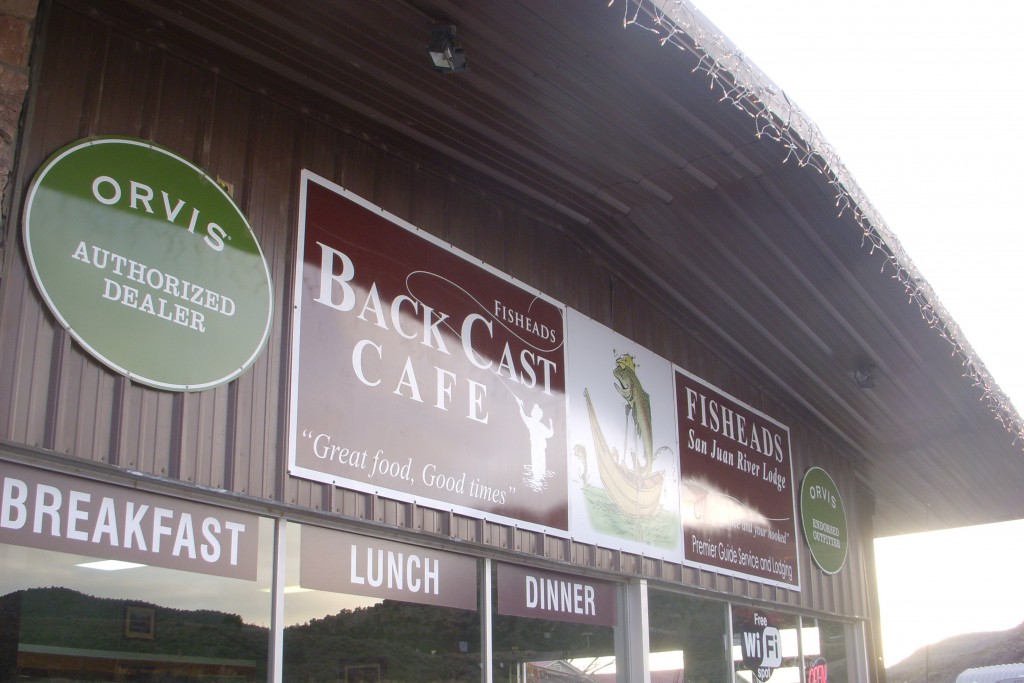
Fisheads/Back Cast Cafe

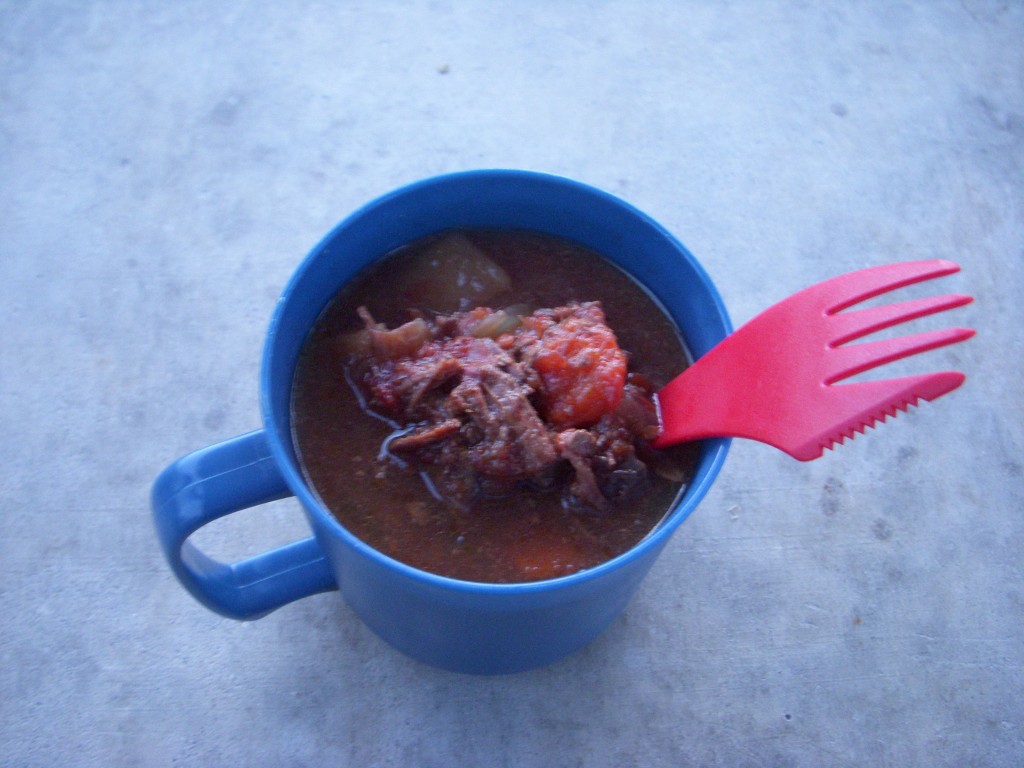
Food – As I stated before, I am a breakfast guy. I have to have a couple cups of coffee and a warm meal will keep me going all day. Because it was in the 30’s most mornings, I opted for breakfast to be my one meal out per day. I highly recommend the Back Cast Cafe which is a part of the Fisheads Fly Shop. Food was good, service was great, coffee was hot, and it gave my boots a place to thaw out in the morning. It was nice to warm up before the day and charge my cell phone and camera.  For my other meals I brought sandwich makings from home and I brought a delicious venison stew that warmed my belly at the end of the day. This all helped me to cut down on costs.

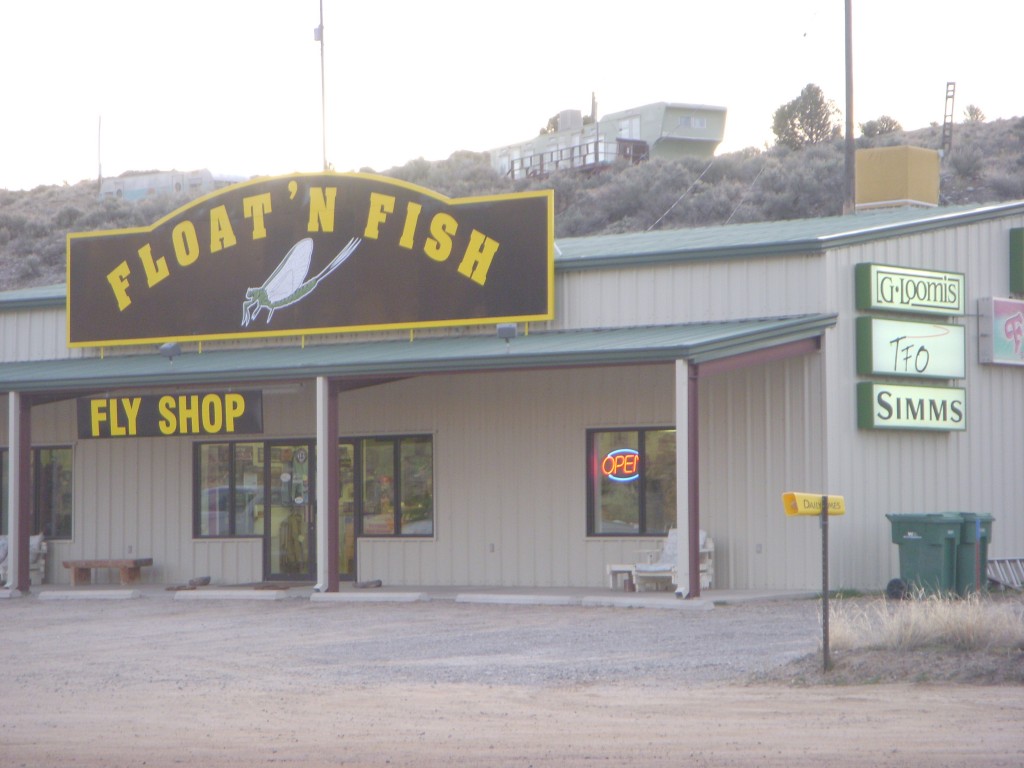
Float-n-Fish
Float-n-Fish

Gear Needs – As big of a fan as I was of Fisheads, they did not have some of the basic tying materials that I needed for my time on the water. They pointed me in the direction of Float-n-Fish, another shop next door. Ray had all kinds of gear in there and even put some of the big box stores here in Phoenix to shame. If you need specific pieces of gear, you may want to check out Float-n-Fish

Clothing – I am not a big fan of wearing waders, but the San Juan River water temps are extremely cold. I did not really understand why others were telling me to layer under my waders until I got there and stepped into the water. Even when the sun is shining and I am getting sunburnt, my legs are still pretty chilly even through a pair of fleece pants I had on under my waders. Layering is a necessity for this river.

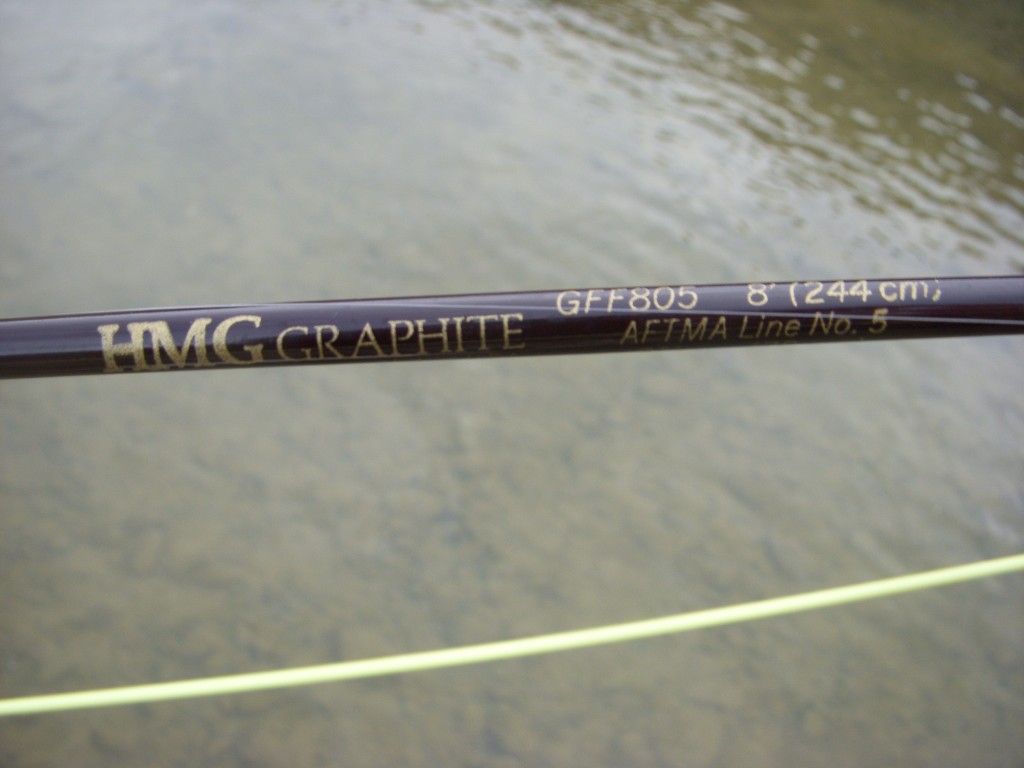
Fenwick HMG
Fenwick HMG

Rod/ReelEverywhere I read online, guys were saying that I would need a 9 foot 6 weight rod. Maybe this rod would be ideal, but I fished my grandfather’s old 5 weight Fenwick and was happy with how that worked out for me. Any lost fish were certainly the fault of the operator and not the equipment. I talked with several people on the river that were catching fish on even smaller weight rods.

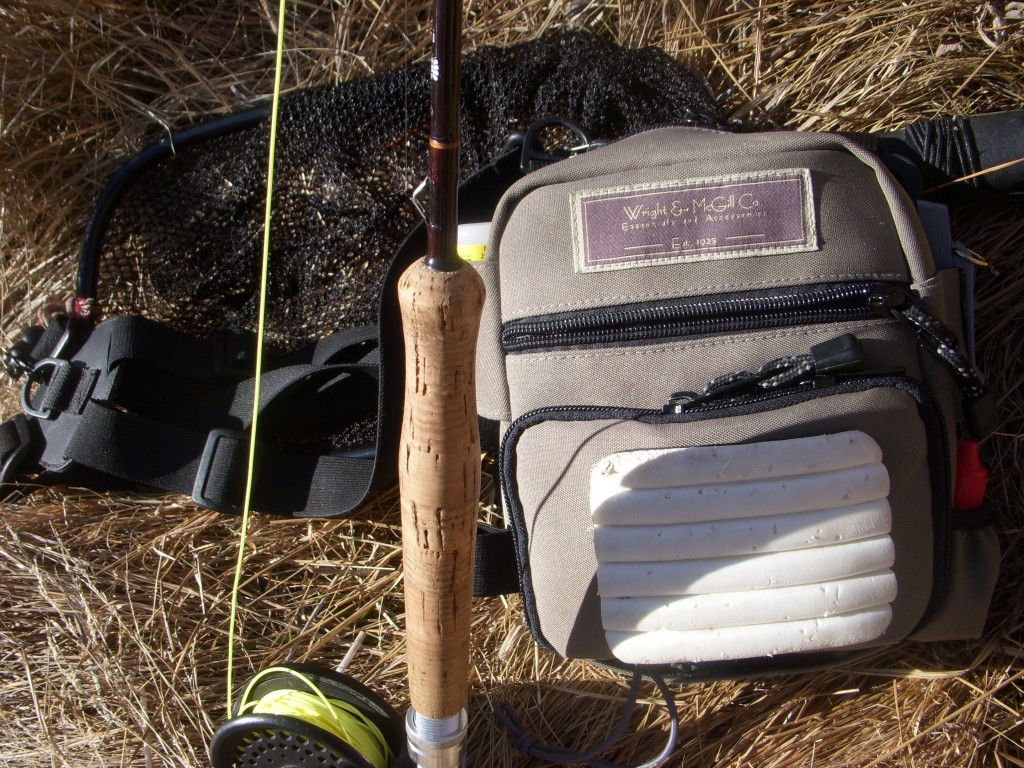
Chest Pack
Wright and McGill Co. Chest Pack

Gear – How to store and carry gear on the water is always funny to me. Everyone has a different system from a vest to backpacks, chest packs to lanyards. Normally on a small stream I take a backpack to have everything I would need “just in case.” Originally, I started with a backpack and a chest pack but quickly realized I did not need all that gear for this river. My few basic needs were the following:

  1. Small box of flies, weights, and indicators
  2. 6x tippet (and yes, I splurged for fluorocarbon and no, I don’t know if it helped)
  3. Water
  4. A couple granola bars
  5. Forceps
  6. Net
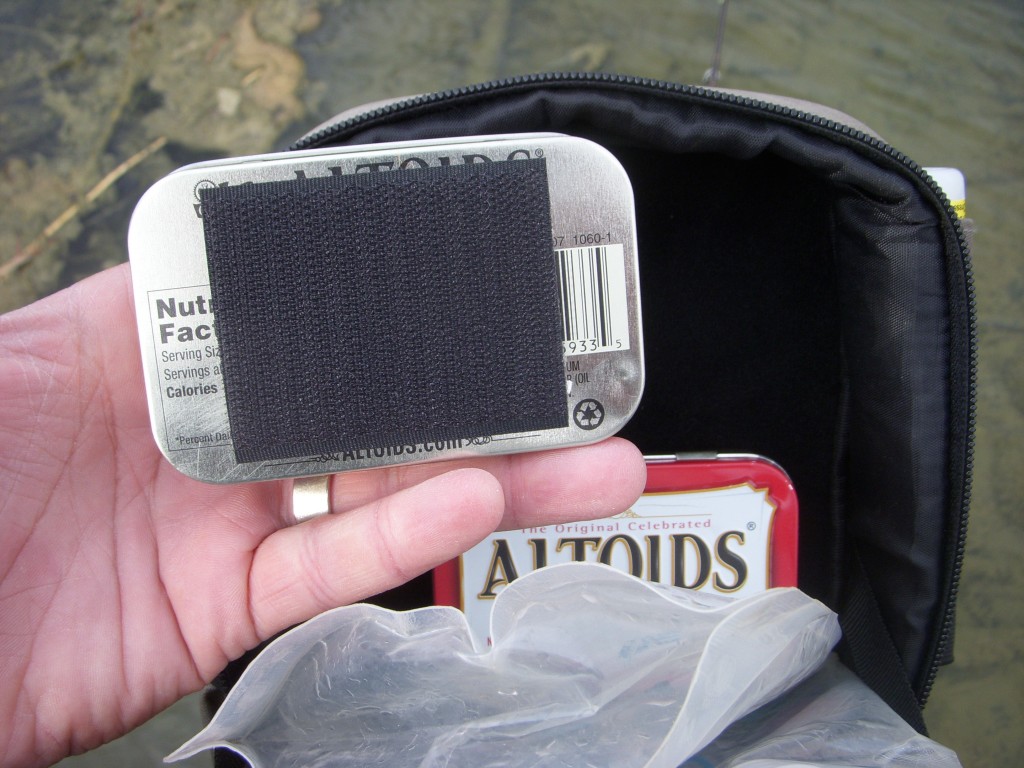
Inside the Chest Pack
Looking inside the chest pack while it is on

All of this fit nicely into my wader pockets and Wright and McGill Co. Chest Pack. A little velcro on my high dollar fly boxes helped to keep everything neat and secure. I am also a big fan of the platypus water containers (seen in the chest pack above) because they can be folded up and do not take up much room. This setup saved my back and shoulders and kept me very comfortable on the water.

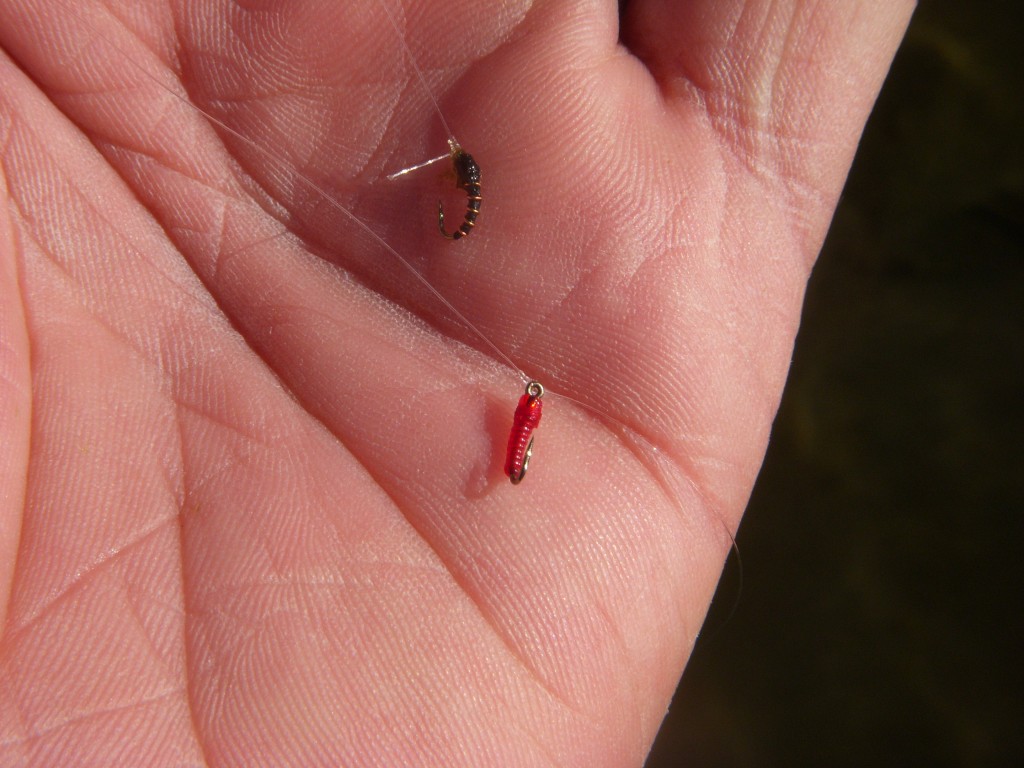
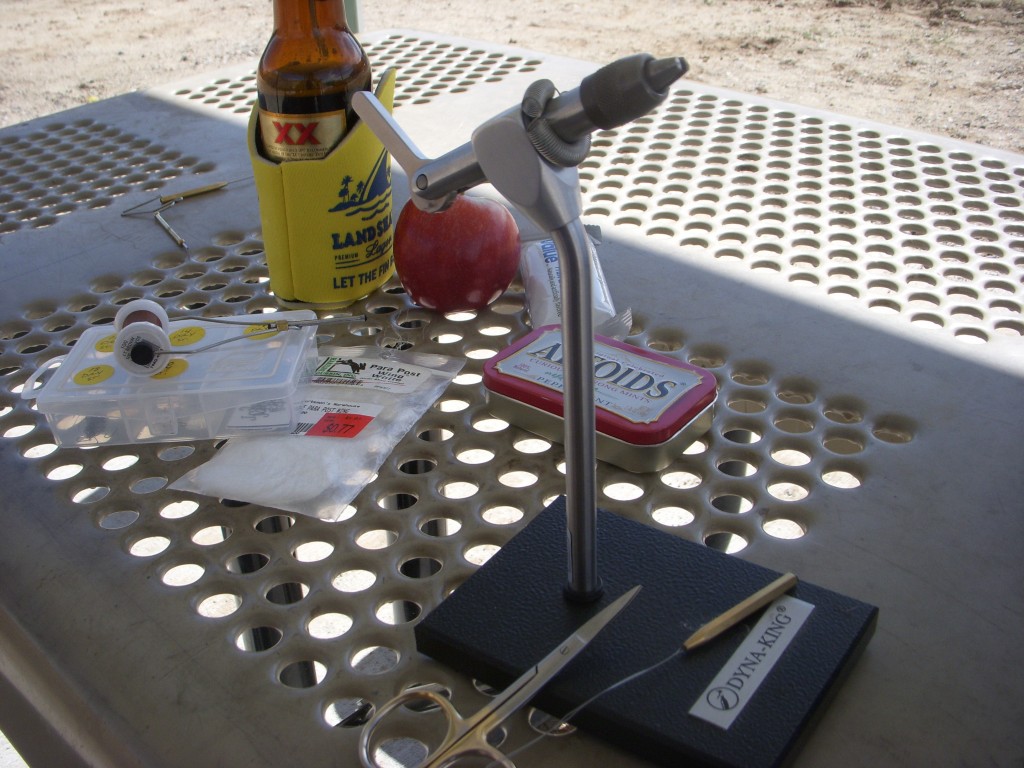
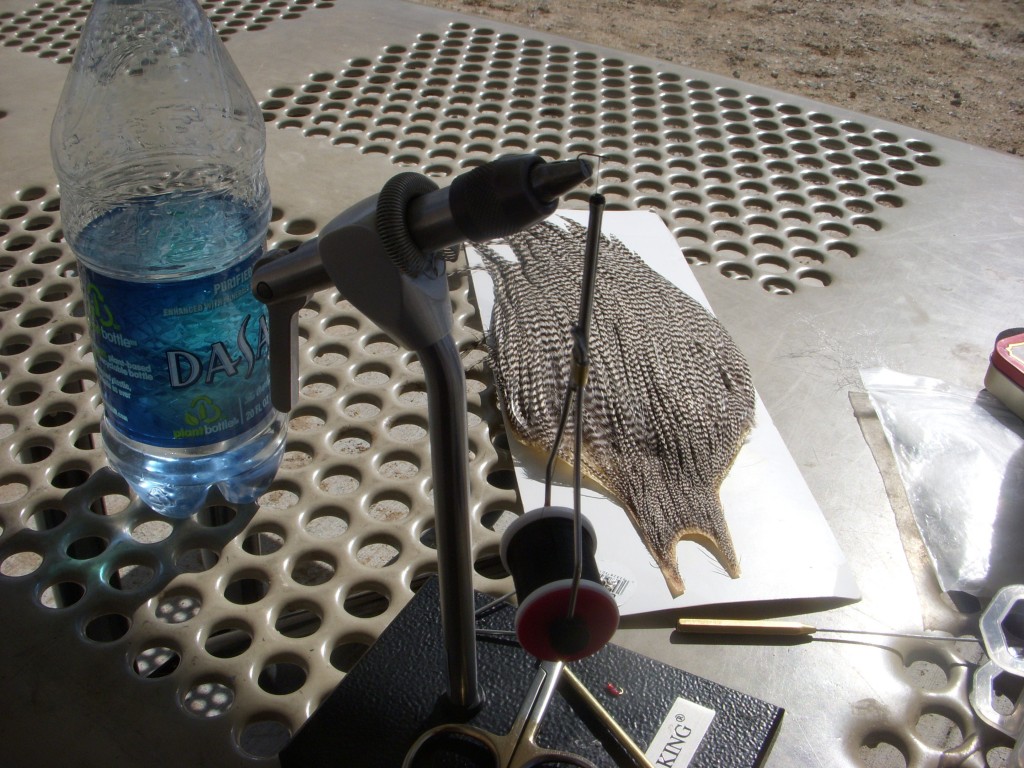
Tying gear – If you do tie, definitely bring you gear along with a headlamp or other light source so that you can tie during the evening. I had only tied up a few of every bug at home, because I am broke and did not want to waste hooks and materials on stuff that was not going to work. This worked out well for me in the end, because during my down time on the river I was able to tie up some more red hots, zebra midges, and KF emergers.

Tying Gear
Tying Gear

****Washing gear – Probably the most important thing I did was done at home and after the trip. Wash, clean, and sterilize your gear. This should be a no-brainer if you are fishing multiple bodies of water but specifically for the San Juan River. The San Juan River Rainbows are plagued with  whirling disease and therefore special percautions must be taken unless you want to destroy your home waters. Clean boots, waders, fly line, and your net.

The San Juan River is a fun and unique fishery and I recommend getting out there to chase those big fish. This was my first time to the River and I am by no means an expert on everything there. Feel free to add something to the list.

Maybe my favorite photo of the trip

San Juan River: Day 3

What seemed to be working

I started the morning as usual, dragging my weary bones out of the tent into the cold morning air. The truck heater had mostly thawed me out by the time I pulled into Fisheads and the Back Cast Cafe for a warm breakfast and a steaming cup of coffee. As I cleaned the plate free of any morsel of food and burned my mouth gulping coffee, I realized that I was going to need to replenish my box before I got back on the water. I had originally tied up 4 of every bug (two #24s and two #22s), not really knowing what was going to work or what I was going to need. A Red Hot combined with either a zebra midge or a KF emerger was my go-to rig so far and had picked up most of my fish in the first two days on the water. Fisheads was all out of hooks so I headed over to Float and Fish and Ray, the gentleman behind the counter, was all kinds of helpful showing me hooks and talking about the river. I tied on the tailgate for a little while, but once my hands were too cold to work, I called it quits and hit the water.

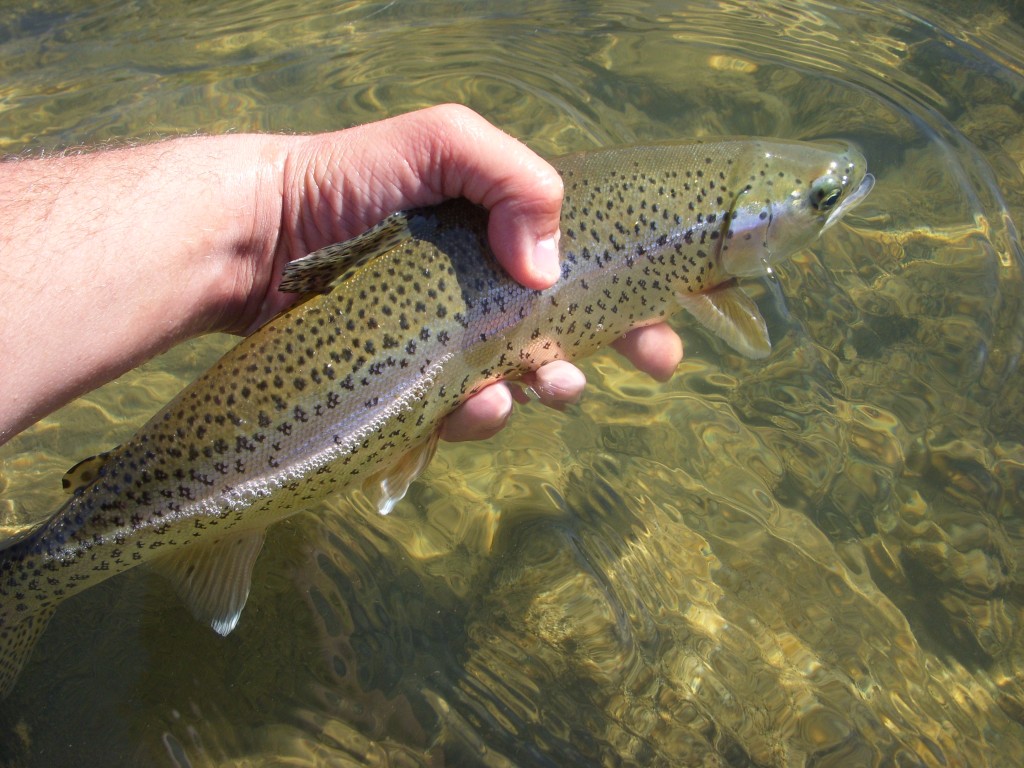
San Juan Rainbow
An Early Morning San Juan Rainbow

Fish started coming to the net with regularity and I fished all the likely looking water I could find. The crowds from the weekend were gone and I was able to fish just about anywhere I wanted.

San Juan Rainbow
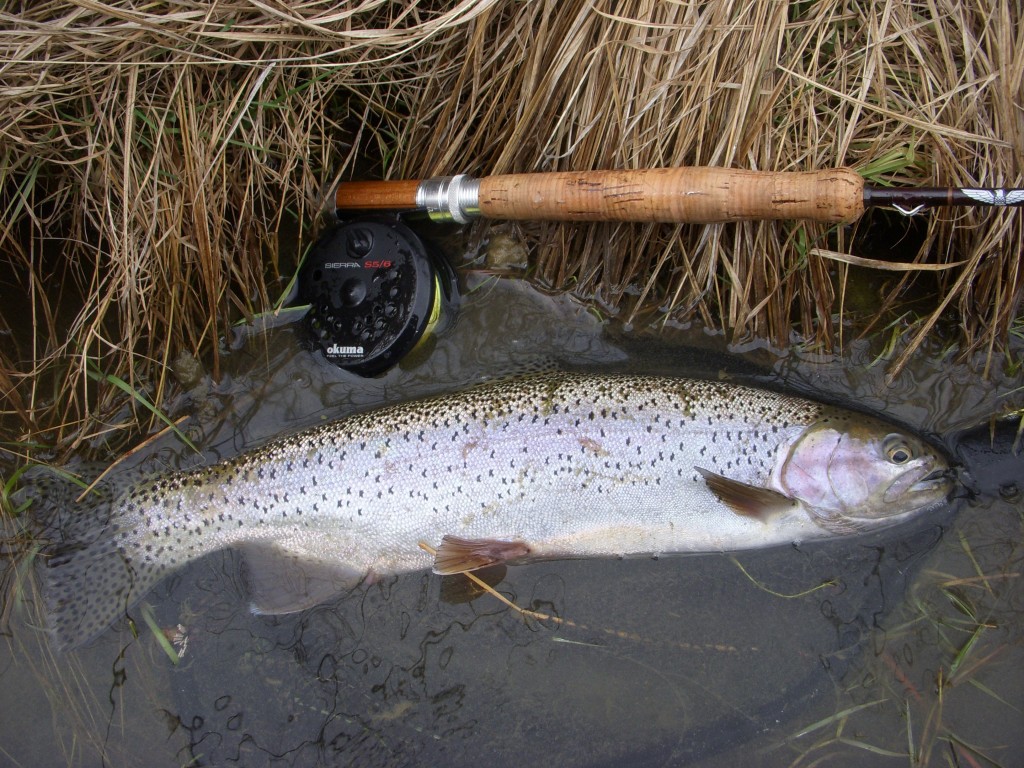
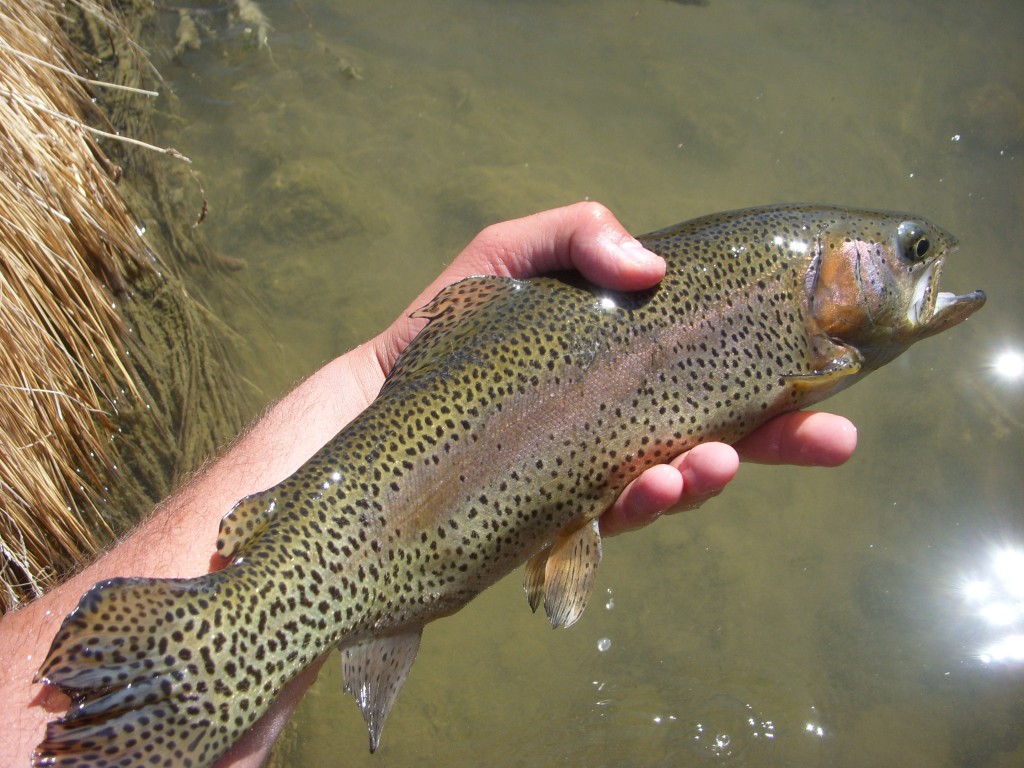
Rainbow

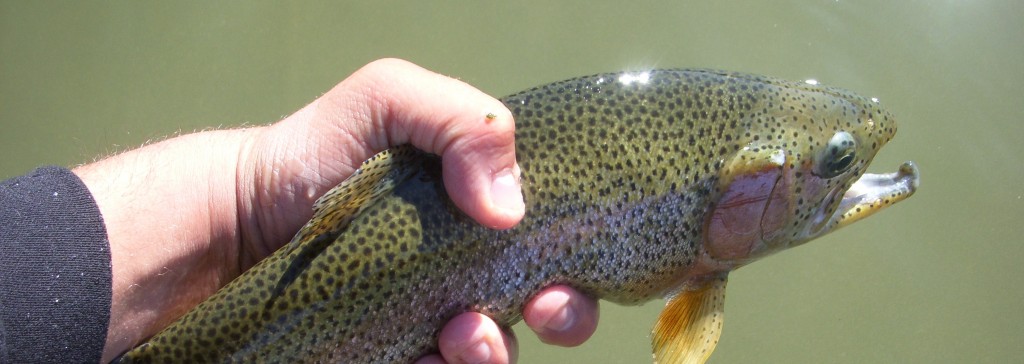
Ultimately these pictures do not do these fish justice as many of these rainbows show off some spectacular colors in the sun.

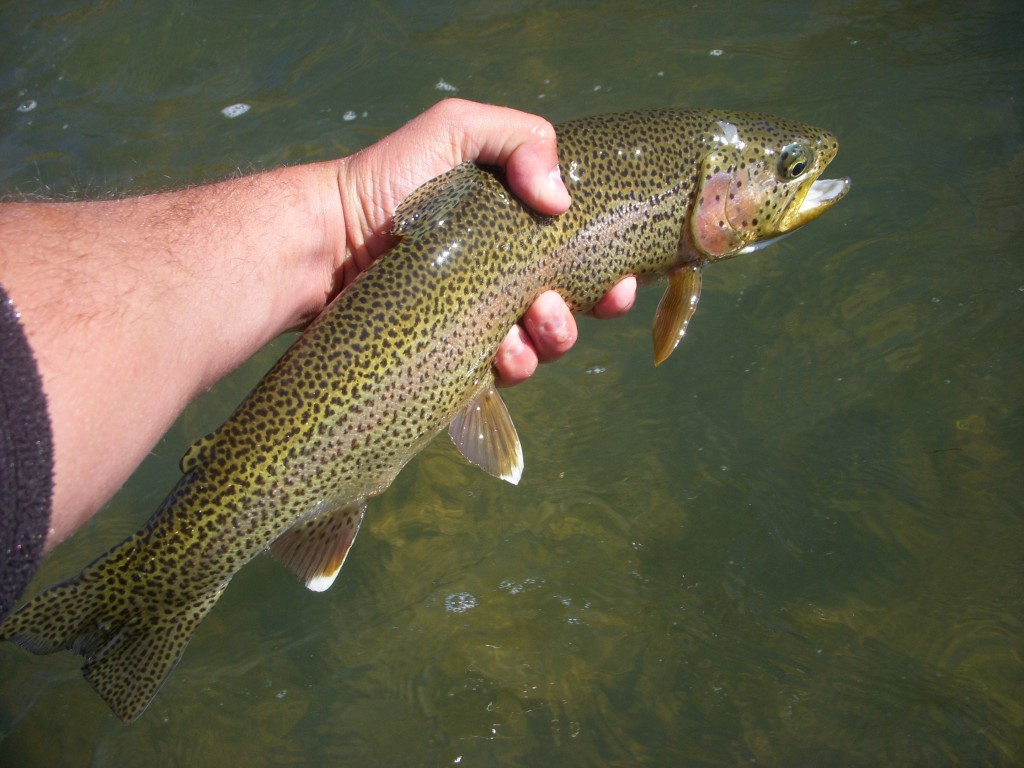
San Juan Rainbow Trout
Rainbow taken out of a deep San Juan run

I continued walking and found myself in an area known as the Upper Flats which was being heavily fished at the time. I watched other fishermen cast for a while and as I turned to head back to the truck for lunch, I saw a nose and mouth come out of the water for dries in one of the side channels.  I clipped off my nymph rig and tied on a long line of tippet and a Griffiths Gnat and fished to rising trout. After several refusals, one rainbow did take my fly, but a poor hook set allowed him off without much of a fight. I fished to these risers for almost an hour and realized that the situation was hopeless.  I headed back to the truck to tie up some more midges and smaller Griffiths for the afternoon.

Midge Clusters
Midge Clusters

During my lunch tying session, I whipped up enough midges to last me the remainder of my trip as well as had myself another unbelievable peanut butter and huckleberry jam sandwich to make it through the rest of the day. I met some fellow Arizonians who actually were friends of guys in my regular fly tying group. (Pleasure to meet you Tom and Paul.)Small world.

Lunch Time Tying
Lunch Time Tying

I got back on the water as the parking lot started to fill back up, and the Red Hot pattern continued to produce well into the evening. I was a little disappointed that I never made it back up to the Upper Flats to try out some of my smaller Griffiths, but that will give me a reason to go back.

San Juan Hen
San Juan Hen

The last fish to the net came out of the riffles above Kiddie Hole.  I had been slowly stalking back through the current trying to use the last bit of sun with my polarized glasses to locate feeding fish. I could not actually see anything in this particular riffle but knew there had been fish there the day before. I plunked the flies at the top of the fast water and watched them drift through several times. The next drift brought a fish up and I lifted the rod to find the shaking head of a rainbow trout. After a good little run, the rainbow begrudgingly came to the net for a quick photo. As we both sat their looking at each other, I could not help but smile and thank God that I had the opportunity to fish and enjoy this wonderful creation.

Last Fish of the Day

I fished for another half an hour but was exhausted from the workout the few days of fishing had given me. Throughout the day, I had brought over a dozen fish to the net and had lost way more than that. I headed back to camp for dinner and heated up a tasty venison stew that I had made up just for my trip.

Venison Stew
Venison Stew - I know it doesn't look like much, but it hits the spot after a day on the water

The Navajo State Park that I stayed in was a fantastic campground. For 10 bucks a night I had a campsite and a shower.  It is pretty nice to clean up after a day of sweating in waders and handling fish. With one more day to fish, I passed out in the tent dreaming of big San Juan rainbow trout.

Fly boxes: A journey, a couple reviews, and a simple how-to

When I first happened upon the fly fishing scene, I read every book, watched every YouTube, and listened to every podcast. I wanted to know everything and have exactly the right gear for what I was going to do.  An intricate part of the fly fishing get-up is the fly box. The fly box can tell a lot about the person holding it. Is it expensive or is it cheap? Is it battered or does it still have the sales sticker on it? Is it full of mangled flies or is it neatly laid out according to color and genus?

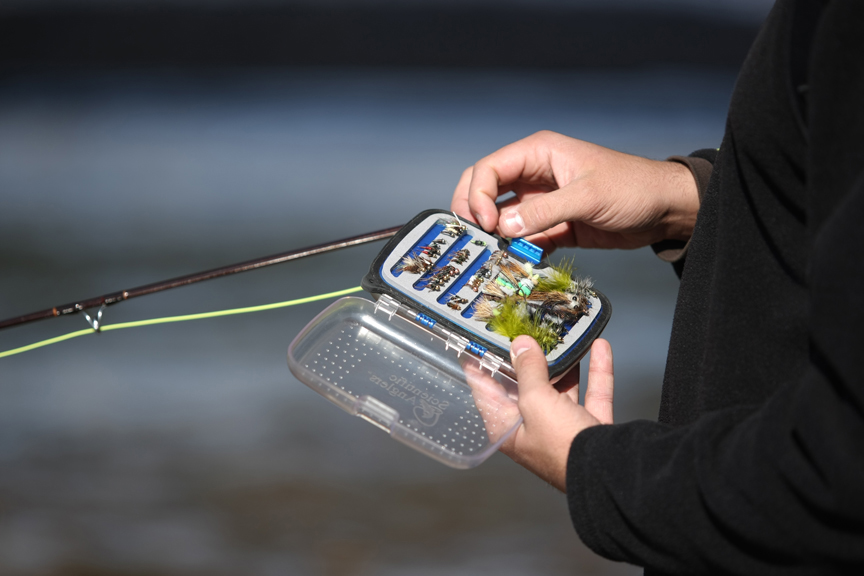
My journey started the same as many others. It began with an extremely nice Scientific Anglers waterproof fly box. This box is almost indestructible and it is airtight, which is a good thing considering the countless times I have dunked it in the creek and watched it float and keep all my flies dry. I really like this box, but as I tied more and more flies, logic led me to believe that I needed more and more boxes. The Scientific Anglers box is perfect and continues to be my standard small stream box, but it carries a hefty price tag.

Scientific Anglers Fly Box

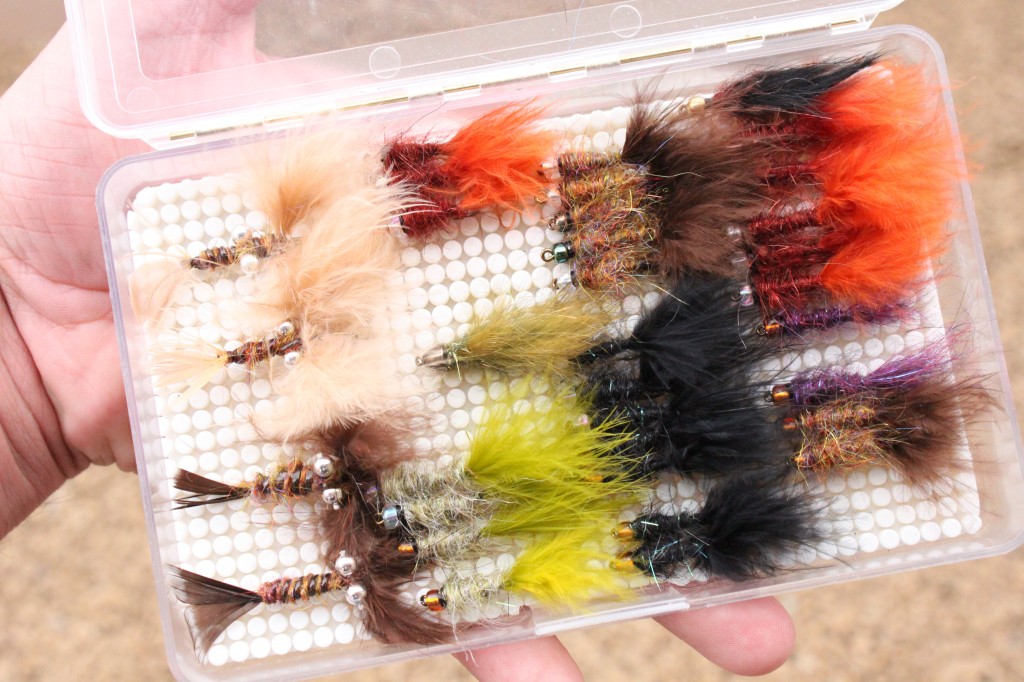
So, in search of that inexpensive fly box I bought a generic Cabela’s box that has served me well. It has a unique studded bottom in which the angler wedges fly hooks. After buying it, I definitely went through some buyer’s remorse as I saw the box sit on my shelf at home, but ultimately I have filled it full of streamers and leeches and have been happy with its performance. It is a decent box that won’t break the bank, but certainly not of the highest quality material.

Cabela's Fly Box

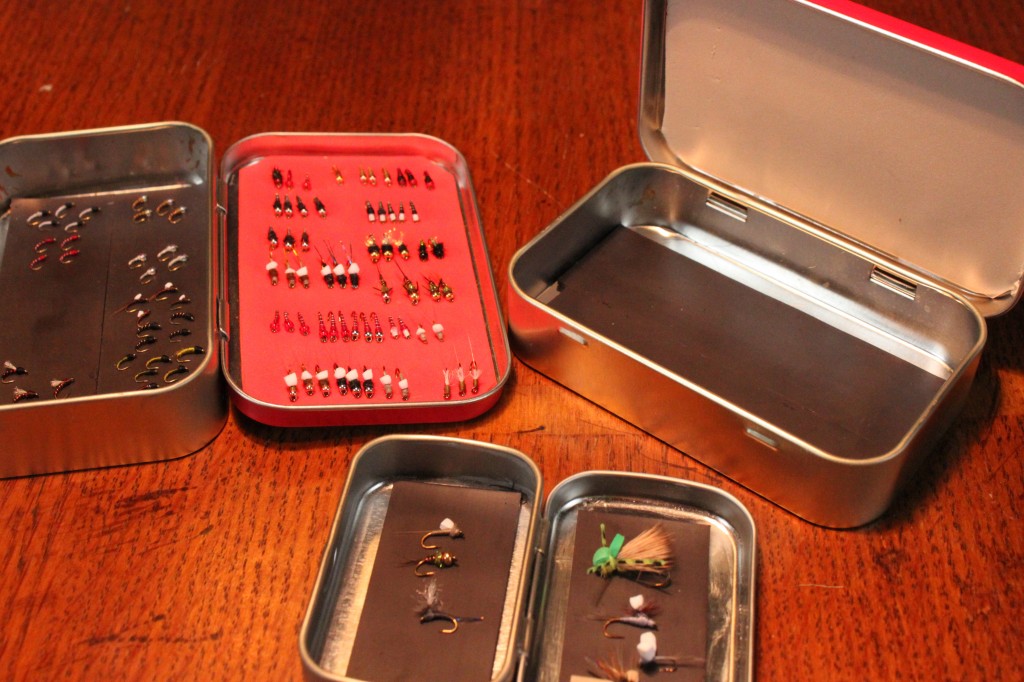
Over time, I really scaled back my fly selection to my favorites, some standards, and a few new creations to throw on the small streams where I normally wander. In anticipation for some upcoming trips to the larger tail-waters in the Southwest, I found myself searching for a new box in which to put my midges. I looked and surveyed the walls of the stores and finally decided that 25 dollars is not worth it. Frankly, 10 dollars is not worth it. I decided to keep things simple and landed on a tried and battle tested classic…an Altoids tin. I added a little foam and some magnetic tape and ended up with fresh breath and a nice little fly box. Enjoy.

Altoids - A classic fly box

Ingredients for your fly box:

1. magnetic tape (craft store /easily cut by scissors)

2. 2mm foam in whatever color you want (again, very cheap at the local craft store and you can use the rest for some foam mini-hoppers)

3. Altoids box – The bigger ones are very roomy, but the small ones will fit everything you need for a warm summer’s day.

New Mexico


My friend Travis invited Michelle and I to his in-laws ranch in New Mexico for the 4th. The ranch is located north of Reserve outside of the little town of Apache Creek. I brought my fly rod along hoping to get a few hours of time to check out some of the local creeks.

I first stopped at Tularosa River later in the afternoon and rigged my rod up for about an hour.  The portion of “river” (and I use that term loosely) ran though pastureland which I gather must have impacted it’s quality. The river was small with places to step across but the water was full of crawfish and some type of fish, which I imagine were chubs. The afternoon sun made it difficult to fish and time restraints pushed me back to the ranch.

The next day, Travis and I woke up early and met an old timer who was going to drive us to a remote spot on the San Francisco River where hopefully we could get into some fish. From the hills above the river we were pretty excited about our prospects but as we walked along the river we were sadly disappointed. The cattle had done a number on the stream bed which was extremely silty and the river flowed very wide and slow. What little quality river the cattle had left had been further decimated by beavers who had chewed down most every tree in the two miles of river we walked. On our way back to the truck we were fairly disappointed that we did not even see a fish, but I stopped at the three fishy looking holes and threw a simi seal bugger with legs into each of these holes. All three held at least one fish and I actually hooked up with one of them but he quickly jumped off. It was a tough morning and left our spirits fairly low.

That evening the whole group made our way to Quemado Lake to try out the fishing there. In the hour and a half we spent on the shore, the wind put up a pretty serious fight. After helping to rig up some poles for the kids, I briefly attempted to throw my 3 weight into the steady wind. After throwing everything and no luck, everyone packed up and headed back ranch.

This was my first time to the area and these were the closest pieces of water. After taking some time to think about it here are some things that I would do different:

Tularosa River – After doing some more reading I probably was too far downstream to see any real success. Add the fact that it was 3:00 in the afternoon in New Mexico and there is no big surprise I did not catch anything. In the future I would head farther up.

San Francisco River – Although from above this river looked great, upon closer inspection the section of river we fished was such poor quality. If I went back, I would make a day trip and hike to the Box where the reports are better. In truth, I learned much about the fragile nature of a stream and how outside forces can be extremely destructive to a fishery.

Quemado Lake – Bring the 5 weight and boat/float tube

In closing, there were several other waters that were close that I did not have time to check out and creeks and rivers that were a little bit of a drive that also had positive reports. The Gila Wilderness is also not far and could offer many opportunities to fish new water. I look forward to getting back to New Mexico and scouring this area for productive water.