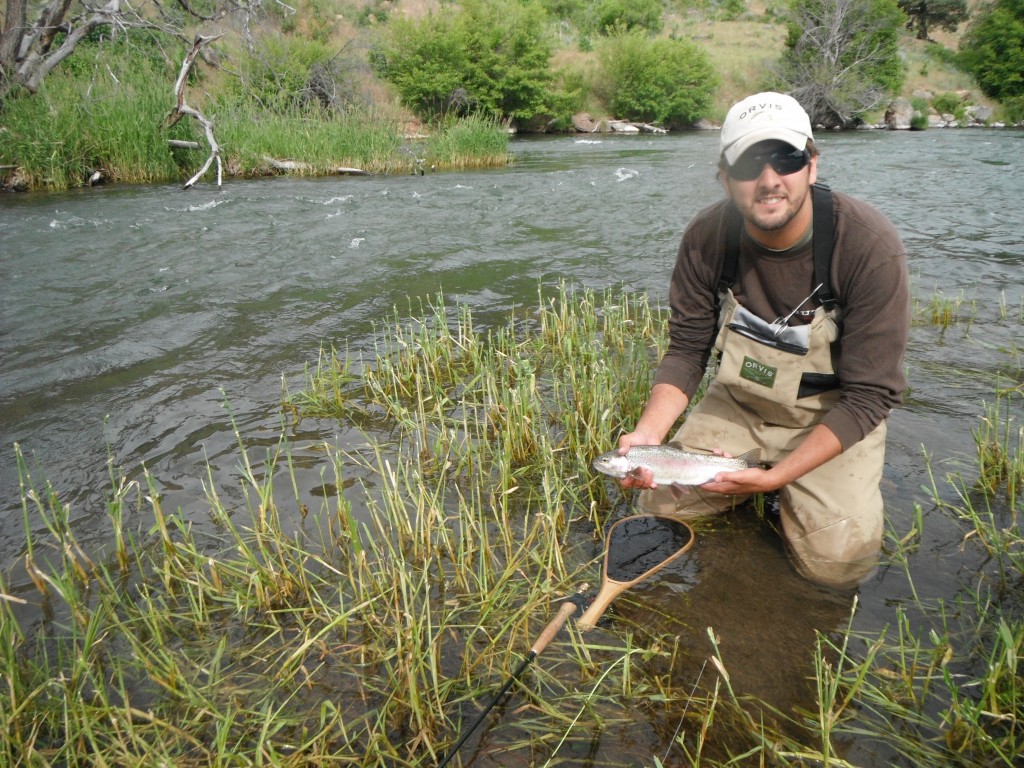
Fly Fishing Oregon – The Deschutes River (Day 3)

0 Comments

Good morning redside

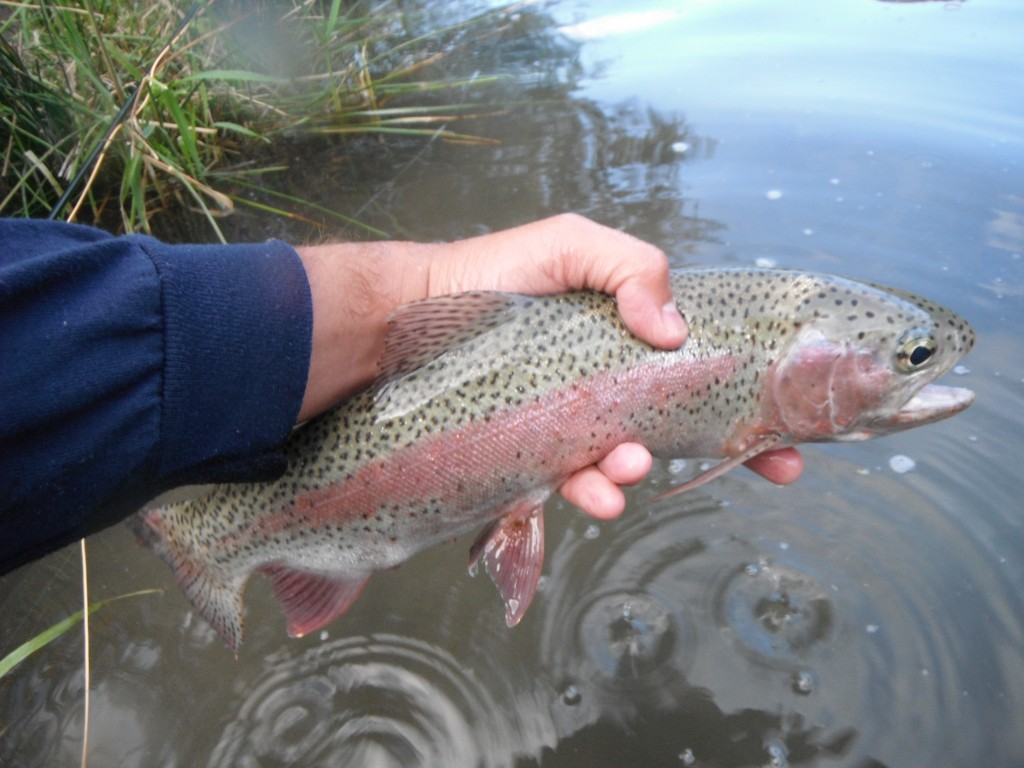
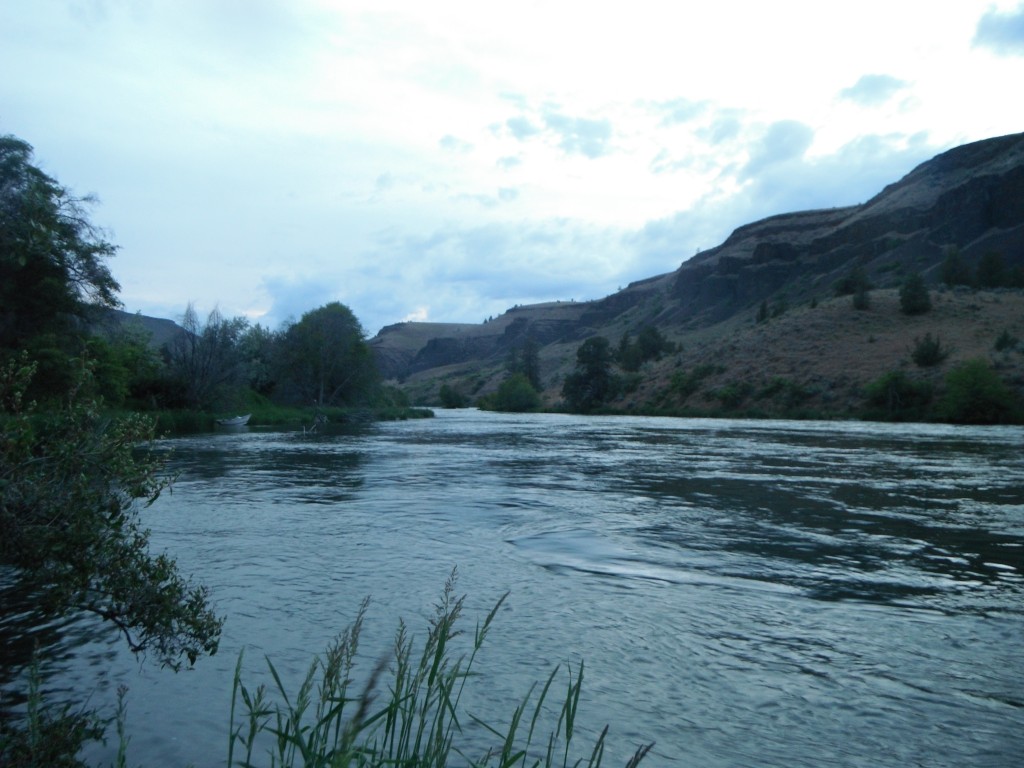
Breakfast was made and coffee perked while we broke camp and repacked the boat. We again were an hour or two ahead of most other anglers and had our pick of prime water. The morning was spent picking through the riffle water and pulling redsides to the net.
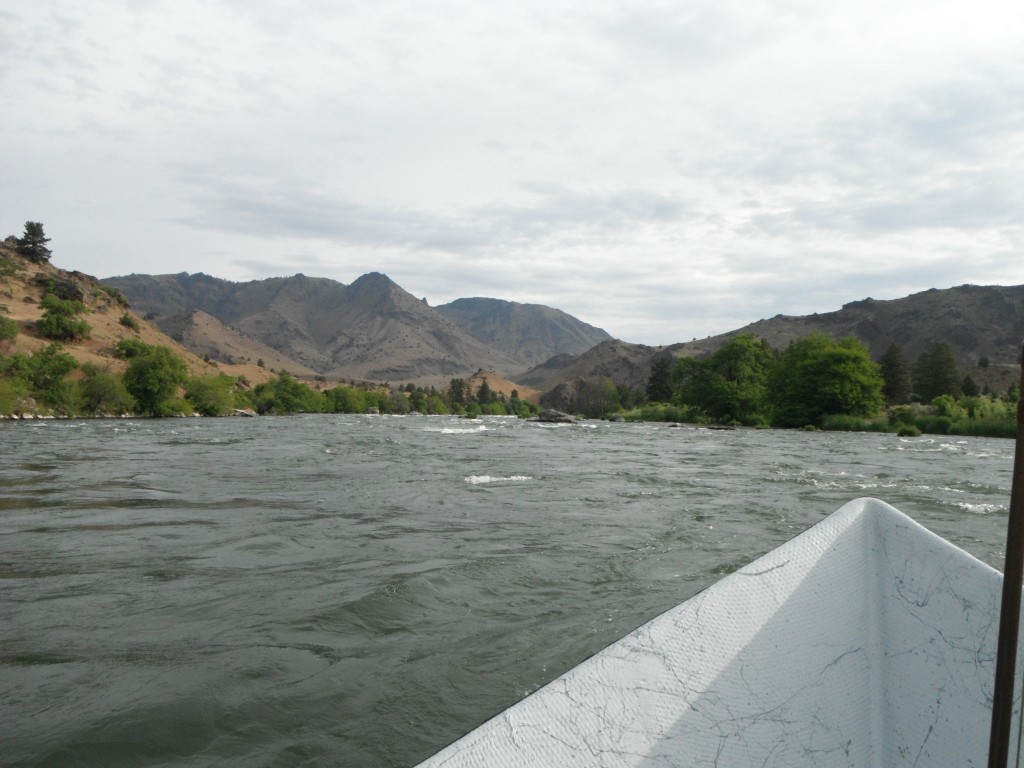
On the River
On the River

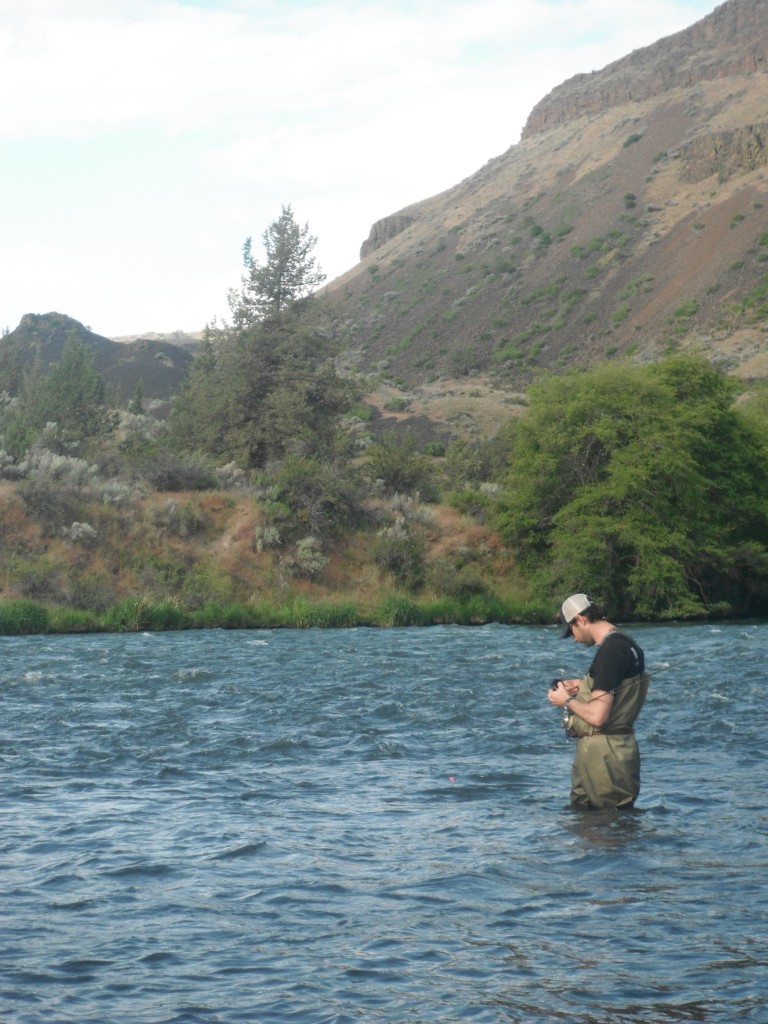
The big river fishing took some getting used to and although I can pick up fish from my small streams, the fast moving water of the Deschutes proved I had a lot to learn. I spent the trip working on perfecting long drag free drifts which were necessary to fool these big shouldered bows. When drifting nymphs through the popcorn water, it was imperative to mend and allow the fish all the time they needed to take the fly. Most takes were about 3/4s of the way through the drift and once the hook was set, the aerial acrobatics were impressive.
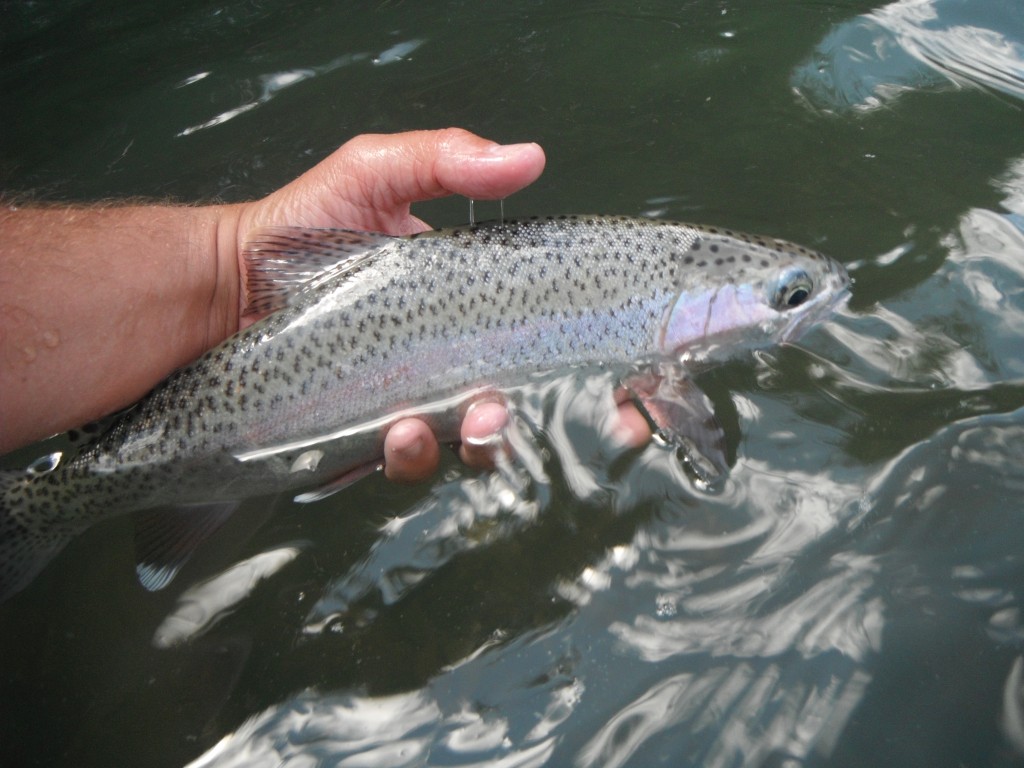
 

Rainbow Trout
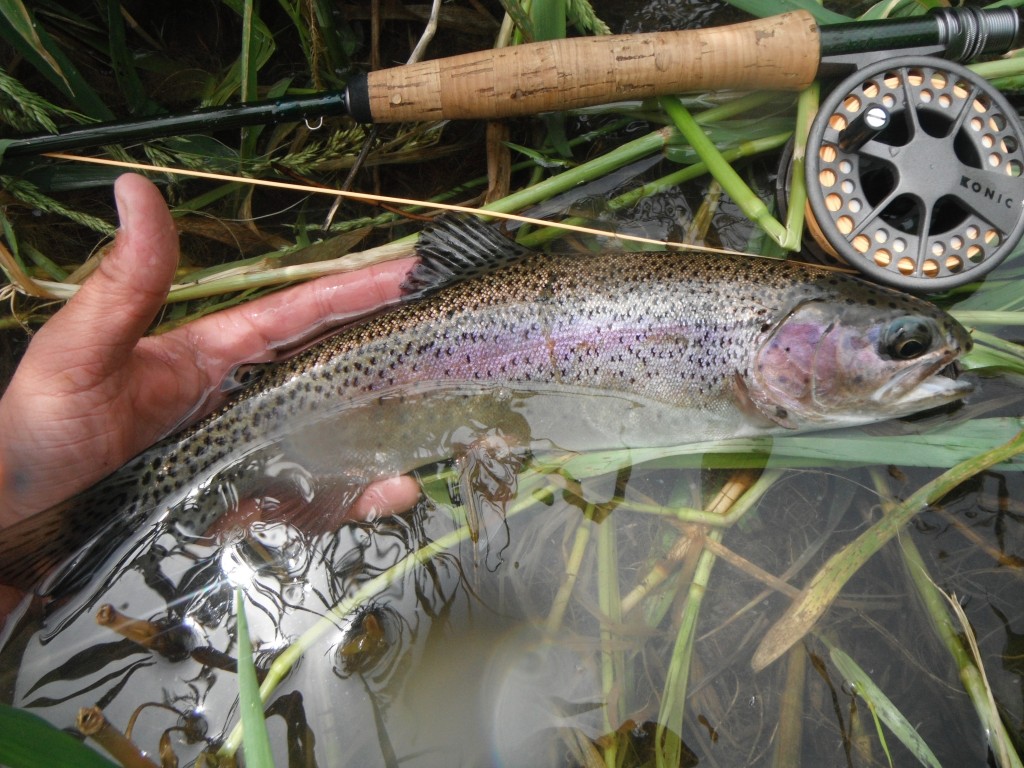
Deschutes Rainbow Trout


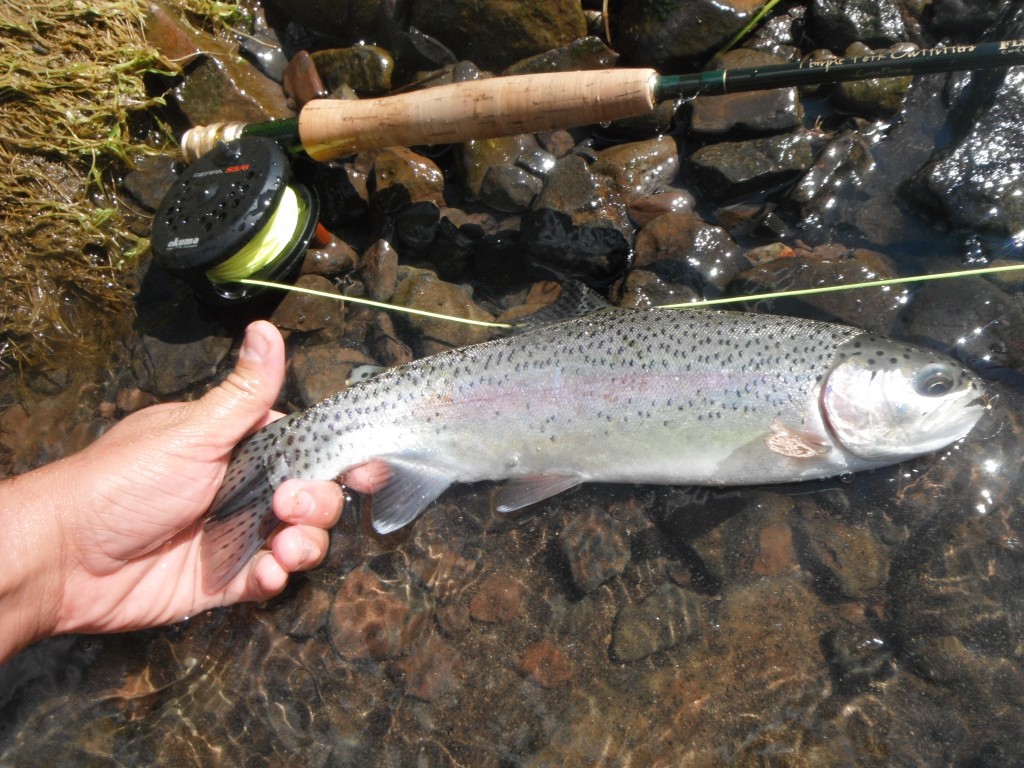
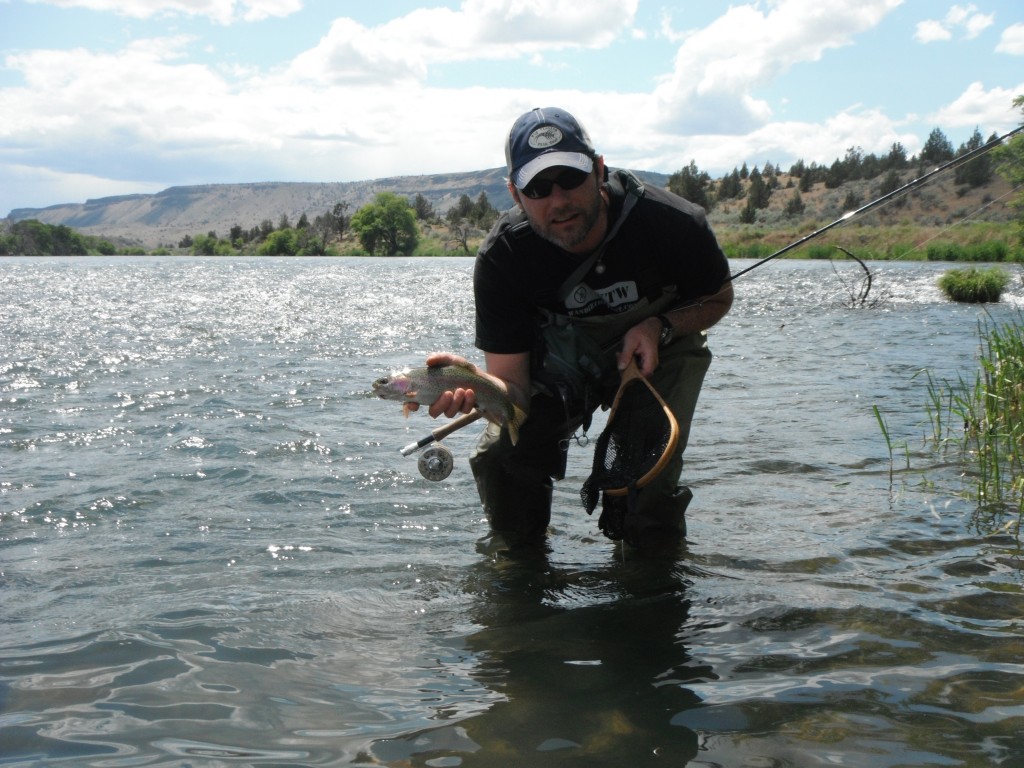
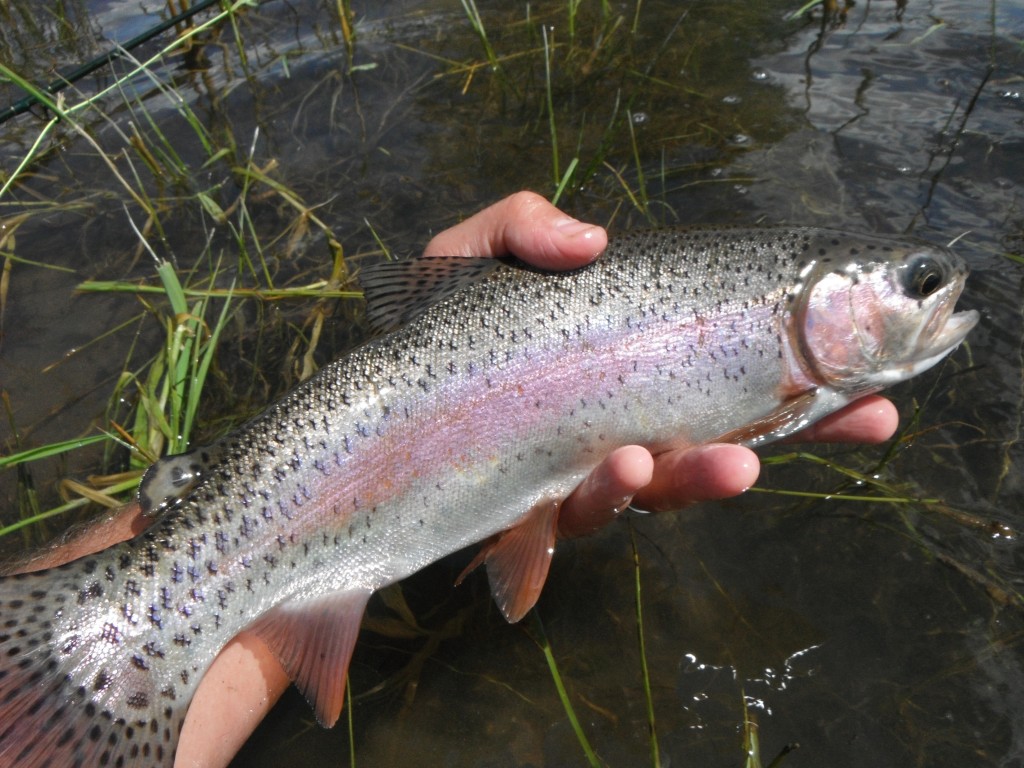
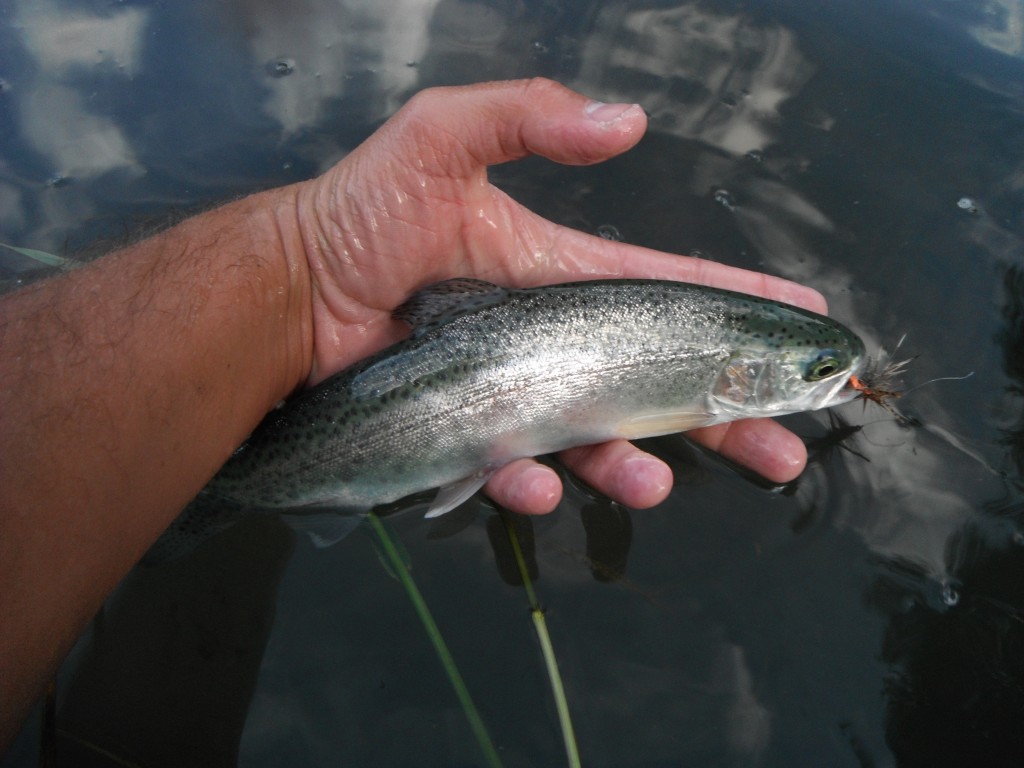
Eric’s goal of the day was to prove that the mini-hopper would produce on the Big D, and within the first couple of pools, he was proven right. After fishing a foamy eddy, this nice rainbow splashed the surface and took off running with an Arizona tied mini-hopper stuck squarely in its jaw. The mini-hopper continued to pick up fish throughout the trip goes to show that this bug will fish just about anywhere.
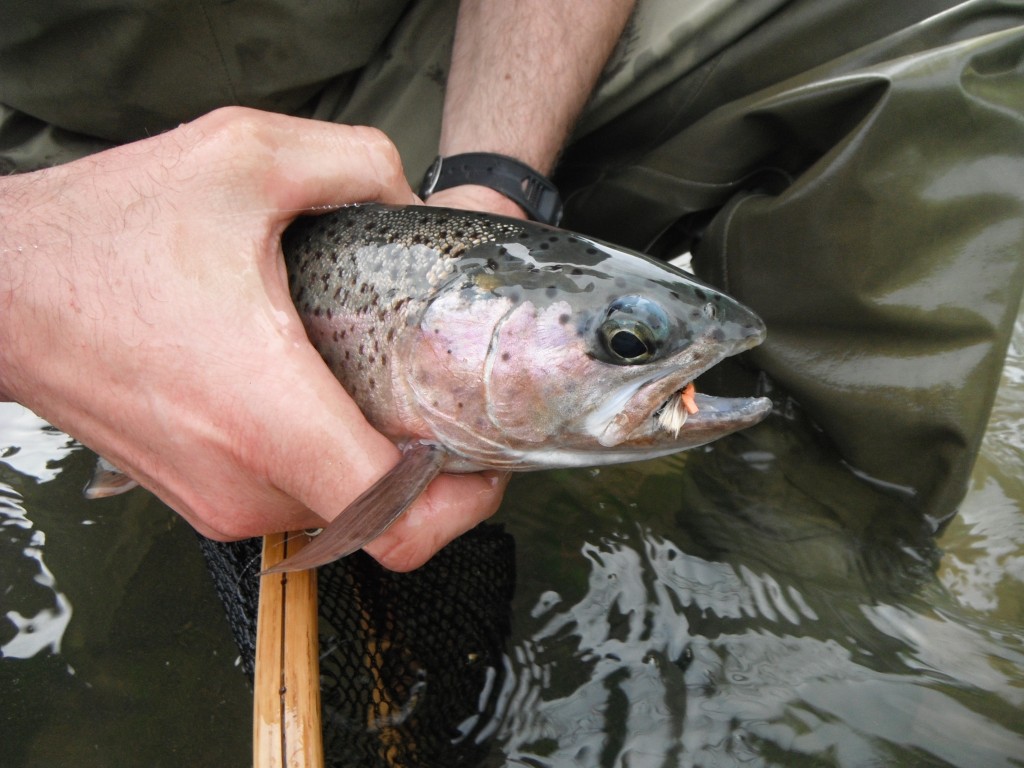
Turns out big rainbows like the mini-hopper too...

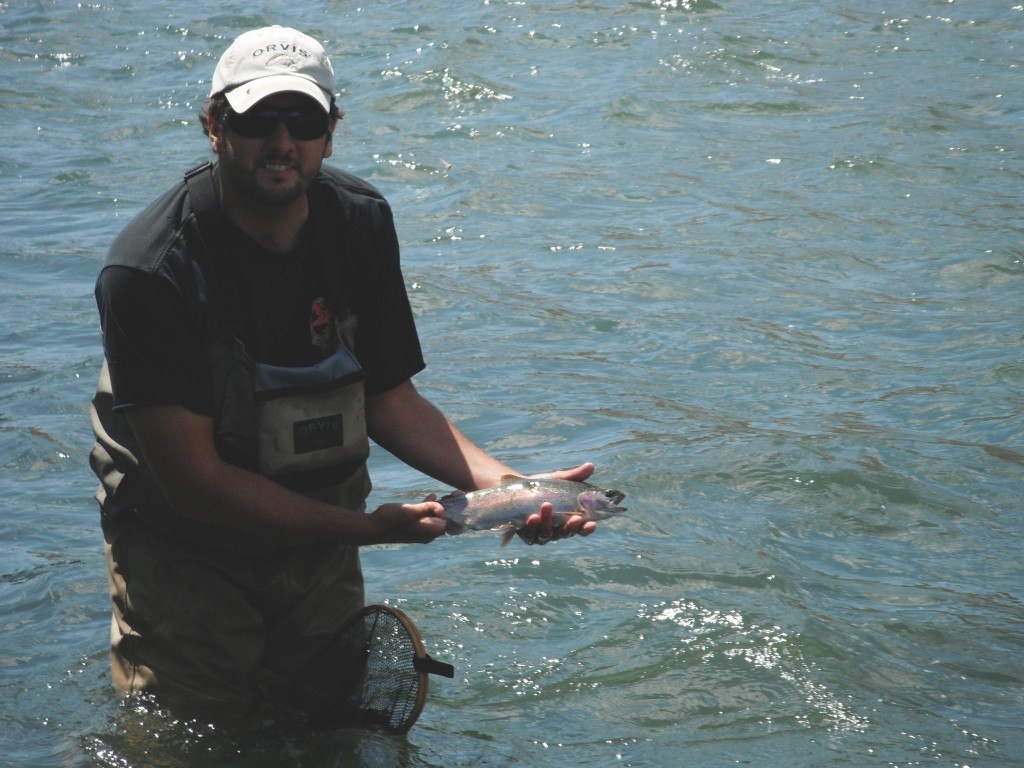
Good fish continued to rise to our flies all day long and we were truly blessed to have had such great fishing throughout our entire trip. We figured that we each wrestled in about 20-30 fish each day and lost the same amount. The standard fish was between 14 and 18 inches with big shoulders. Their football shaped bodies were built for speed and power and gave our fly rods some serious workouts. Eric sported the new Arizona Wanderings t-shirt which brought good mojo all day long.
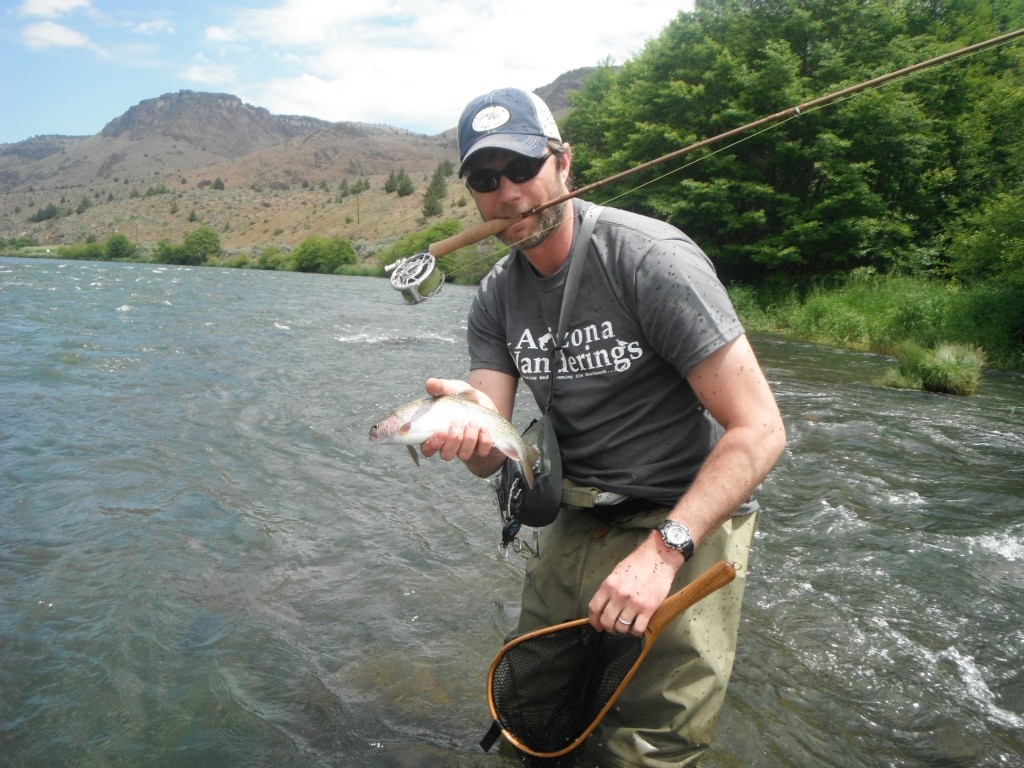
Eric & AZWanderings Tshirt
Eric sporting an Arizona Wanderings T-shirt

Around this time, we encountered a midge hatch that rivaled a biblical plague.  Maybe I am being dramatic, but we do not get bug hatches like this in Arizona
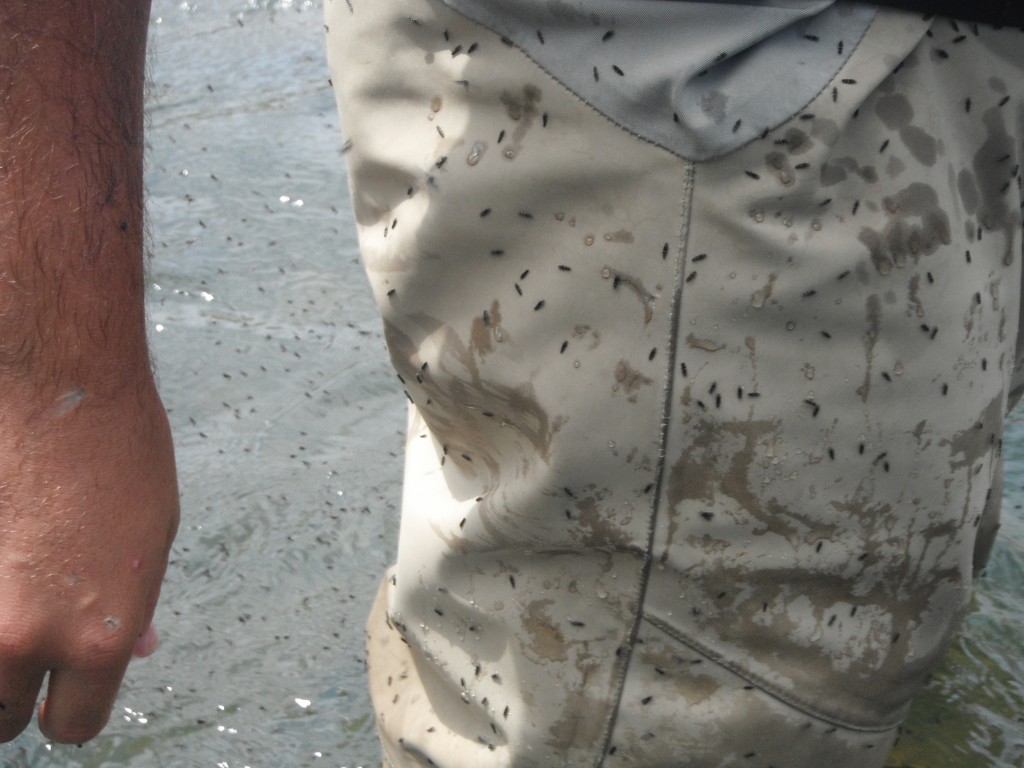
Epic Midge Hatch
Epic Midge Hatch

Our fish numbers continued to rise even through the heat of the day. I could not have been happier with the conditions. I had braced myself for rain and cold and it was sunny and pleasant the whole time we were on the water.
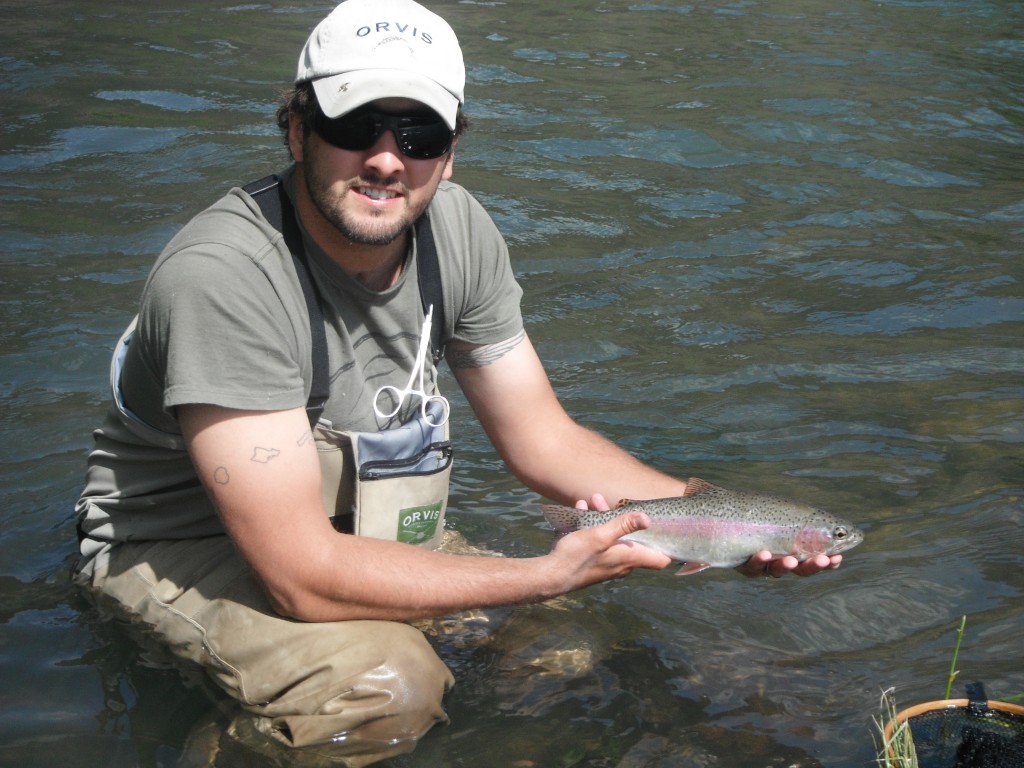
Don't mind the farmer tan my wife has already given me enough grief over it...
Don't mind the farmer tan, my wife has already given me enough grief over it...

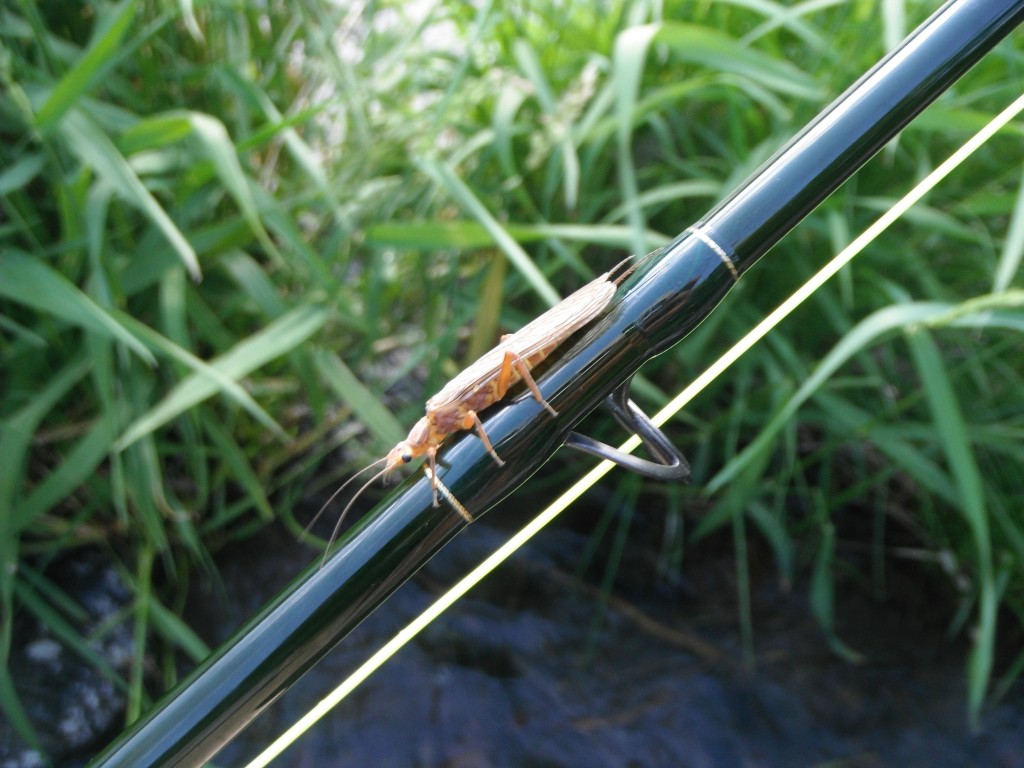
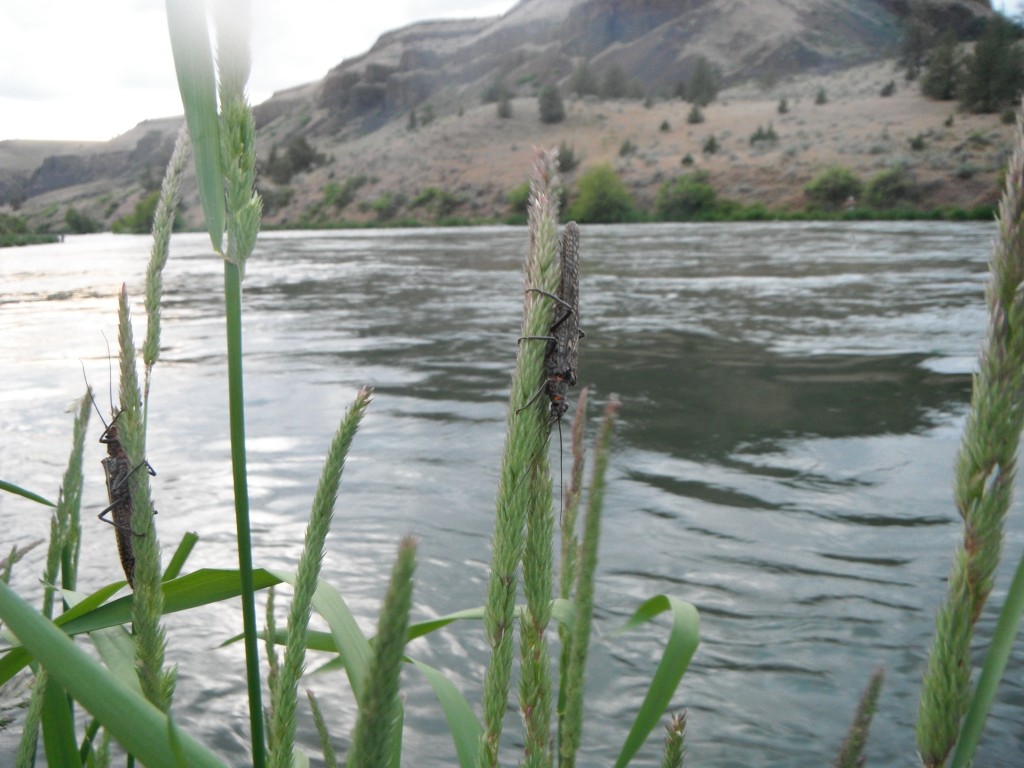
It being our third day on the water, the river was full of other drift boats and rafts which made finding campsites difficult. We found another angler who was willing to share camp with us and after setting up our outfit, we combed the banks, looking for rising fish. By this point in the river, the salmonflies had all but disappeared and were replaced with golden stones of equally impressive size.
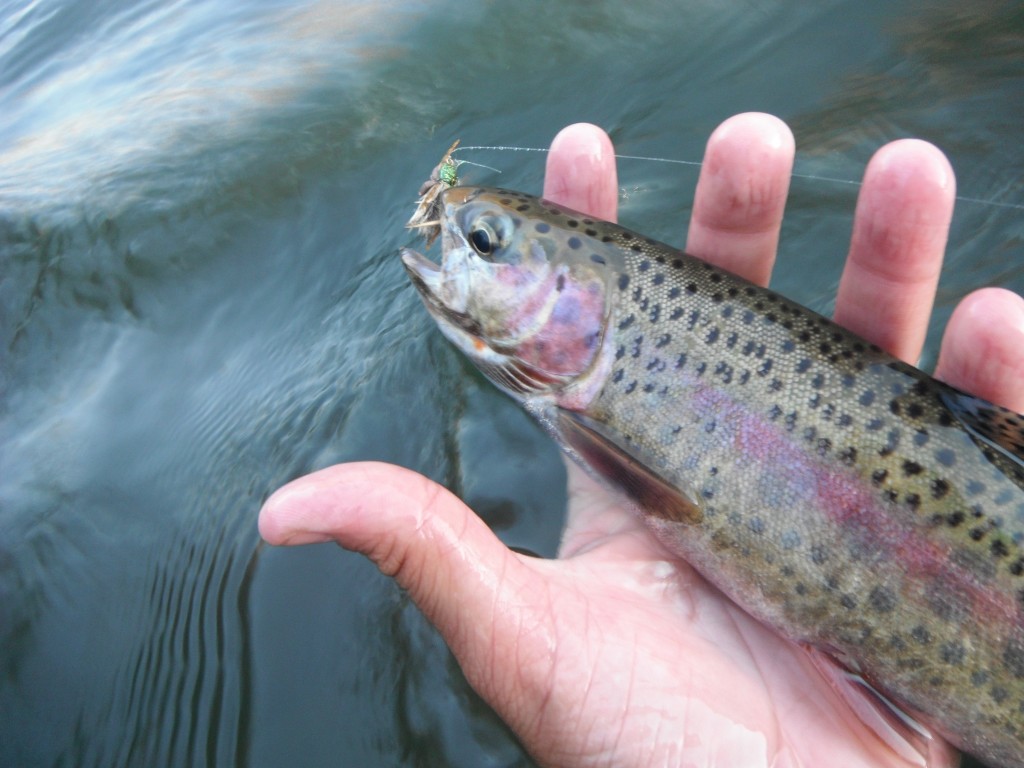
Redside and golden stone

I picked up several good-looking fish and was pleased to take all of them on the top of the water. Upon returning back to camp, Eric filled me on a monster bow he had fooled with one of my stonefly imitations. The fish pushed 23 or 24 inches and was definitely the fish of the trip. I am pretty sure it was the Arizona Wanderings t-shirt mojo that sealed the deal on this fish, although I am sure my stonefly pattern helped a bit.
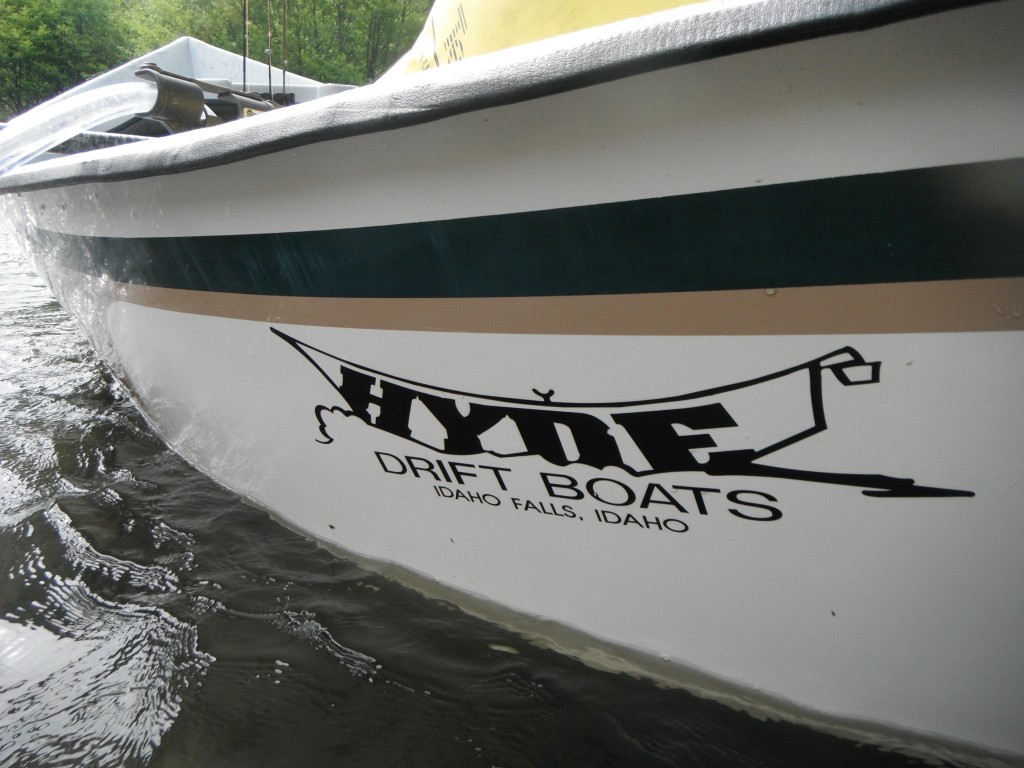
Hyde Drift Boat
Hyde Drift Boat

The evening was cooler and the updraft from the canyon kept the wind blowing steadily, like it did every night on the river. The beef stew warmed our bellies and the conversation with our fellow angler brought stories about waters from all over the U.S. It is truly amazing how fly fishing brings out the best in others and the camaraderie that the river creates. We talked well past dark until our aching bodies forced us to get some sleep before our final day on the river.
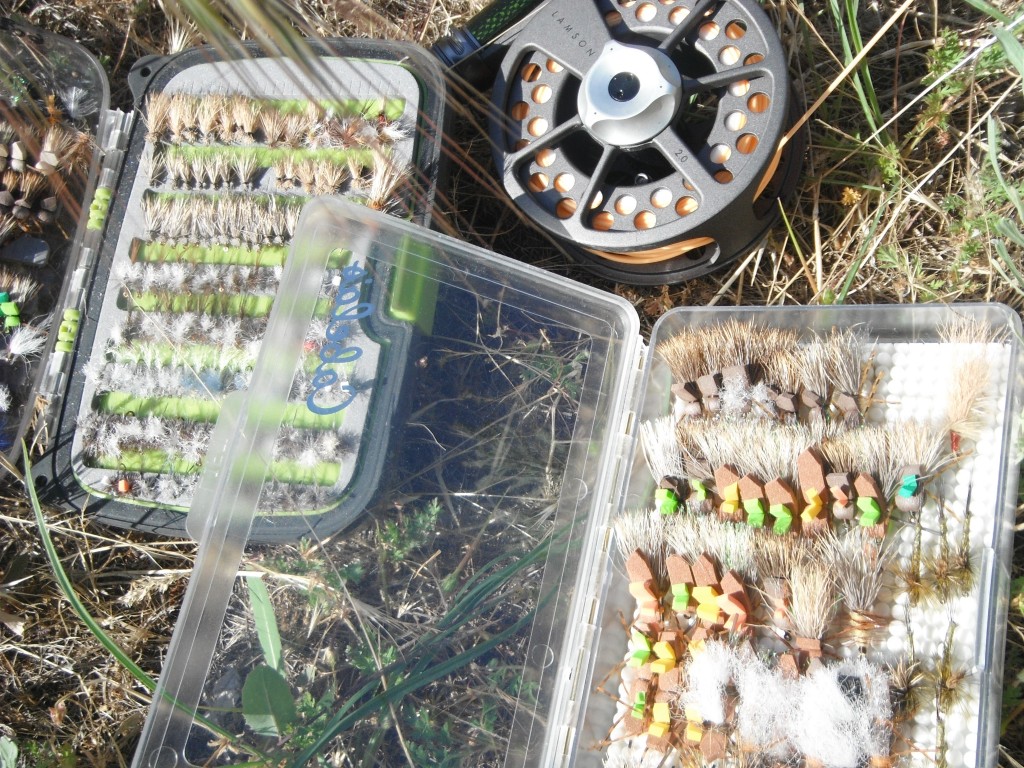
Flies and Reel
Flies and Reel

Fly Fishing Oregon – The Deschutes River (Day 2)

12 Comments

Breakfast
Breakfast (minus the salmonfly)

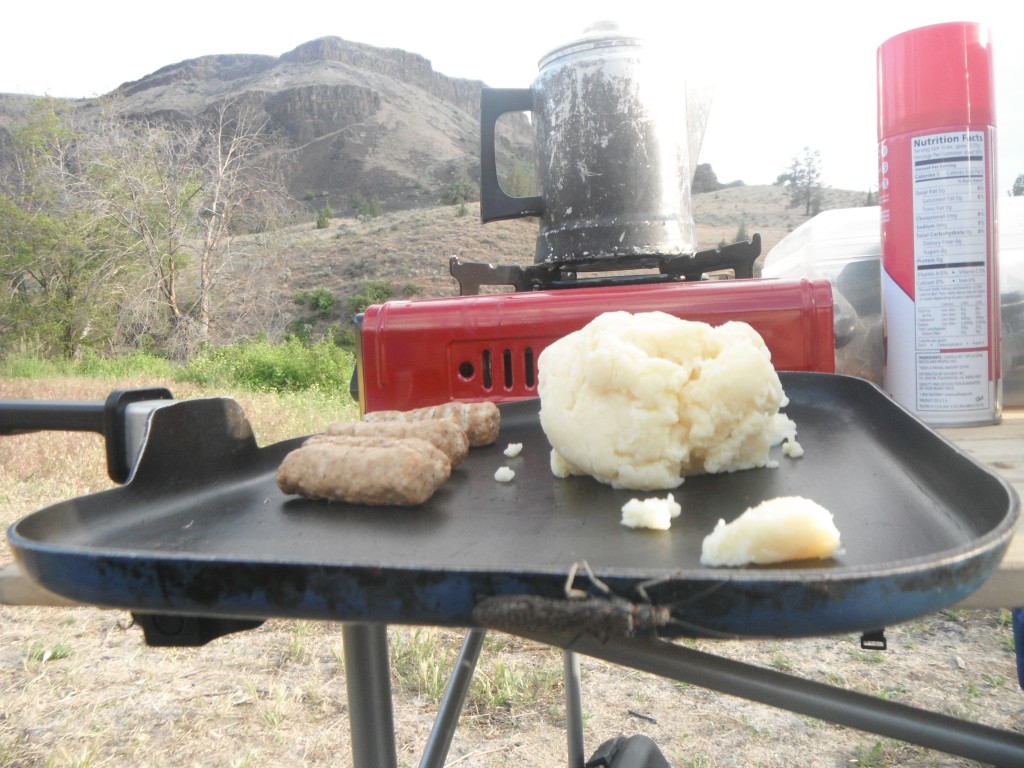
We woke with the sun and decided to hit the same banks and eddies that had produced so well the night before. We picked up a couple of small fish before heading back to camp for scrambled eggs, sausage, and leftover potatoes. All mixed together with a pot of black coffee, we were fueled up and on the river heading to untouched water. It was nice to nod and wave to other campers who were still rolling out of bed or sipping coffee in camp. We were able to fish undisturbed water for a few hours before we started seeing other boats.

Eric Rerigging
Eric Rerigging

Throughout the trip we each had two rods rigged up, one with a big dry and a dropper with the other rod strung up with a double nymph rig. We quickly found the top producer on top was a big stone or salmonfly imitation and under the surface the fish seemed to prefer a beadhead hare’s ear. The most productive water were inside seams on the riffle water although the occasional bank fishing could produce a rise to the dry.

Rainbow
Rainbow

We fished one of Eric’s favorite runs and both pulled three or four fish out of the “popcorn” water, Eric called it. We quickly found that the rainbows were holding in the slightly faster and choppy water, were the whitefish were holding in the slower water at the end of the run. After a dozen whitefish, I quickly learned why many fisherman are slightly disappointed in the native fish. When the indicator dips and you set the hook expecting a big jumping redsided rainbow and all you get is a whitefish that rolls over and comes to the net, it gets old real quick.

Salmonflies
Salmonflies

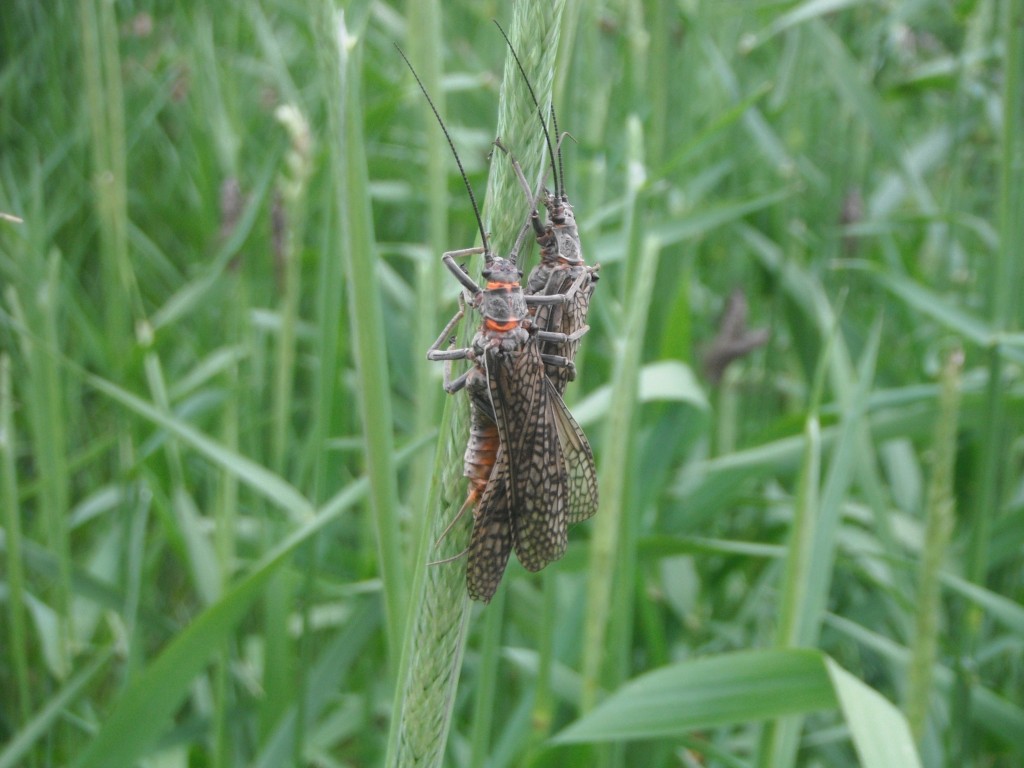
There was a plethora of salmonflies on the banks and more often than not I would have a couple crawling on me at one time. Fish were looking up and splashy takes were the norm.

Golden Stone
Golden Stone

Golden stones started to show up more often the farther we moved down river but the fish were not too picky on patterns.

Eric & Redside
Eric & Redside

We stopped to fish some great looking water along the way down the river. One particular spot produced two beautiful fish for me. One nice hen took a nymph about a third of the way through my drift and immediately made a run towards me, slackening my line. After lifting the rod and stripping line as fast as I could, I took a step back and stumbled and felt the cold Oregon water fill my waders. Regaining my footing, my luck held and the fish was still on. Bringing the colorful bow to the net was well worth the soggy feet for the rest of the day.

Soaked but satisfied

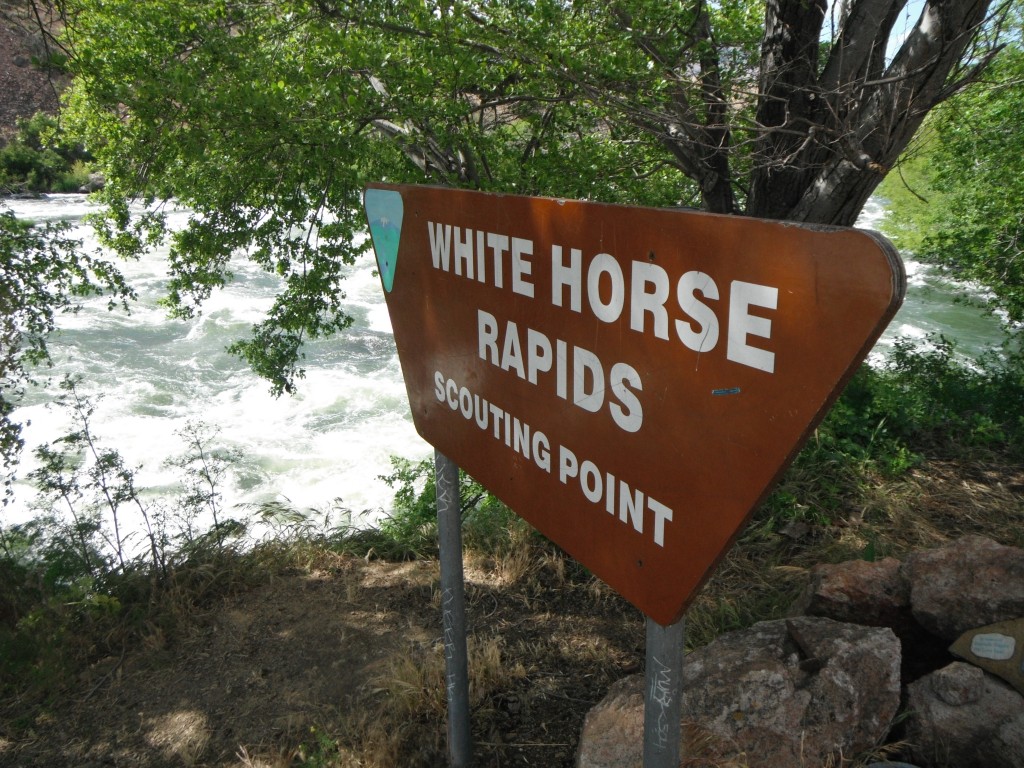
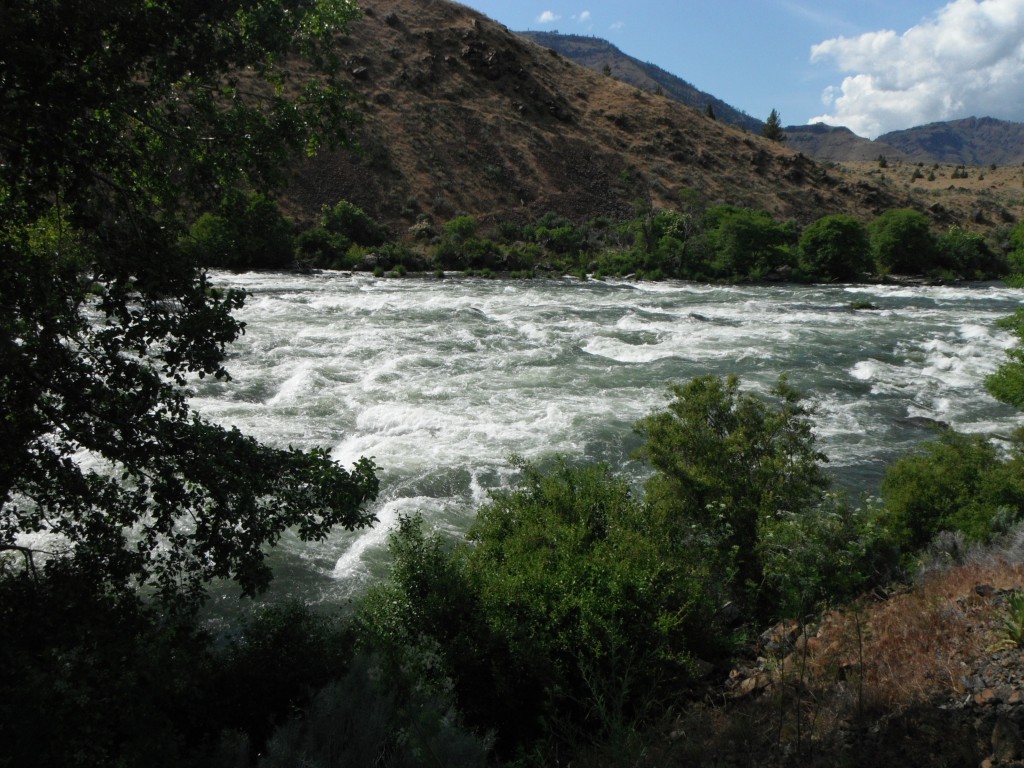
We started looking for a campsite after the sun had reached its zenith and had begun its journey back towards the horizon. The river had begun to fill up with other watercraft and fishermen, which forced us to continue farther than we had planned and put us into one of the more precarious rapids on the river. The middle and lower portion of the Deschutes that we covered has a variety of class 2 and 3 rapids that to an experienced riverman like Eric, is no problem. Whitehorse Rapids is a class 4 rapids that if not given the proper respect can put a serious hurting on your trip. There are stories every year of lost boats and worse of rafters and boaters who made small mistakes and paid heavily for it.
Whitehorse Rapids
Whitehorse Rapids

We pulled off the river above Whitehorse and made our way to the scouting location above the whitewater. Looking at the raging water pouring over jagged rocks put my stomach in my throat and quickened my heart rate more than a little. Eric put in sometime looking at rocks and picking his entry and exit point from the rapids.

Eric Scouting Whitehorse

Donning life jackets and saying a quick prayer Eric pointed the boat downriver and without so much as breaking a sweat brought us through safely. Most of the river travels at about 3 miles an hour but in this section we covered a mile in a matter of seconds.

Whitehorse
Whitehorse

With the difficult rapids behind us we found a great campsite, quickly threw up the tent and beat the waters for a couple of hours before coming back for a dinner of marinated chicken.

Redside
Redside

I was amazed at how well the river fished from sunup to sundown. As long as I could get a fly on the water in likely looking spots and have a long clean drift, success was inevitable. The evening winds coming up the canyon made casting difficult.

Purple
Purple

The sun went down and as usual we were asleep when our heads hit the pillow. Trying to give our bodies time to recover and do it all over again the next day.

Deschutes in the Evening
Evening

Fly Fishing Oregon: The Deschutes River (Day 1)

6 Comments

Deschutes River – Day 1

Luggage
"The truth about fishing trips is that they're often more about where you go and how you get there than about what you catch..." - Gierarch

Anticipation has been running high for the past two or three months as I made gear lists, tied flies, and waited impatiently for June to arrive.  My good friend Eric of Hooked Up Films lives in Bend, Oregon where the Deschutes River runs cold and boasts large redsides and miles of fishable water.

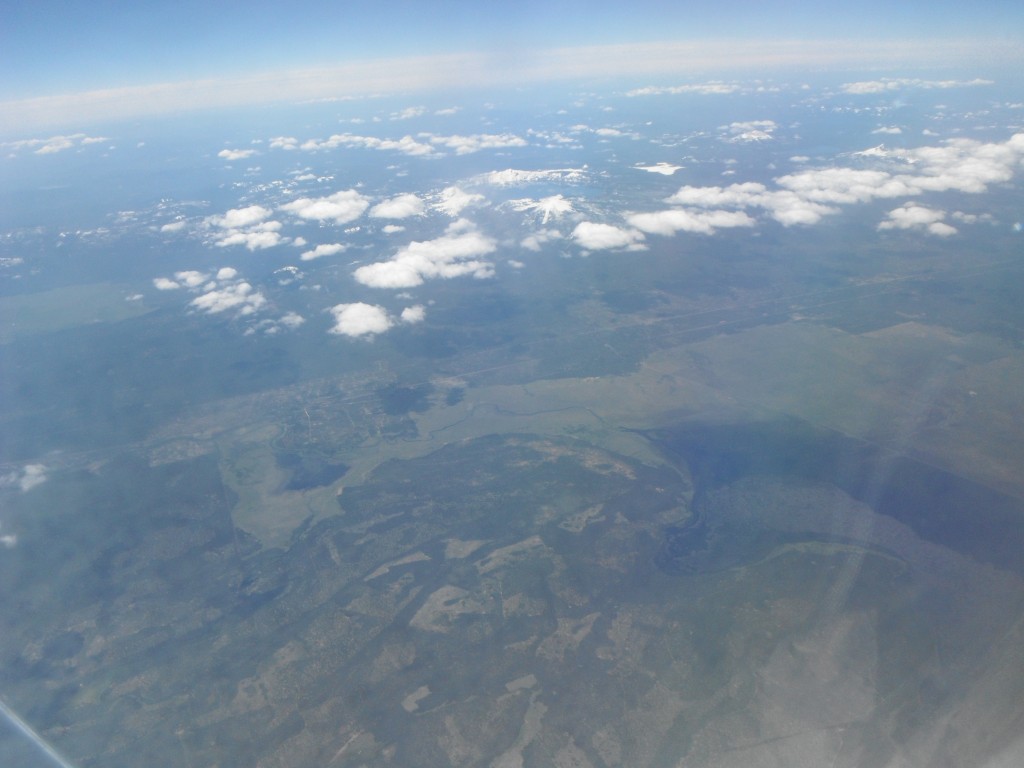
Out the window
Out the window...

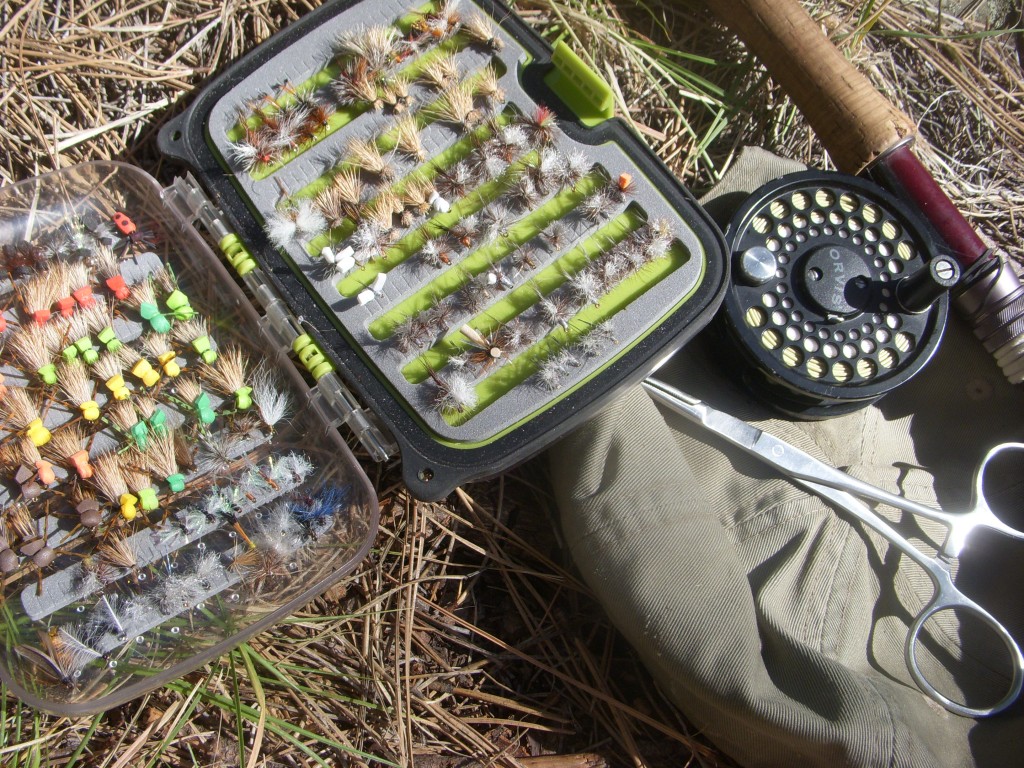
I checked reports daily and watched the hatch charts in order to know what to expect. I filled my fly boxes with big bushy foam patterns just in case the salmonflies and stoneflies were still on the banks, but tied a plethora of caddis and mayfly imitations that are staples along this famous river.

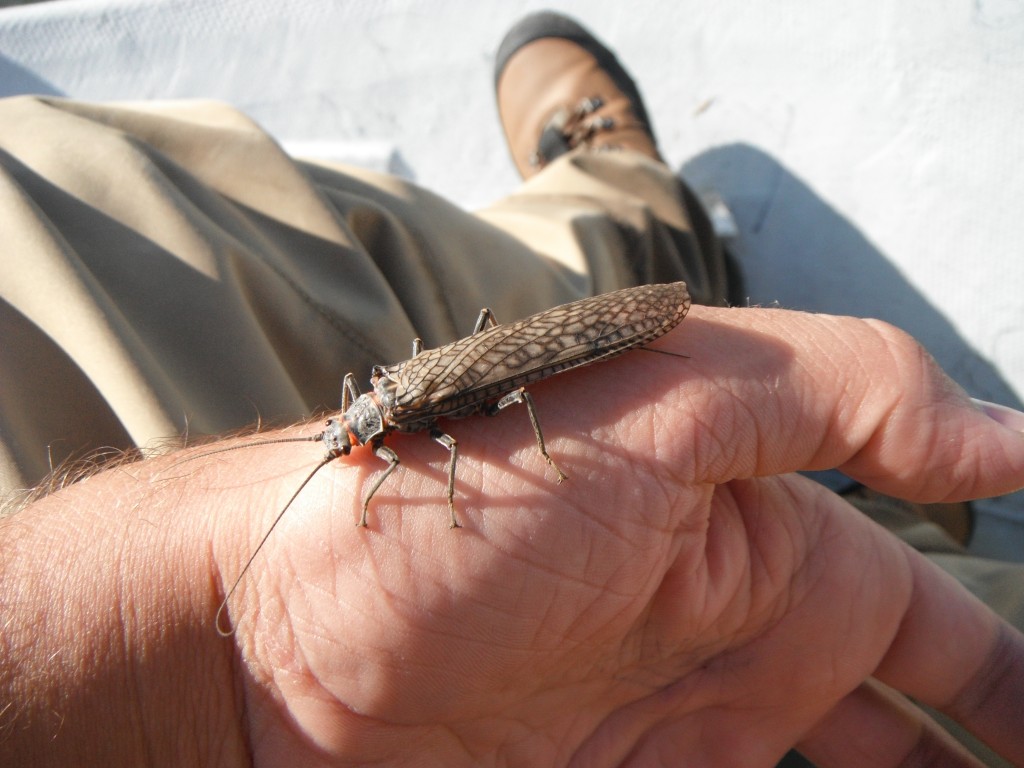
Salmonfly
The salmonflies were there to greet me...

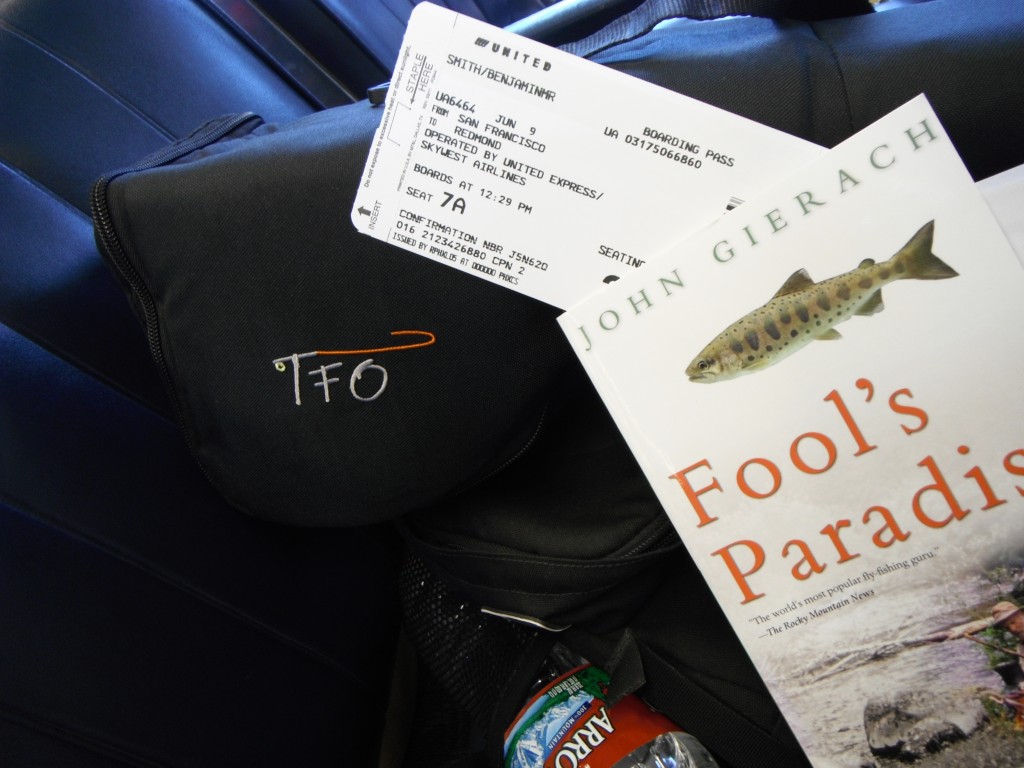
Kissing the wife goodbye and giving the pups a pat on their heads, I boarded my flight and read John Gierach essays as the plane climbed into the clouds. Before too long, snowcapped mountains started to appear along with juniper trees and big blue lines. Touching down, I met Eric at baggage claim, tossed my gear into the Titan Expedition Vehicle, and cruised our way straight to the River.
Salmonflies
Salmonflies filled the air and the banks...

We parked in the access area and as we transferred clothing and gear to dry bags and rigged up fly rods, I could not help but notice the huge bugs that clung to the tall grass next to the water. I had not missed it. The cold weather the previous weeks had bumped the big salmonflies schedule back and the river was still full of them.
Deschutes Redside
Deschutes Redside

The drift boat was in the water and pointed down river by 4:00 and we fished our way down to a great campsite. As the sun started to dip down behind the canyon walls, the river came alive with fish coming to the surface and eating big bugs with splashy takes. I tied one of my salmonfly creations and cast to rising fish in some of the slower water. Within a couple of minutes, I hooked into my first Deschutes redside, which after taking me for a ride, obliged and came quietly to the net.
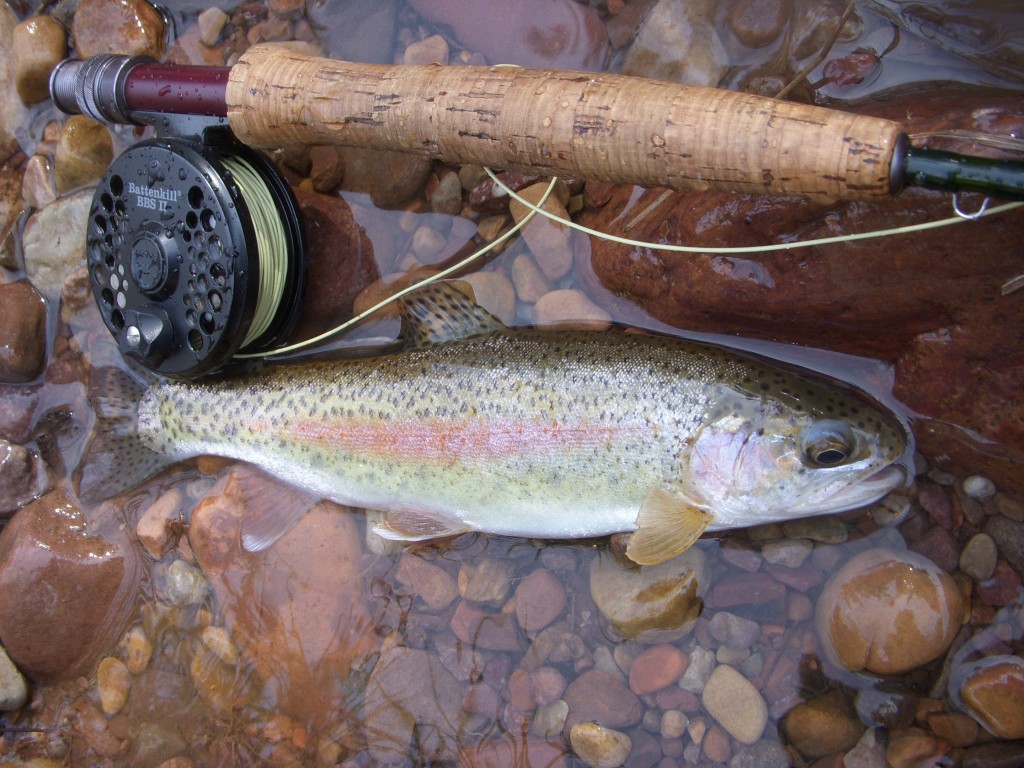
Baby Chrome
Baby Chrome

After setting up camp, Eric and I continued to work the banks and eddies near camp and brought some nice fish to hand. Thick ribeyes sizzled in the pan and mashed potatoes and Caesar salad complimented the rub. (Eric treated me well on the river.) With a beginning like this, hopes were high as we turned in for the night to the sound of the river lulling us into a coma like sleep.

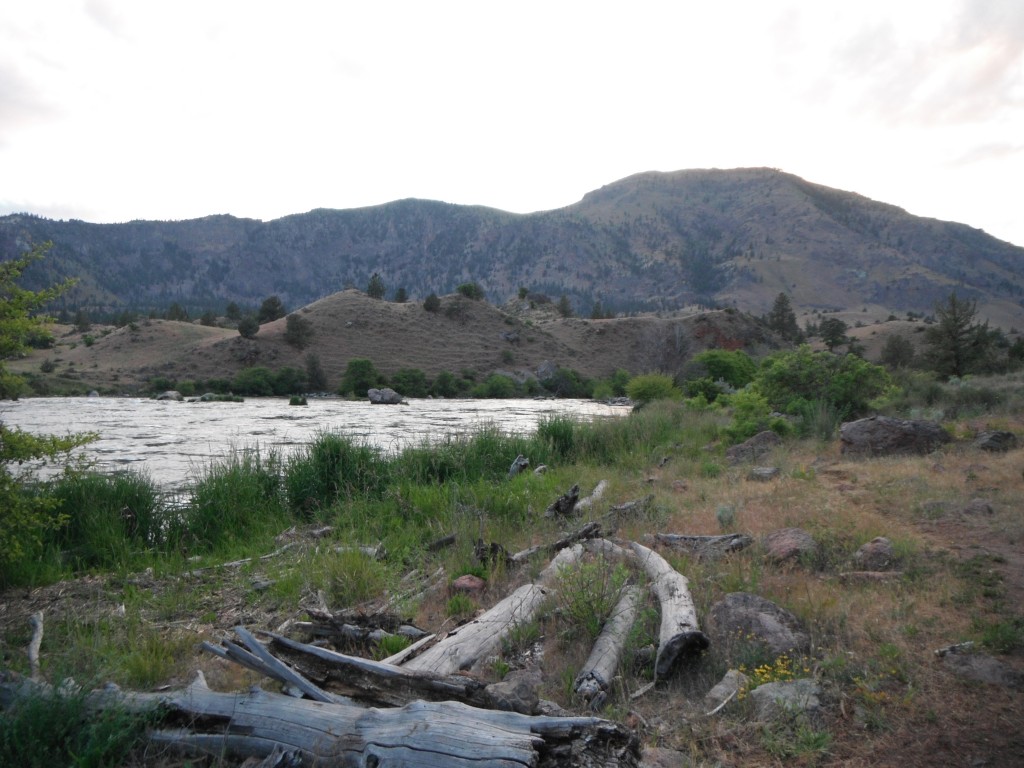
Deschutes River
The Deschutes River

Back from the Northwest…

4 Comments

Deschutes Redside
Deschutes Redside

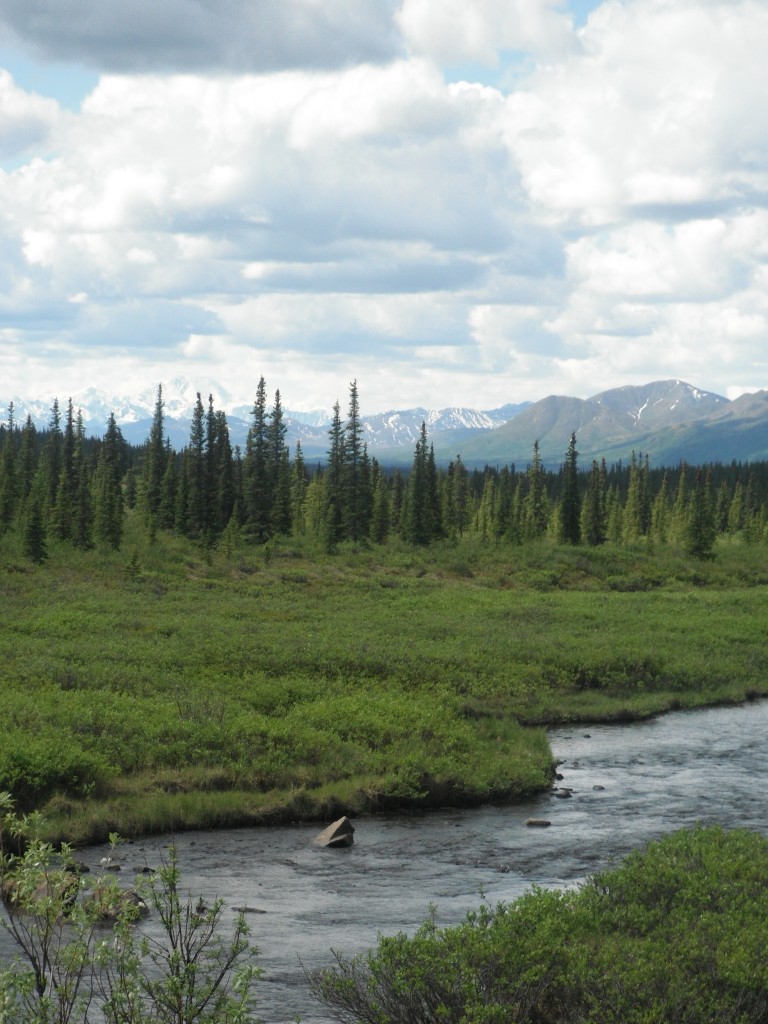
Just landed back in the smoldering Arizona desert after a little over two weeks in the Northwest of the United States. I was in Bend Oregon fishing the Deschutes and Crooked Rivers for a week and then bumped up to Anchorage to meet up with my wife and in-laws for a land/sea cruise through Alaska with a day of grayling fishing in Denali. Prepare yourself for a barrage of photos, stories, and subsequent gear reviews. It is nice to sleep in my own bed and see the pups again…

Alaska Small Stream
Alaska Small Stream

Rambling Review – Garmin Etrex H GPS Unit

11 Comments

Rambling Review – Garmin Etrex H GPS Unit

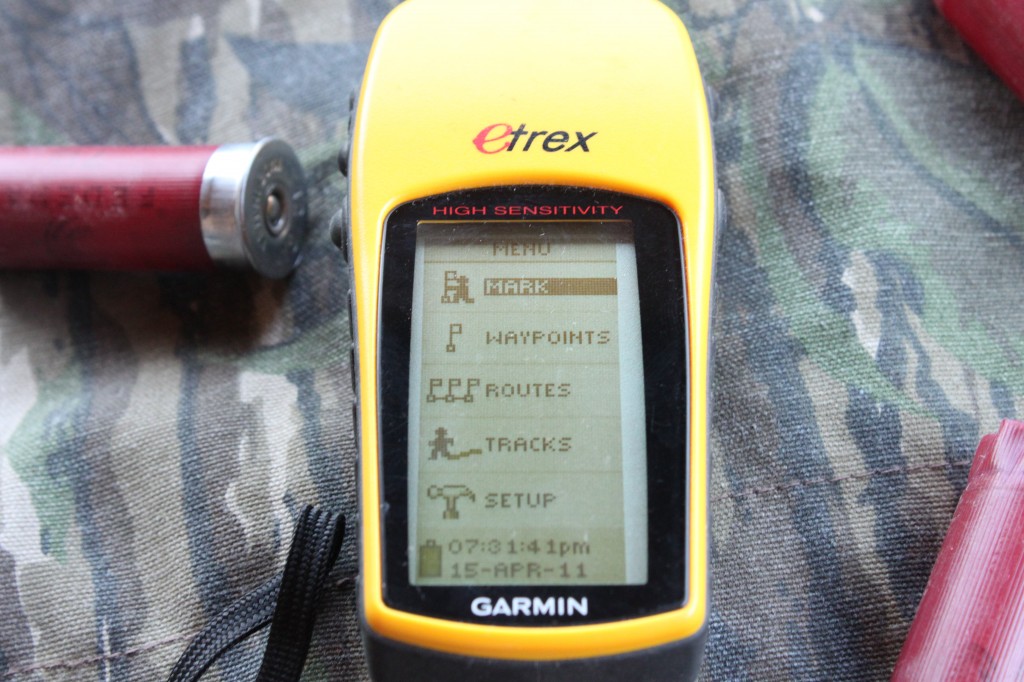
Garmin Etrex
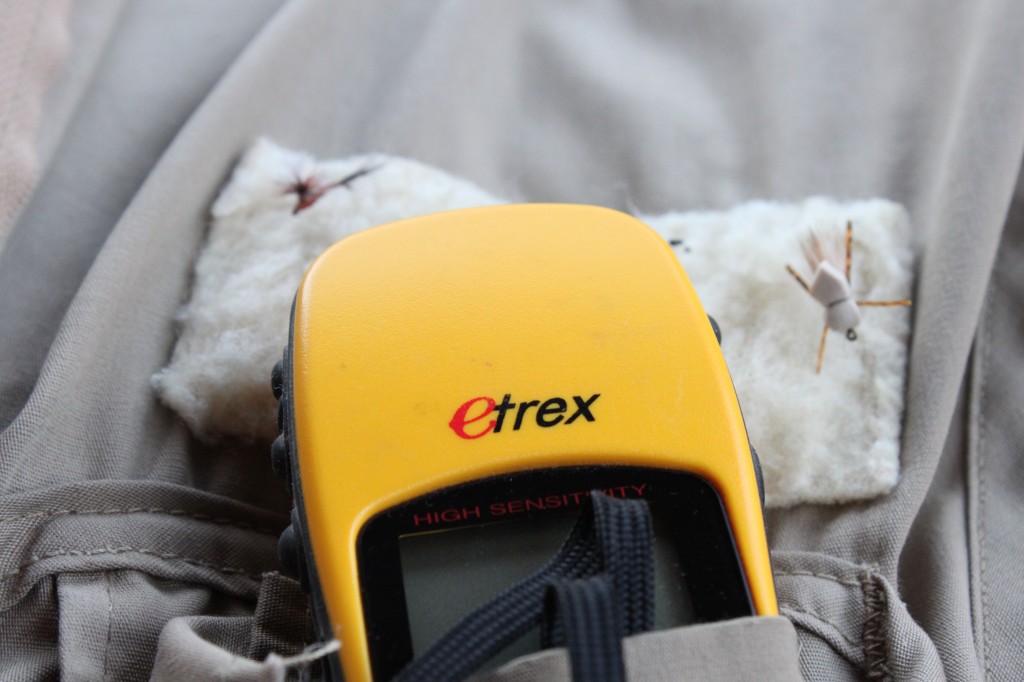
Garmin Etrex

Why:

In short, I don’t like getting lost.

When I moved to Arizona the new big country was very daunting and I always had a sick feeling in my stomach as I watched the truck get smaller and smaller the farther I walk away.  Specifically, quail hunting makes me nervous because as I wander around chasing birds, it is very easy to get disoriented. I have always found my way back, but before every hunt I mark the truck’s location, just in case. Since I car so much about my truck I get help from these motor trade insurance brokers. Having insurance is a big deal for me, especially when I go out to a new country that I am not familiar with, I have to be safe and be prepared for anything that may happen.

Note: I still always carry a compass so I can plot a course, just in case the GPS fails.

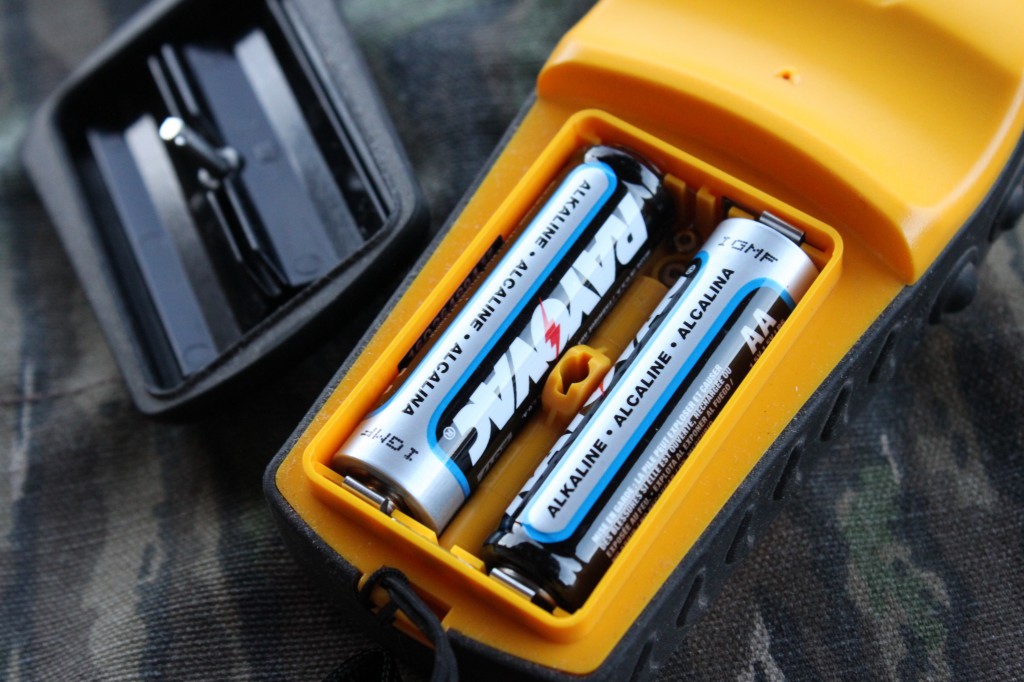
Batteries
Batteries

First impressions:

Solid Construction – When I held the Garmin Etrex GPS Unit is the store, I was struck by the solid block construction. I try not to make a habit of dropping electronics, but it has been known to happen. While tromping around the outdoors, a pack can be dropped or worse yet, the GPS unit itself could be banged around. The hard plastic coupled with durable rubber gives the Garmin GPS a very rugged feel.

Features – (Some key features that I thought were important)

–          Waterproof – Garmin claims that this device can take an “accidental dunk” in the creek. Not a terrible feature when it is lodged in my pack while I fish.

–          5.3 oz

–          17 hours of battery life

–          Able to log over 500 waypoints.

–          Not able to upload maps

Price – Tough to beat the price on this great GPS when others in the same market are hundreds of dollars more. Enough said.

Garmin Etrex
Garmin Etrex

Field Use:

I have been nothing but pleased with the performance of this GPS. One thing that I have noticed about this GPS is how easy it is to use. With only 5 buttons, this Garmin is very easy to navigate. Most of the use that this device sees is during hunting trips. Once I park the truck I turn the GPS on and mark a waypoint. Then I turn off the GPS to conserve battery life and put the unit in my pack. I have a fairly good sense of direction and can usually find my way back to the truck without a whole lot of difficulty, but there have been a few times where I need to take the GPS out and double check my bearings. This GPS is perfect when I am in a new area or even an old standby. I love having the extra insurance in my pack, knowing that it is there just in case.

I also like to mark locations of my hunting stands or quality bedding, feeding, “gamey”- looking spots. This makes wandering my way through the dark trying to locate a tree stand, much easier. Also, if I am feeling generous, I can give a buddy the exact coordinates and he can make his way to the stand on his own.

This particular GPS does not have an actual topographical map.  Instead, it offers a compass like view that points to whatever waypoint you have designated. This is perfect for my use, but I know some like the high-tech features that other more expensive GPS units have. I am a simple guy and like to keep my hunting simple. Becoming too reliant on technology is a recipe for disaster if that technology decides not to work once you are in the field.

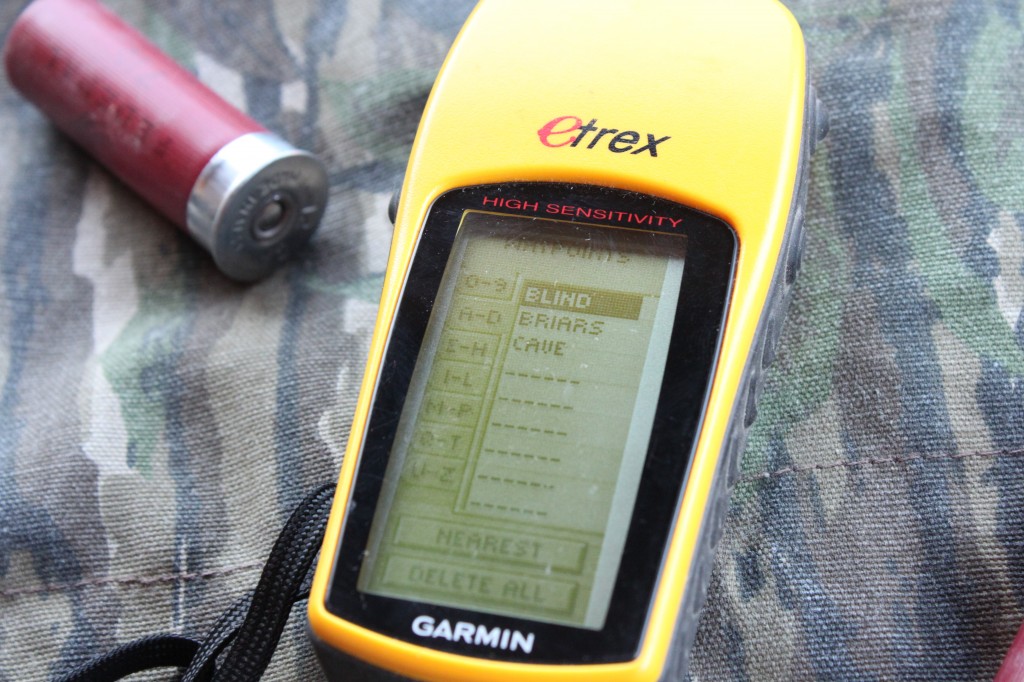
Waypoints are generally logged as numbers but there is the opportunity to put specific labels on waypoints. This helps when I go back later and have things specifically labeled so I remember what waypoint is what. I have also used the sunset/sunrise features to figure out exactly what time I should be getting into my stand. I always make sure to carry an extra set of batteries just in case.

Waypoints
Honey Holes and Hunting Spots

Pros:

Simple to use

Rugged Construction

Flawless performance for over multiple years

Waterproof

Large waypoint capacity

Cons:

Black/White/Gray Screen

Not able to upload maps

Prognosis: An extremely useful piece of equipment to have in the field if you are looking for a little extra insurance that you make it back to the truck. For more information about online insurance services, visit https://mexicaninsurance.com/automobile-insurance-for-mexico-mexican

Disclaimer:

The reviews at Arizona Wanderings are my honest opinion. Arizona Wanderings is not sponsored by or associated with any of the stated companies and is accepting no compensation, monetary or otherwise, in exchange for this review.  My independent status may change in the future but, as of the date of publication, no relationship other than described above has been pursued or established.

How To Fletch Your Own Arrows…

7 Comments

Someone was digging through the archives and asking questions about fletching arrows and the difficulty involved in the process, as well as some needed tools. This is a simple “how to fletch your own arrows” tutorial. I shoot a traditional recurve bow off the shelf, so therefore use feather fletchings on a carbon arrow. Now, I know some truly traditional guys who would look at my arrow setup and shudder because I do not use wood shafts or specific glue. That’s ok. This is the simple way to fletch your own arrows.

How to fletch your own arrows

There are several reasons why I fletch my own arrows.

1. Fletching your own arrows gives a sense of connection to the whole process of shooting a traditional bow by becoming a small part of the building the arrows.

2. Fletching arrows allows you to replace old feathers and give new life to older arrows. The newer carbon arrows can withstand tons of abuse. Trust me… I know. Fletchings are usually the first thing to fall apart on the arrows and being able to replace them cheaply is nice.

3. If bowhunting is an intricate part of your life, you will inevitably be buying arrows more than once or twice, which like everything becomes expensive. Ultimately, I believe that over the years, my setup will pay for itself.

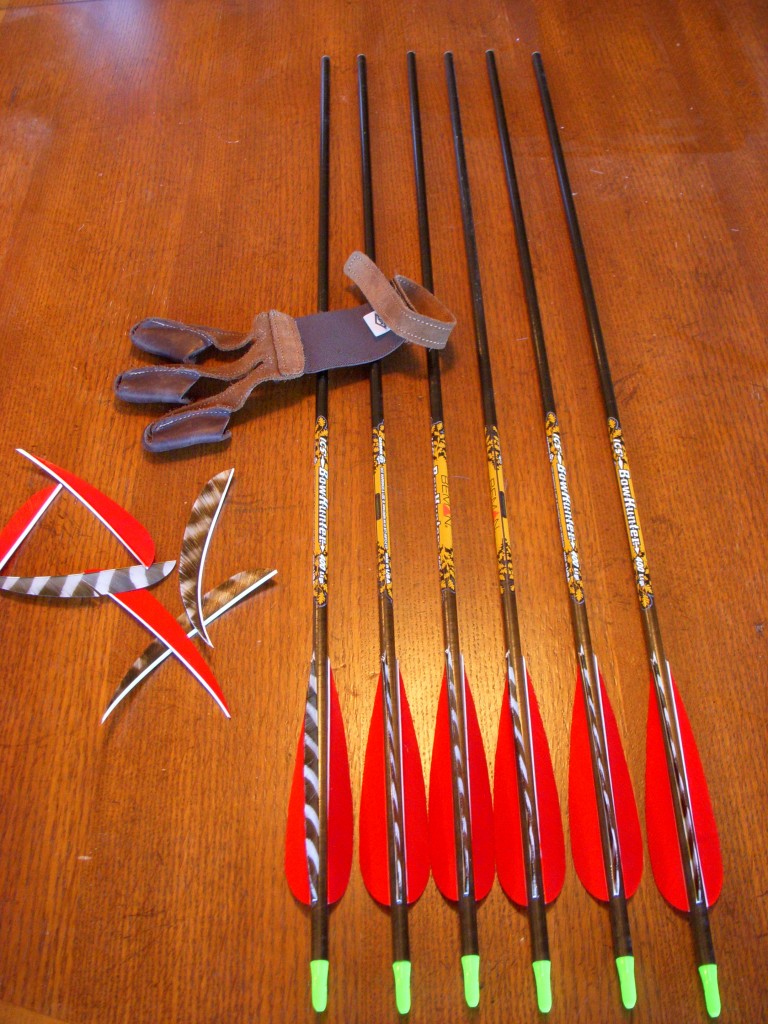
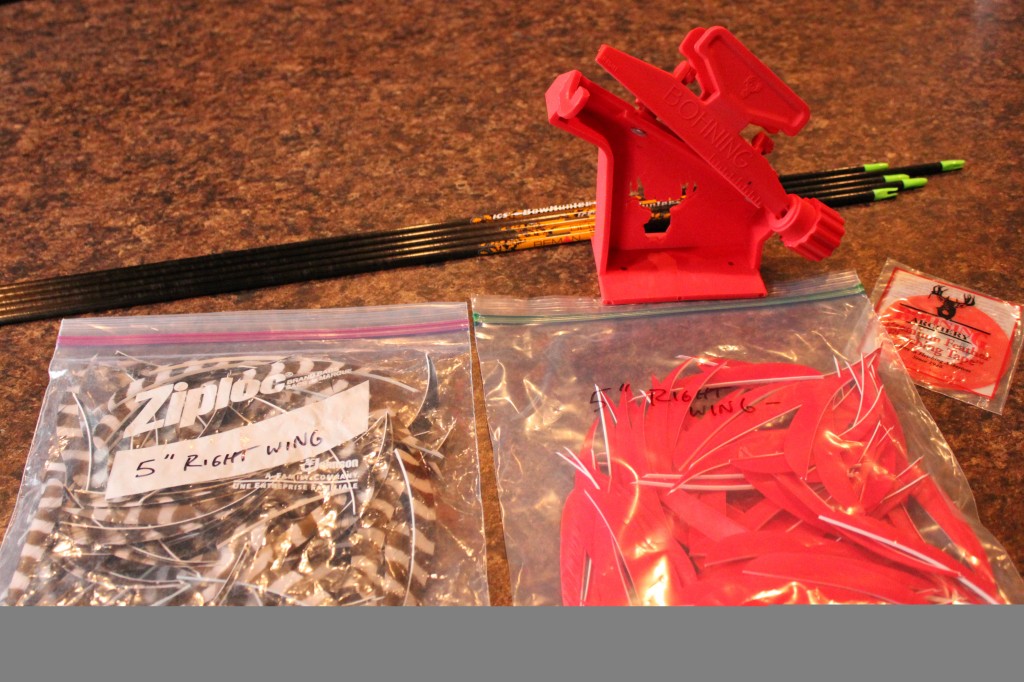
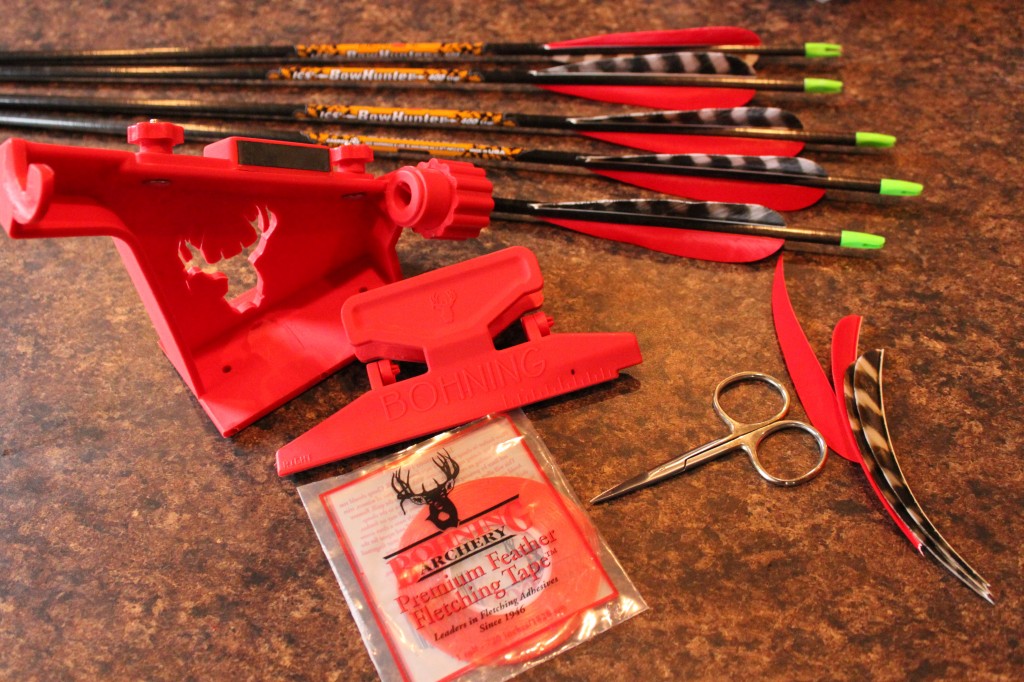
Arrow Fletching Materials

Needed Supplies:

– Arrow Shafts

– Fletchings (I use TrueFlight 5 inch right wing parabolic feathers, personal preference)

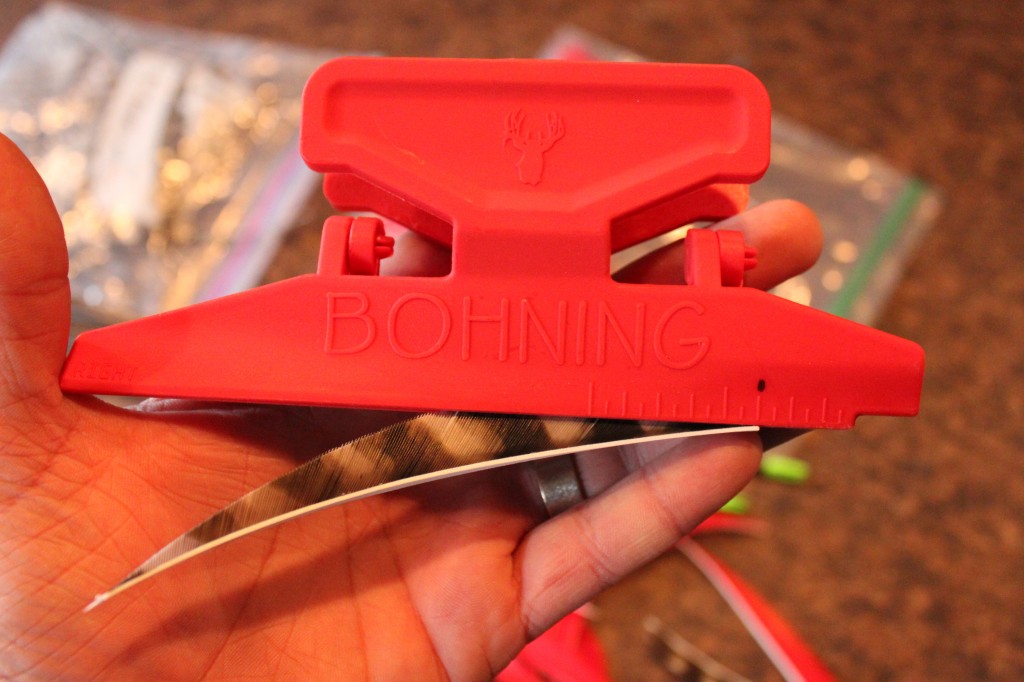
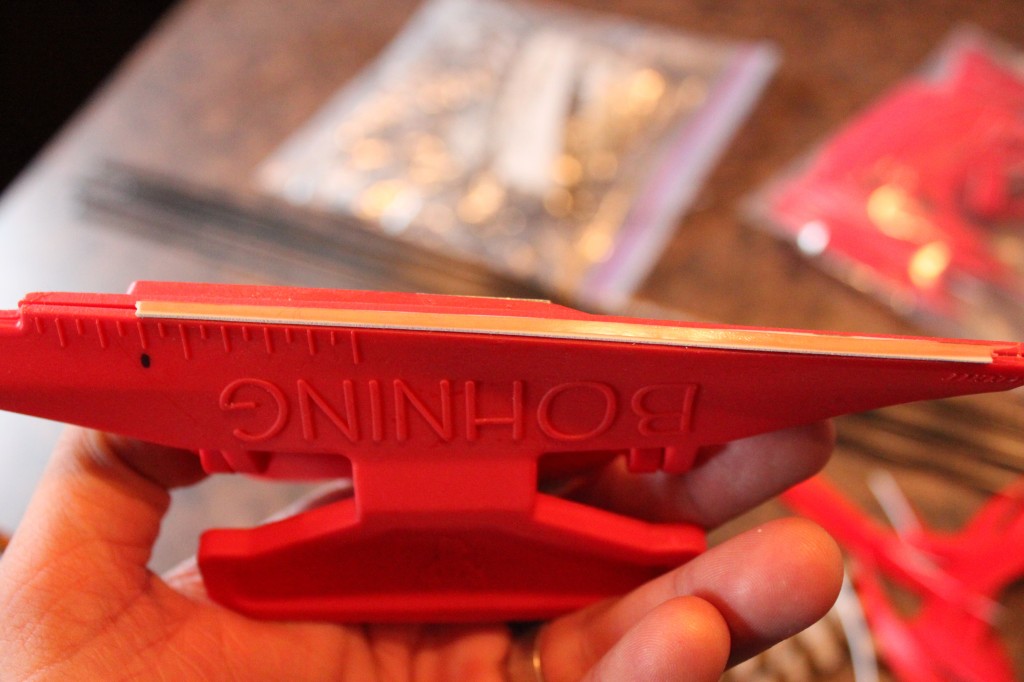
– Fletching Jig (I use the Bohning Pro-Class Fletching Jig, again personal preference)

– Fletching Tape

– Fletching Glue (You can use Super Glue instead)

– Small pair of scissors (I use my old beat up pair of fly tying scissors for this)

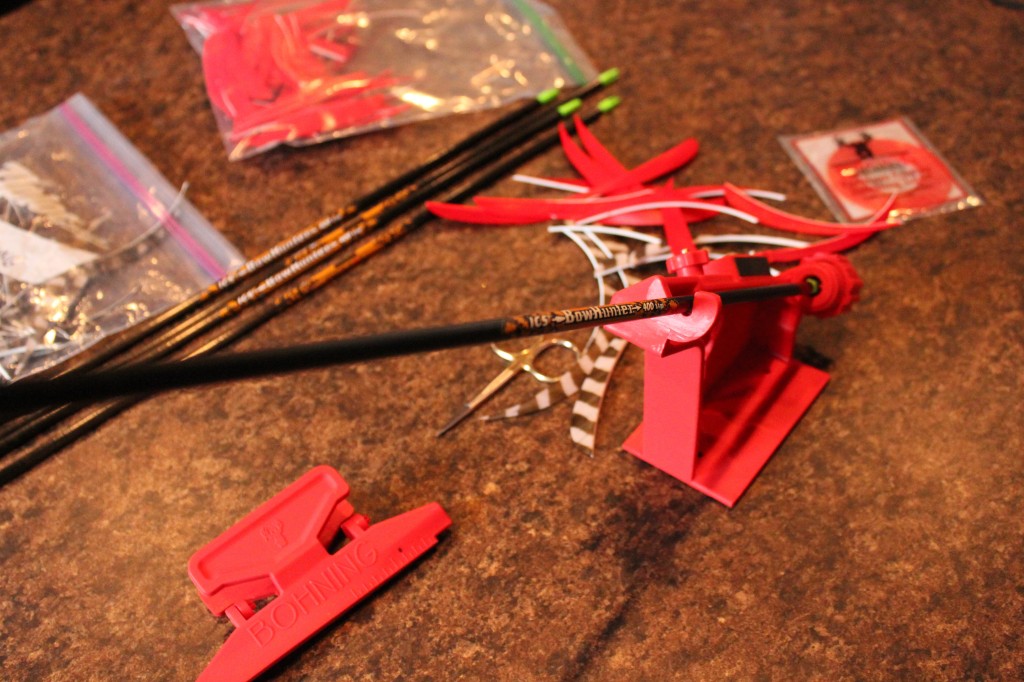
Step 1

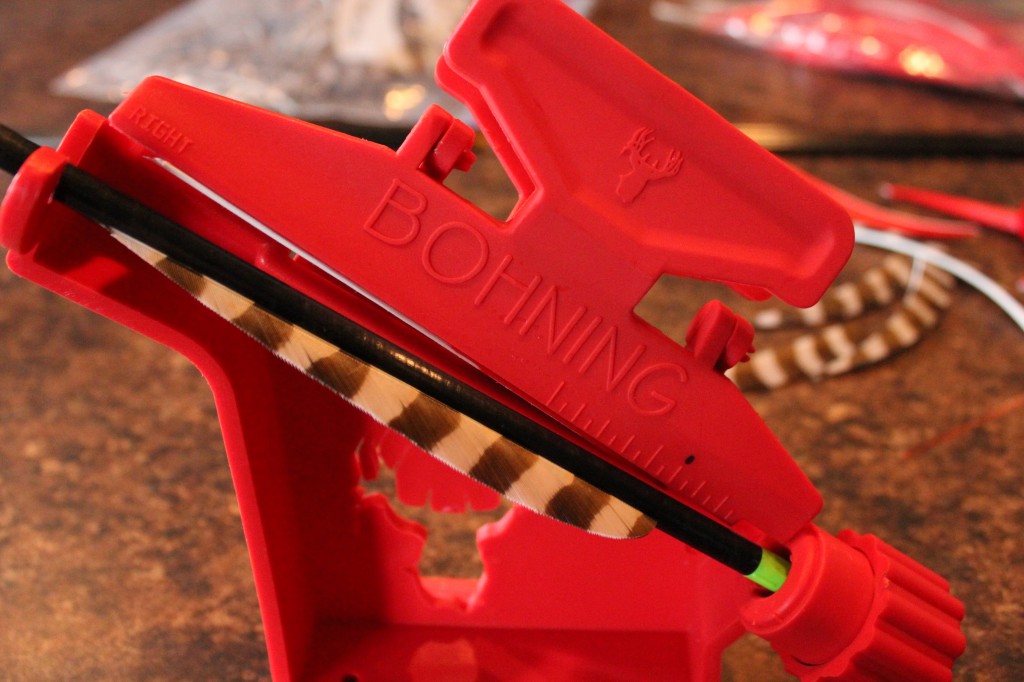
Step 1 – The first feather you put on is going to be the cock feather. This feather is an indicator for how your arrow will sit on the string. My arrow sits on the rest with the cock feather facing out. Make sure to adjust you arrow in the jig, so that the cock feather will be in the correct position.

Step 2

Step 2 – Place the feather in the clamp. As you can see on my clamp, I have marked a position for the back of the feather. The mark is there so that every feather can be placed in the same spot from session to session.

Note: The clamp is specific to a right or left winged feather. Be sure you have the same clamp to match the feather.

Bohning Fletching Tape
Step 3

Step 3 – The double sided tape is the tricky part of the process. The tape should run the length of the feather. Use the tip of the scissors or a fingernail to peal the protective layer off of the tape.

Step 4

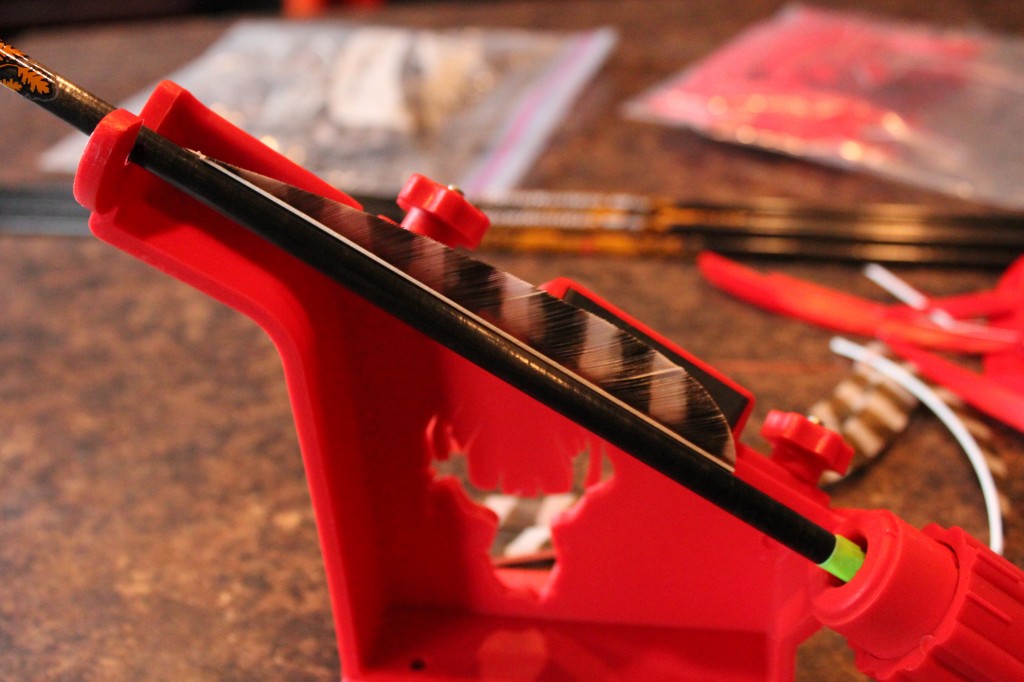
Step 4 – Place the magnetic back of the clamp on the jig and fix the feather to the arrow shaft. Take the clamp off the feather. Run your finger over the feather to secure the feather and tape.

Step 5

Step 5 – Swivel the arrow in the jig and affix the other two fletchings. I like to put a dab of Super Glue on the front and back of each of the fletching to solidify the feather. This will give the feather durability for many days of shooting.

Finished

Let me know if this helps in any way. Feel free to shoot me an email or comment if you have any other questions.

Rambling Review – Orvis Battenkill Bar Stock II Reel

10 Comments

Rambling Review – Orvis Battenkill Bar Stock II Reel

Orvis Battenkill
Orvis Battenkill

Why:

When I have the free Saturday to head where I want to, I point the truck towards the small streams that run cold and clear from the Mogollon Rim. This water is perfect for my TFO Finesse 3 weight and its delicate presentation. When I first bought this rod, I coupled it with a cheaper reel that did not make it through a full season of my tripping and slipping on the small creeks.  After doing some investigating, I decided on the simple, yet rugged Orvis Battenkill to compliment the Temple Fork rod. I have been nothing but happy.

First impressions:

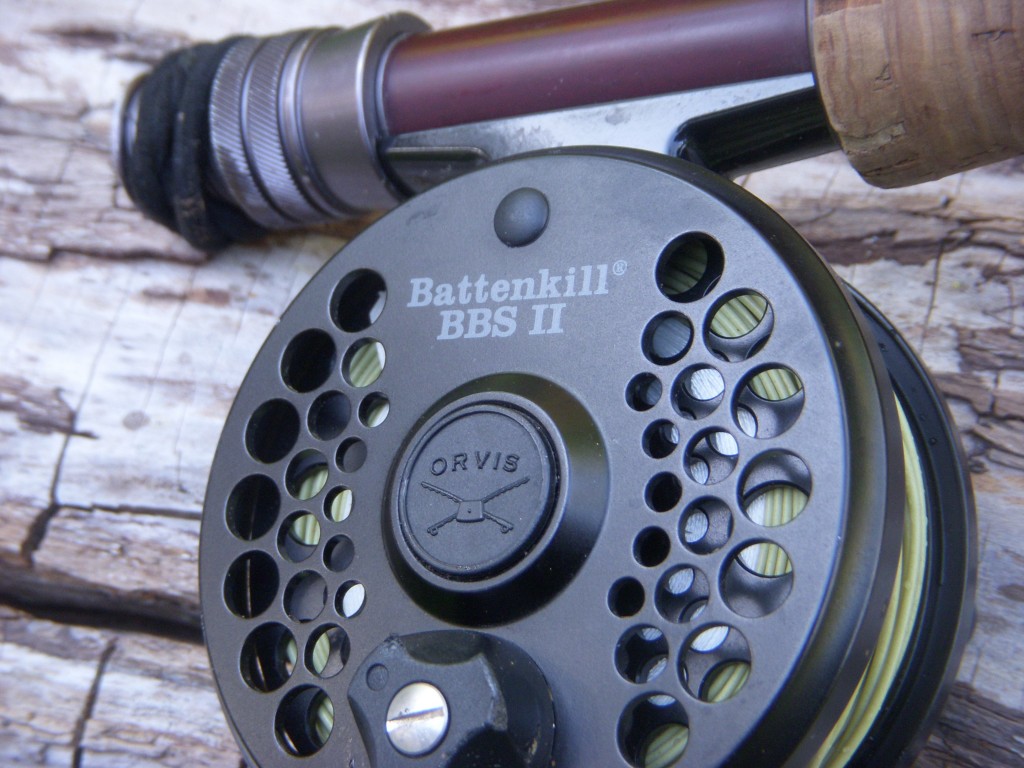
Durable Construction – The Battenkill Bar Stock is a solid reel with very durable aluminum components and a solid fitting. It felt tough and stout even for its small size.

Lightweight – When holding the BBS reel in the Orvis shop, it was noticeably lighter then several of the other reels that I compared it to. The manager explained that it was made from machined aluminum instead of being die-cast. Mumbo-jumbo aside, looking at the weight specs, this reel is considerably lighter than other reels in its neighborhood.

Simplicity – The Orvis Battenkill Bar Stock has a simple yet classy look. Not one for a high tech or flashy look, I was really drawn to the aesthetics of the BBS. Once the reel was on the rod, I liked the look even more.

Orvis BBS
Orvis BBS

Field Use:

The Battenkill Bar Stock and the TFO Finesse are dynamic small stream duo. The reel balances sweetly on the rod and casting is mostly mindless without a second thought to the reel. After the first several trips out I really began to appreciate the simplicity and toughness of this small lightweight reel. Sure, at the end of the day, a small stream reel is just a glorified line holder, but the functionality and the rugged construction is a must have when banging around the creek.

I do not tend to get into too many monsters on the small Arizona creeks, and when I do, I try to make short work of the fight. With that said, the BBS has a solid drag that on some bigger water could come in handy.

Battenkill Bar Stock Reel

Pros:

Weight – Very light in comparison to reels in the neighborhood

Durable/Solid Construction

Orvis 100% Satisfaction Guarantee

Simple Classic Look – Functional not flashy

Cons:

A little more money than some of the economy reels, but well worth the expense

Prognosis: A high quality, lightweight reel that has the durability to withstand the abuse of the bumbling small creek fly fisherman.


Disclaimer:

The reviews at Arizona Wanderings are my honest opinion. Arizona Wanderings is not sponsored by or associated with any of the stated companies and is accepting no compensation, monetary or otherwise, in exchange for this review.  My independent status may change in the future but, as of the date of publication, no relationship other than described above has been pursued or established.

Fly Tying: The Simi Seal Bugger

26 Comments

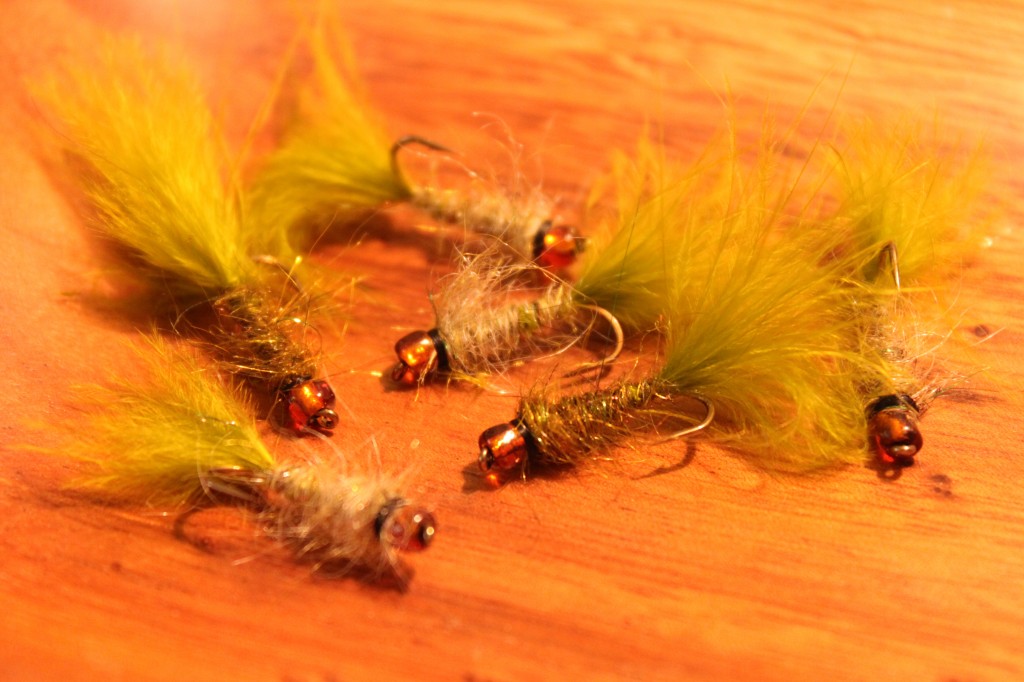
Simi Seal Buggers
Simi Seal Buggers

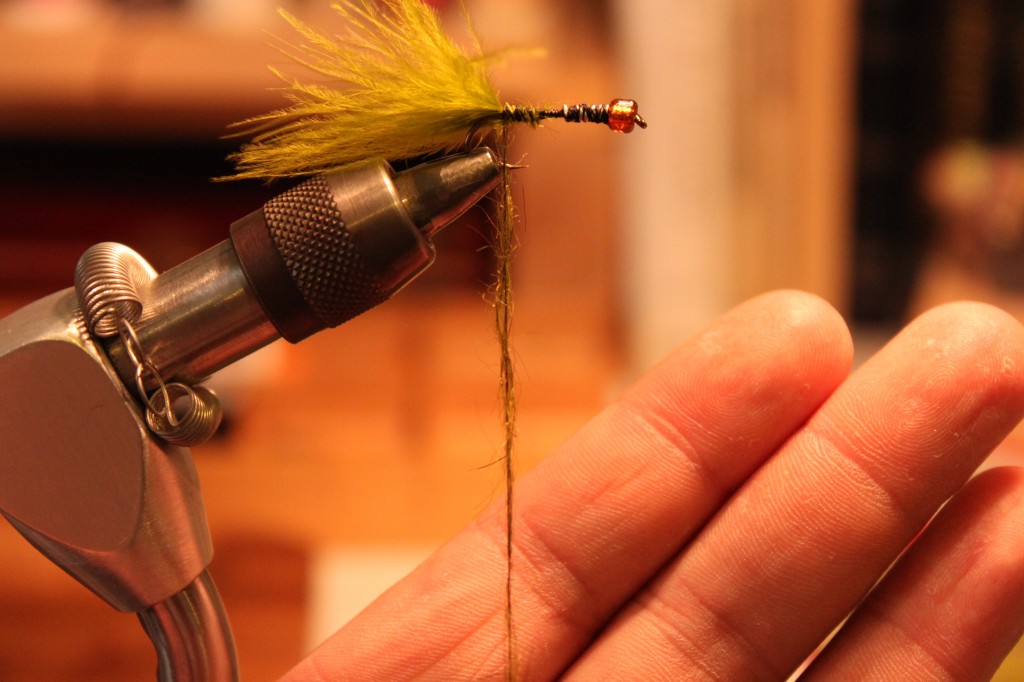
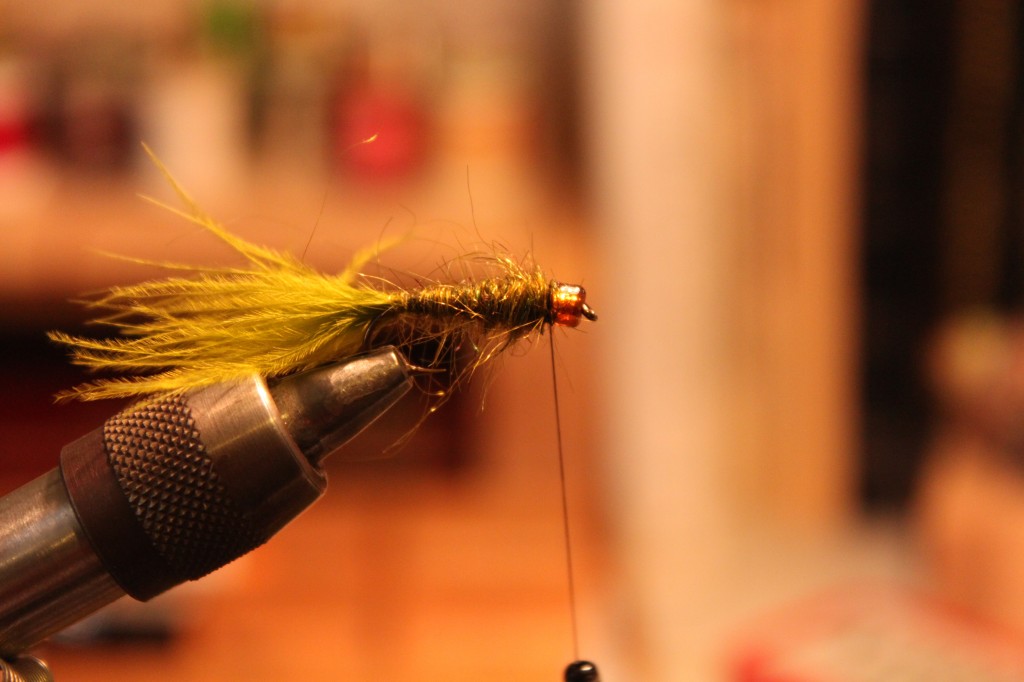
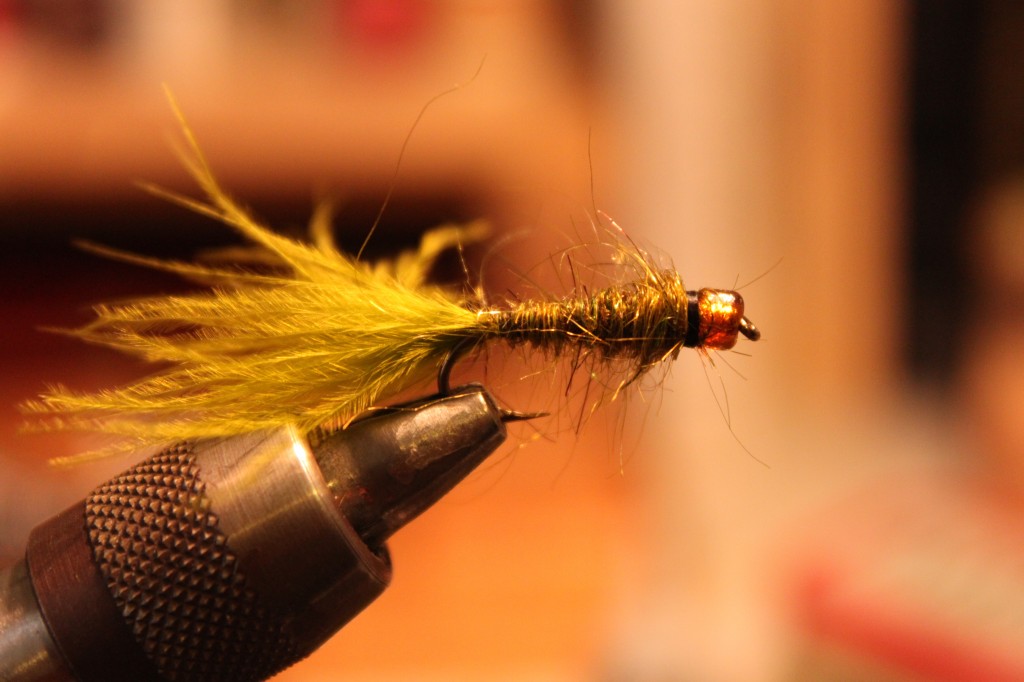
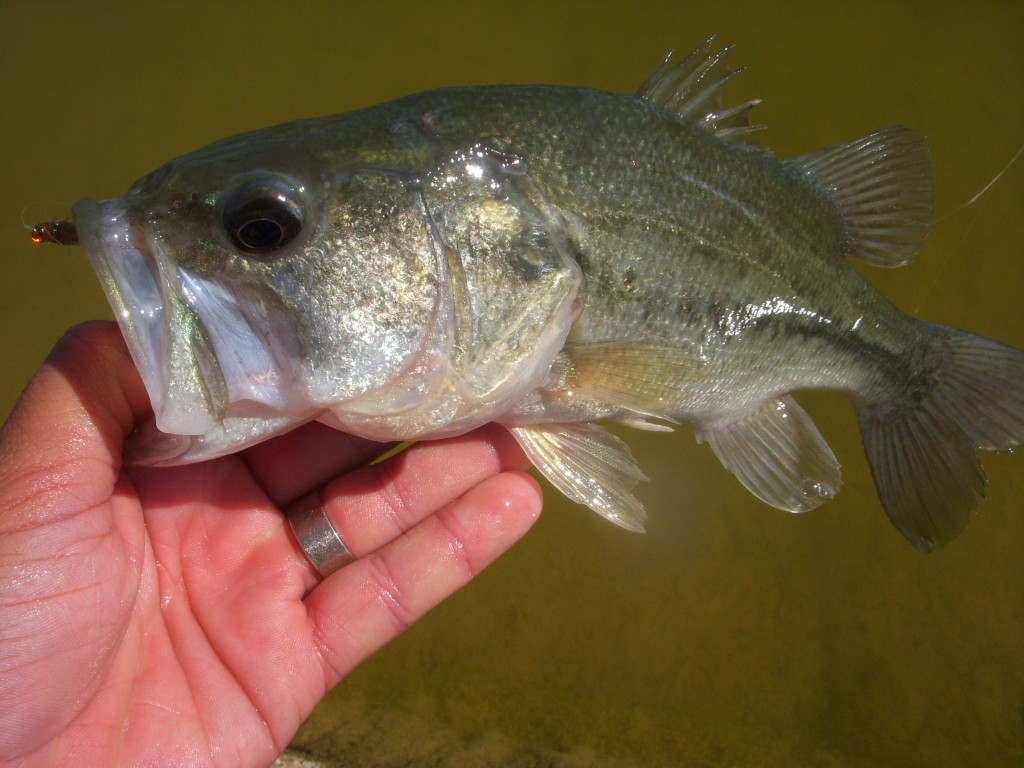
Aside from being my go to streamer for the deep pools or swollen flows of the trout creeks, I have been having quite a bit of success in the urban ponds throwing green Simi Seal Buggers. John Rohmer originally started tying the Simi Seal Leech and his recipe can be found here. The Bugger is simply a variation of of this original pattern but it is my go-to streamer when nothing else seems to work.

1
1

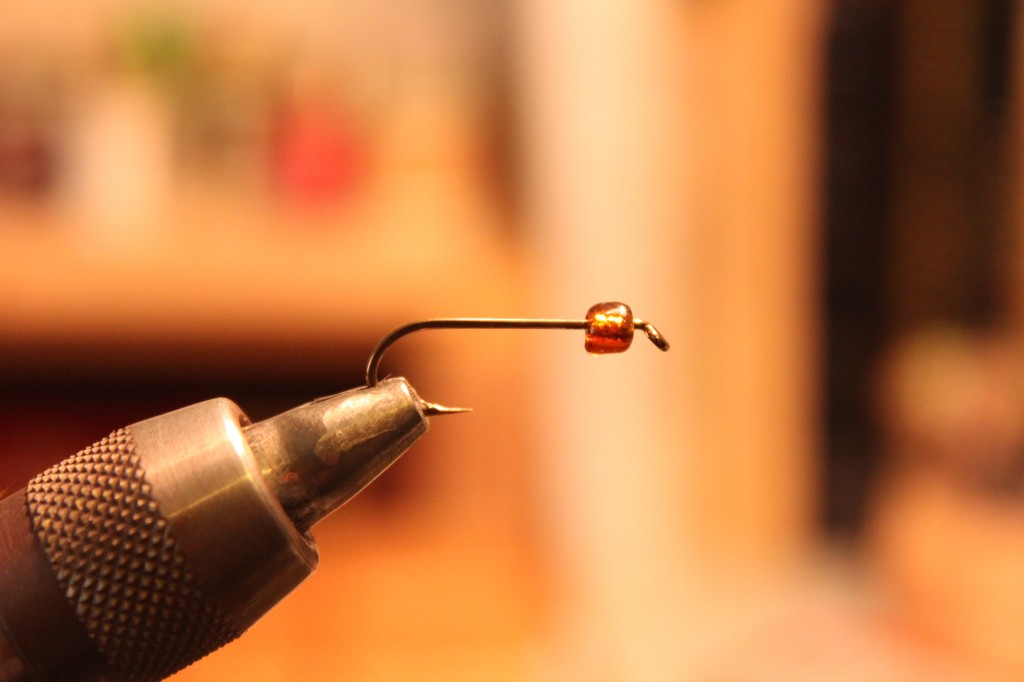
1. Bead on a hook. I prefer something in a size #12-8. These orange glass beads from the craft store seem to be the ticket.

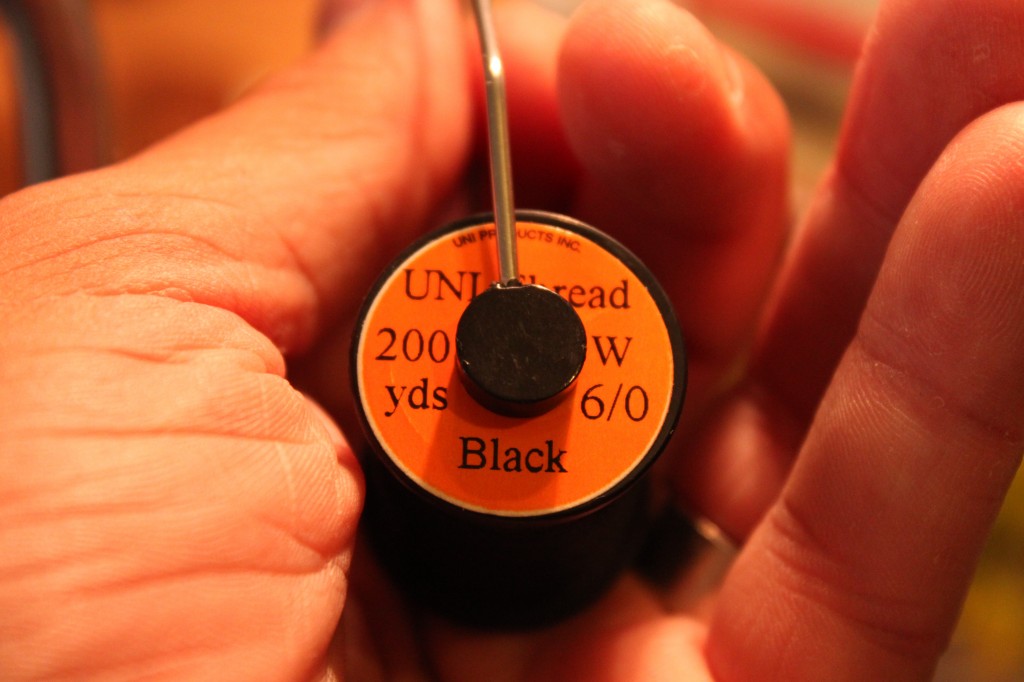
6/0 Uni Thread
6/0 Uni Thread

(Whoever made this stuff should get a pat on the back…)

2
2

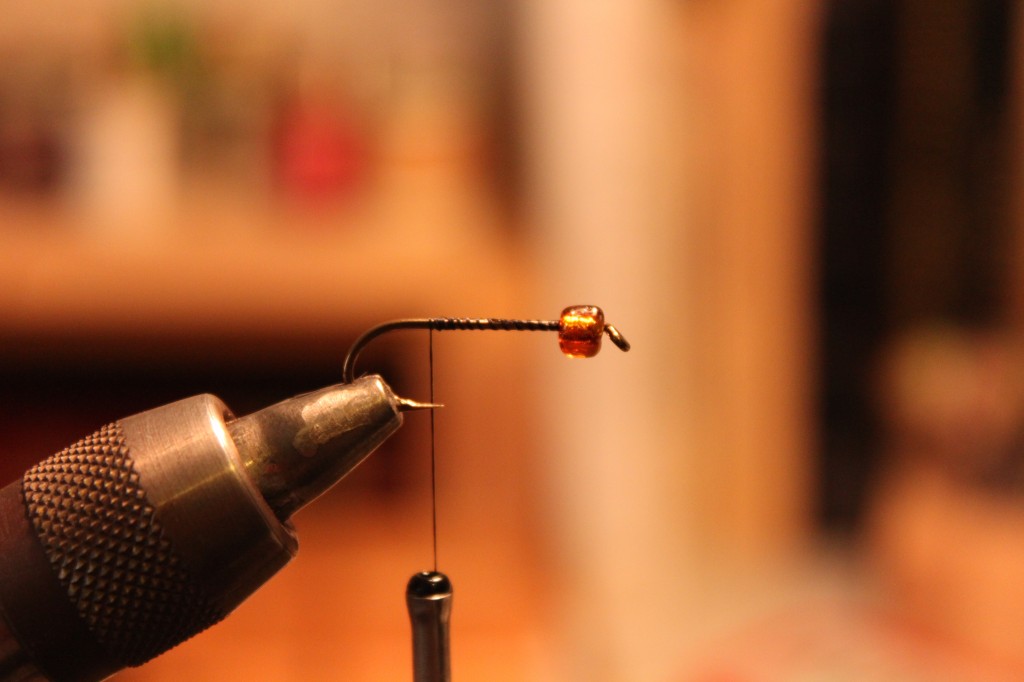
2. Wrap thread back.

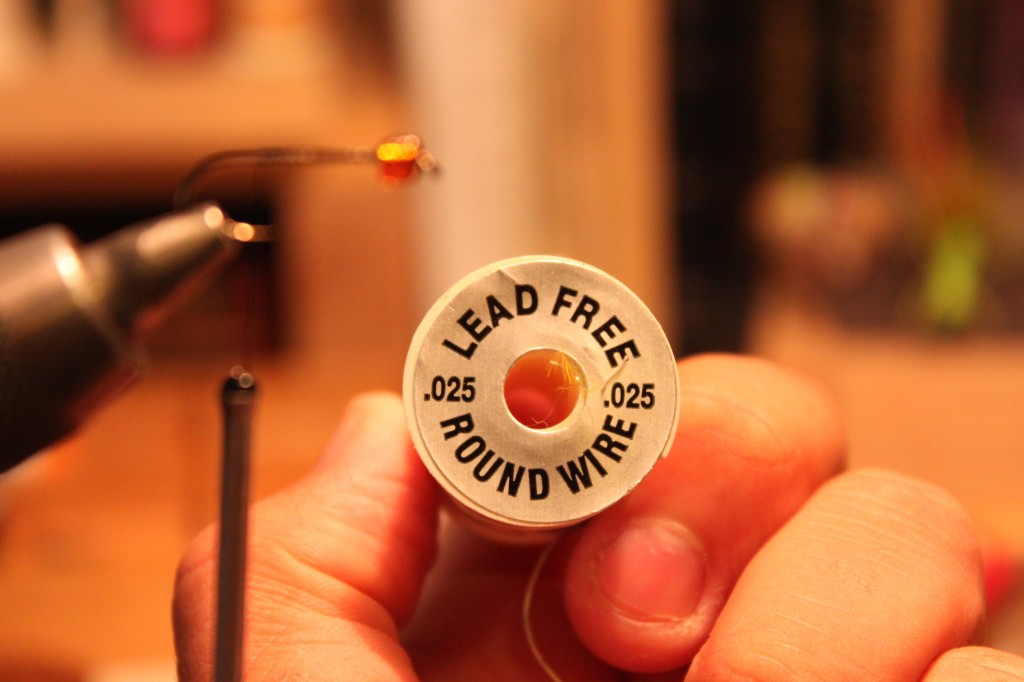
.025 Lead Free Round Wire
3
3

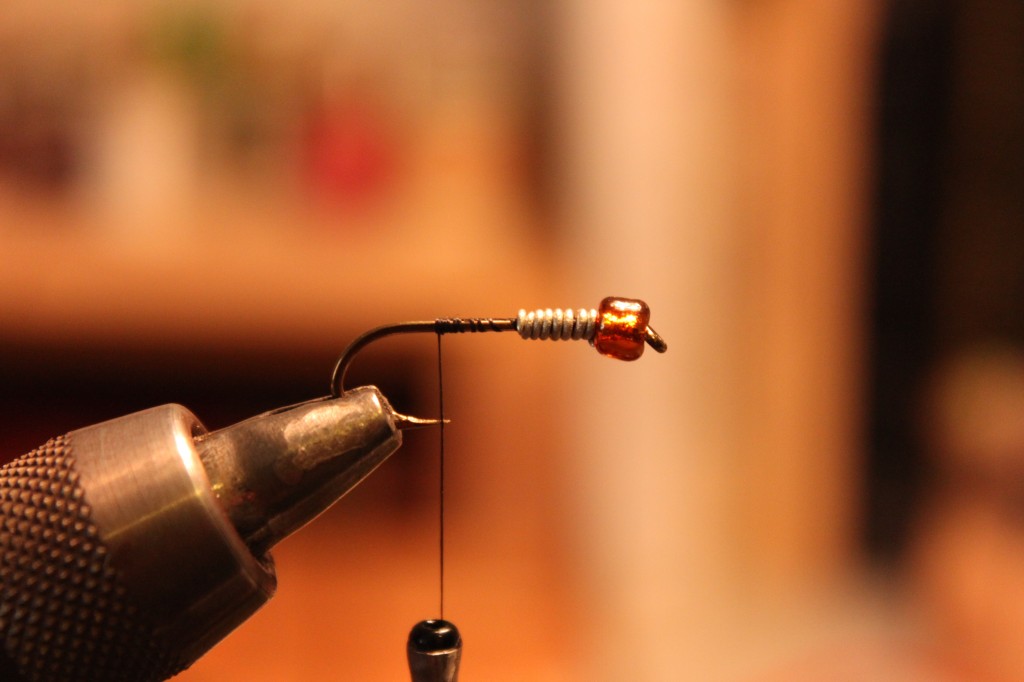
3. Add a couple of turns of weighted round wire. 6 or 7 turns usually does the trick for me and if I have need to get my bugs deeper, I will add softweight to my line.

4
4

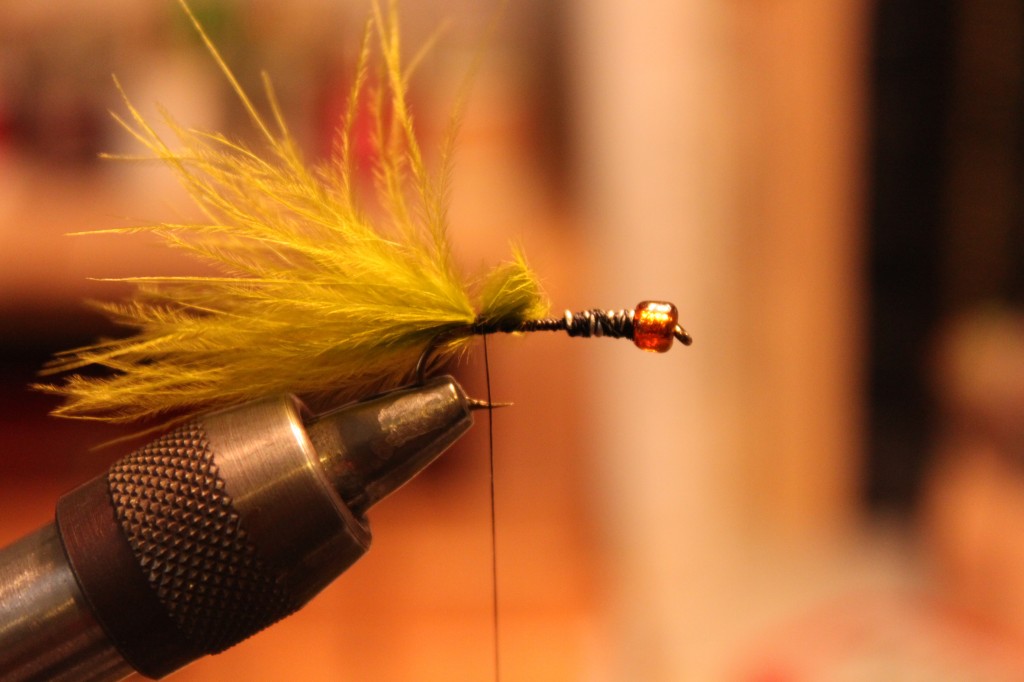
4. Secure wire with thread wraps and then add a marabou tail. In John Rohmer’s original simi seal leech he uses simi seal for the tail. I think the marabou has more motion in the water so I prefer it. I purposefully tie the tails long as I think that it also gets more movement and if worse comes to worse I can always pinch some of the marabou off.

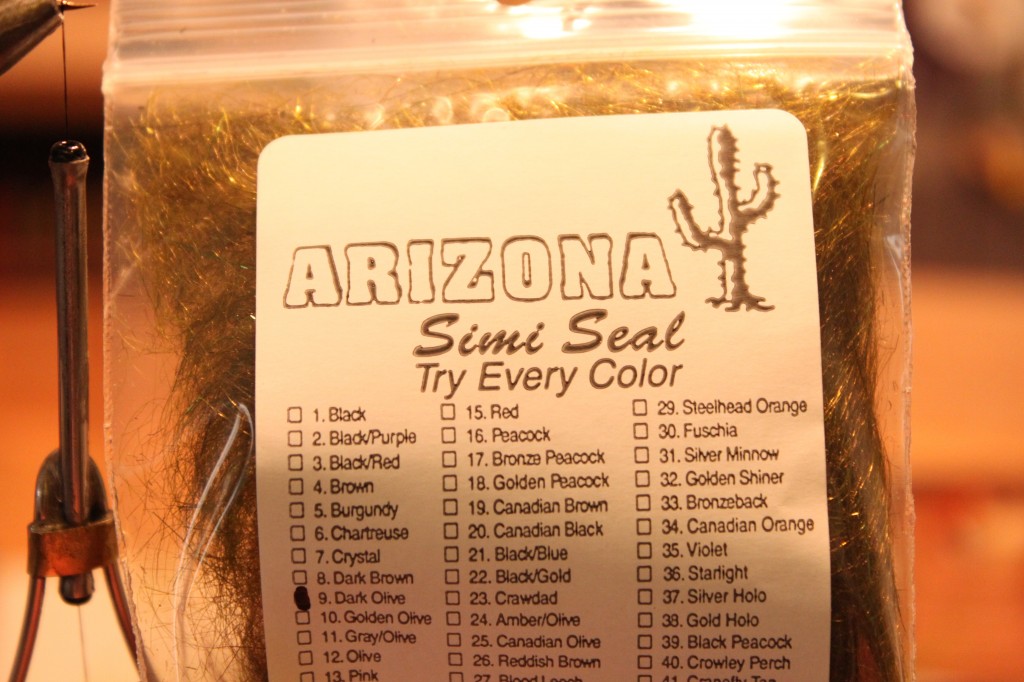
Arizona Simi Seal
Arizona Simi Seal

Accept no substitute…

5
5

5. Dubbing loops are no fun.

6
6

6. Dub forward. The messier the better. In Rohmers video, he takes a popsicle with a little bit of velcro on the end and tease out the fiber to give the leech more bugginess.

7
7

7. Whip Finish.

Everyone loves the Simi Seal Bugger

Largemouth
Largemouth
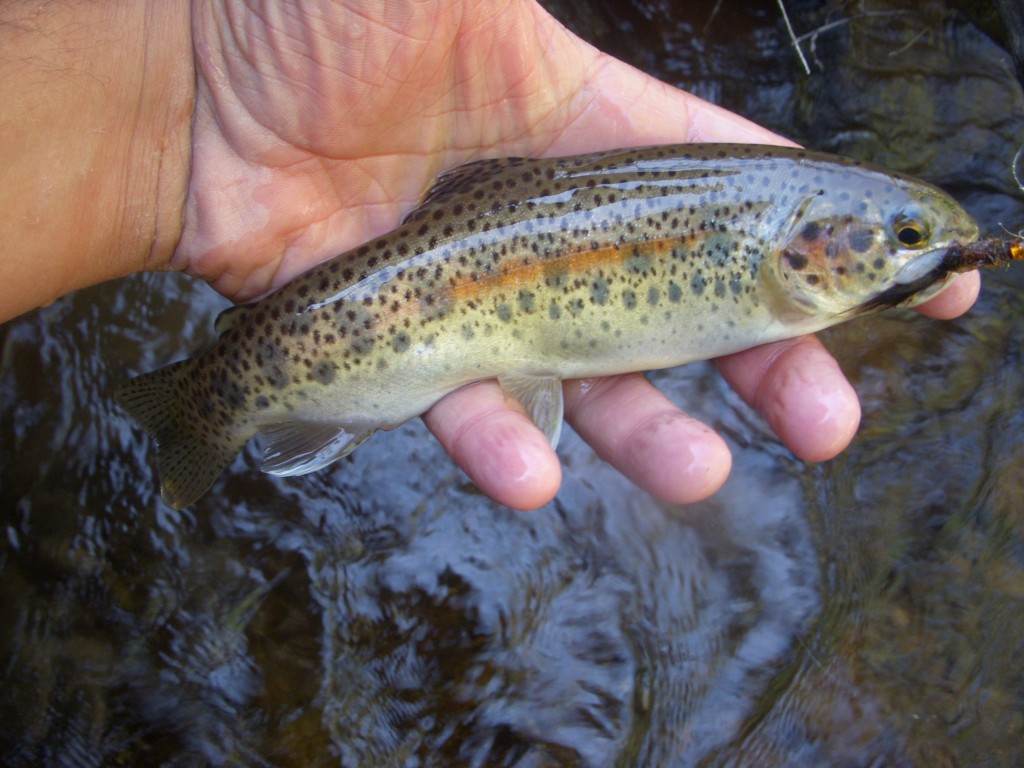
Rainbow and Simi-Seal
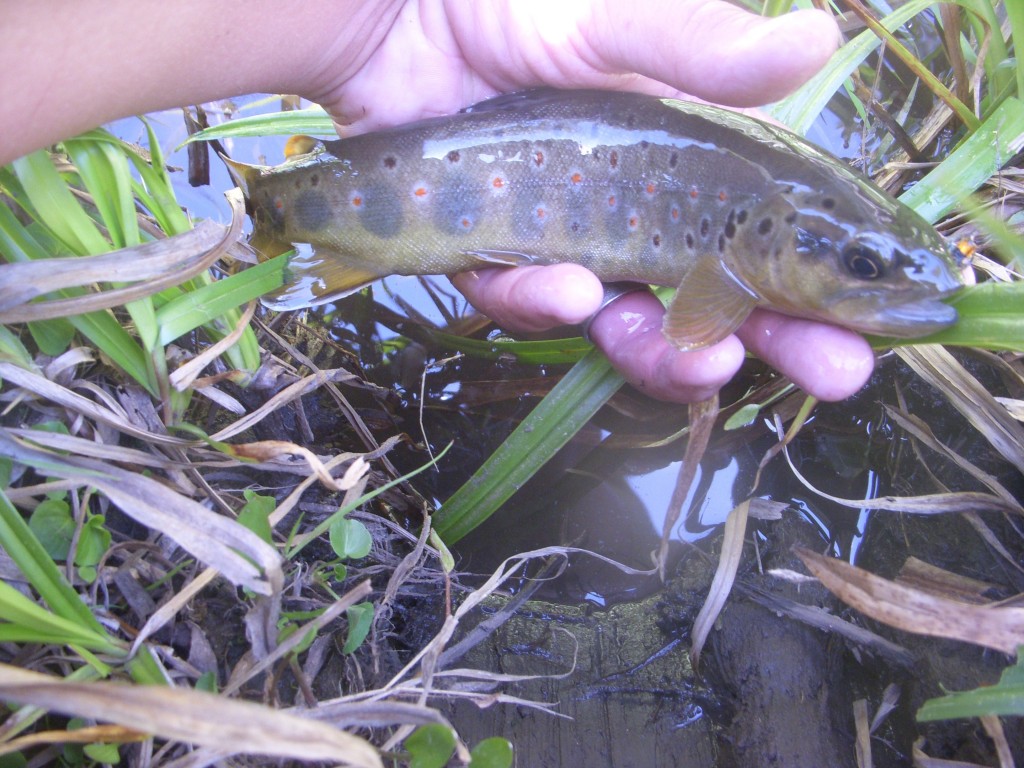
Brown on a simi-seal
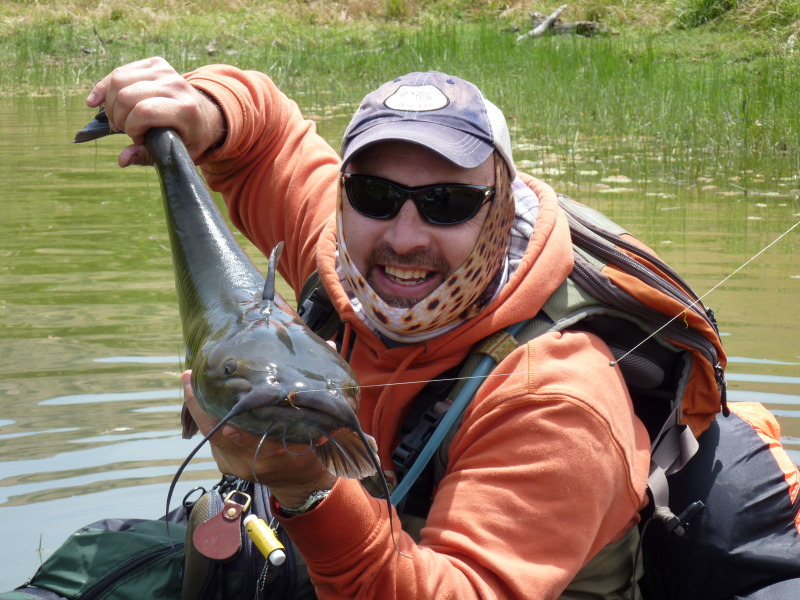
Cat and Simi Seal - photo courtesy of Greg Madrigal
Cat and Simi Seal – photo courtesy of Greg Madrigal

Definitely check out Greg’s nets over at Sierra Nets…unbelievable works of art.

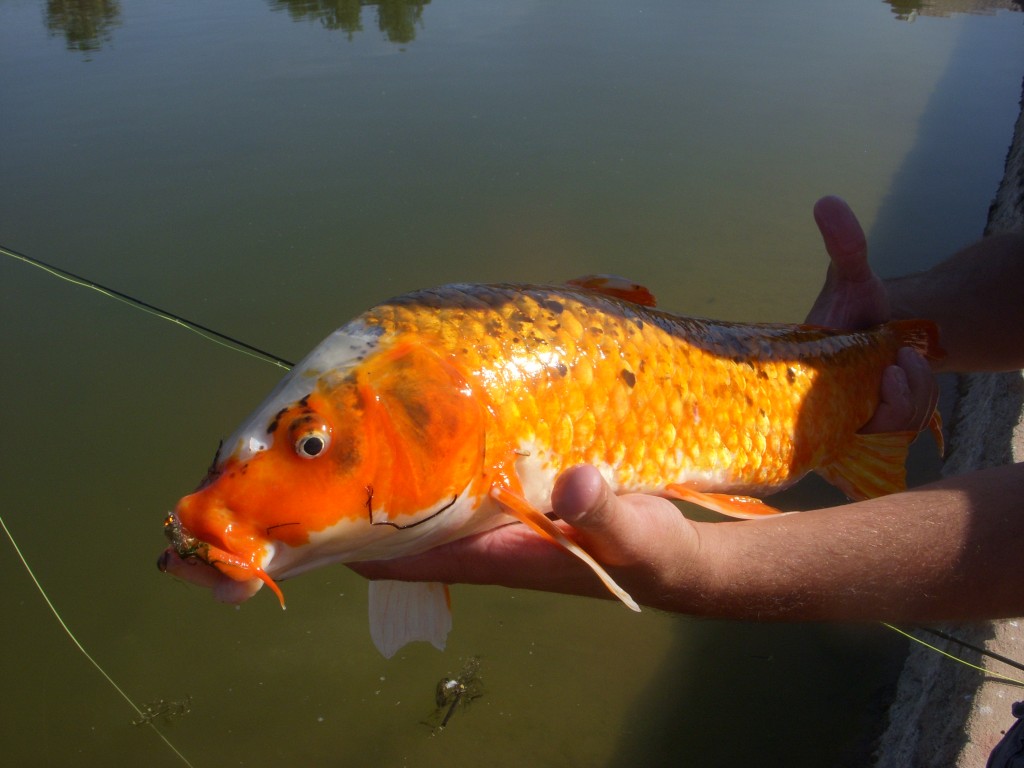
Carp/Koi
Carp/Koi