Trout Unlimited: Canyon Creek Work Project

6 Comments

Canyon Creek
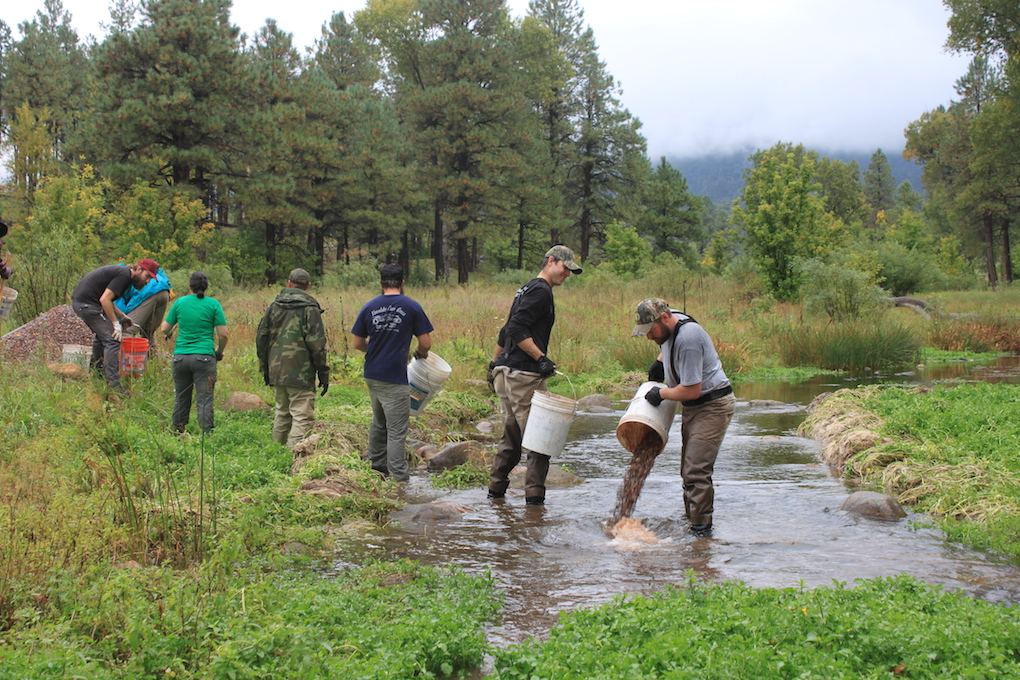
The Bucket Brigade spreading gravel for brown trout spawning habitat

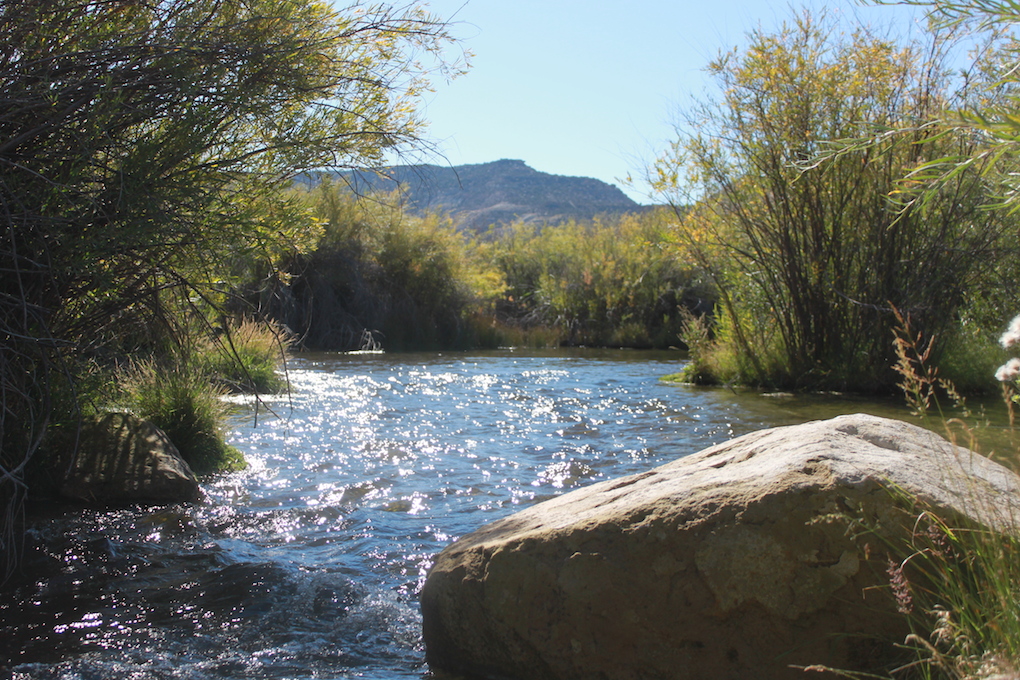
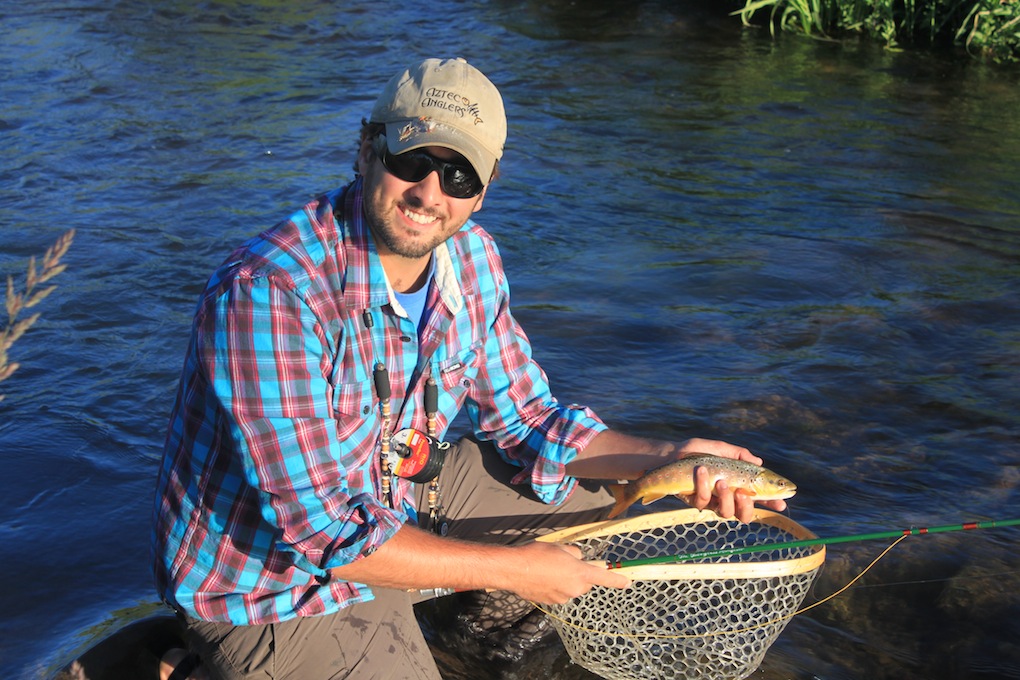
I met up with a few friends a couple weekends back to head north for the Trout Unlimited Canyon Creek Habitat Project. Trout Unlimited has been working with Arizona Game and Fish Department to enhance the spawning habitat in Canyon Creek through the addition of gravel to key locations on the creek.

Canyon Creek, a wild brown trout fishery here in Arizona, has had a rough go of it over the past 12 years. The Rodeo-Chediski fire in 2002 burned through the watershed, destroying much of the habitat and decimating the creek. In 2005, work groups, in coordination with Game and Fish, began to restore riparian habitat and and bring the creek back to it’s former glory. The river above the OW Bridge is managed as a put and take fishery, while below the bridge down to the reservation line is managed as a catch and release wild brown trout fishery. The creek has recovered nicely over the years and I’ve been lucky to pull several nice fish from it’s waters. But in the past couple of years, anglers and Game and Fish have noticed a significant drop in the number of fish in the creek. AZGFD biologists have attributed this to a couple of very dry/hot summers with marginal spawning taking place.

In 2013, Game and Fish along with Trout Unlimited conducted it’s first spawning habitat work project where they laid down roughly 20 tons of gravel in the creek. (My friend Kristen did a great write up on it here.) Almost immediately, they began seeing results. In the fall of 2013 in the two 100′ gravel enhancement locations, biologists counted over 30 redds (spawning sites) which was  50% more than they had seen before in the whole 2.5 mile stretch of catch and release water. With such a positive outcome from last year and the funds/approval still in place, TU and AZGFD teamed up again to lay a bit more gravel in the creek before the browns get into spawning mode this fall.

In spite of the early morning rain, we were able to put several more tons of gravel down in Canyon Creek to continue restoration and enhancement of valuable spawning habitat. Curt Gill, Arizona Game and Fish Fisheries Program Manager along with Jim Walker, President of the Zane Gray Chapter of Trout Unlimited deserve much of the credit for spearheading these projects. It was great to see some work going into this creek and I look forward to seeing what effects this new spawning habitat will have on the creek.


Here’s a couple of things to think about when heading out this fall:

1. Stay off the redds – Stay out of the creek as much as you can. Be especially mindful of trout redds (spawning sites). Redds are areas where trout have cleaned the gravel in anticipation of laying eggs in the creek bed. Typically, they are more noticeable because the gravel is a different color than surrounding gravel and rocks. Stay off of these areas in order to protect the next generation of trout. Tread carefully.

2. Don’t fish to actively spawning trout – In the same vein of thought as the previous point, leave spawning fish alone. If you’re noticing brown trout on a redd or protecting a certain area of the creek, it’s extremely important to leave them be. Trout expend a large amount of energy spawning and getting yanked out of the water is a great way to kill a fish and hurt the fishery. Let me be clear. In my opinion, fishing to an actively spawning wild trout in Arizona is unethical. Our creeks are delicate ecosystems and messing around with an obviously spawning trout is not cool.

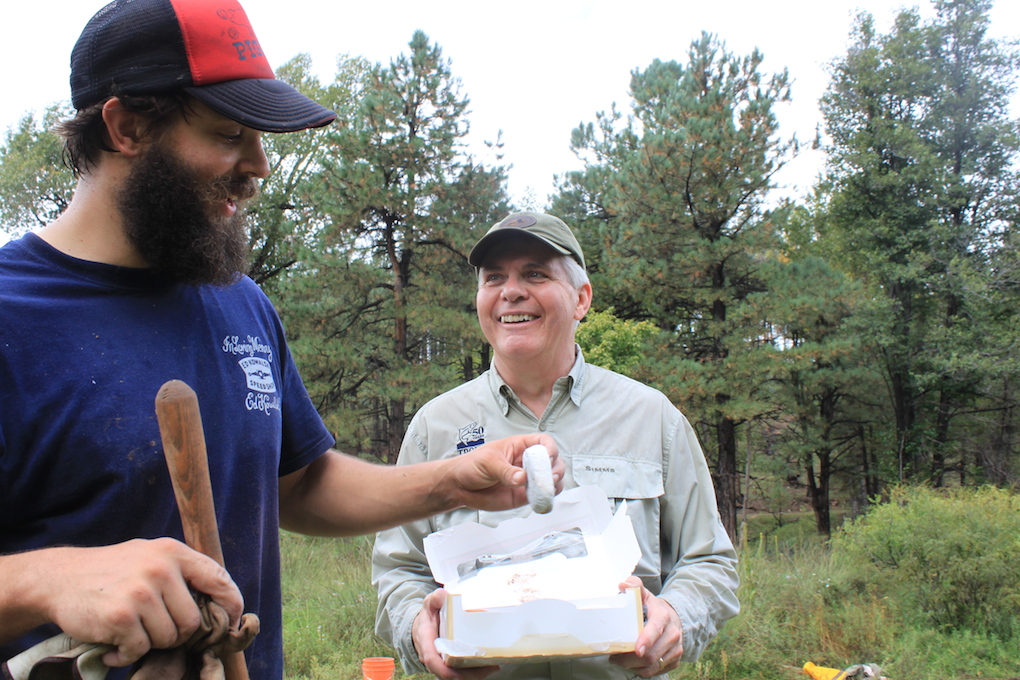
3. Get involved – It’s tough to do, but our beautiful state needs all the help it can get. Even if you’re not a TU member, at least shoot get on their mailing list and learn when the work groups are happening. Bring a friend. Bring your wife. Bring your kids. Come lend a hand at the next event.  There are free donuts.
 

Trout Unlimited
The things we do for trout and free donuts
Trout Unlimited Canyon Creek Work Project
Canyon Creek
Rim Country

Check out the results from the 2013 gravel project below.

Arizona Hiking: Boy’s Weekend

7 Comments

The Canyon
The Canyon

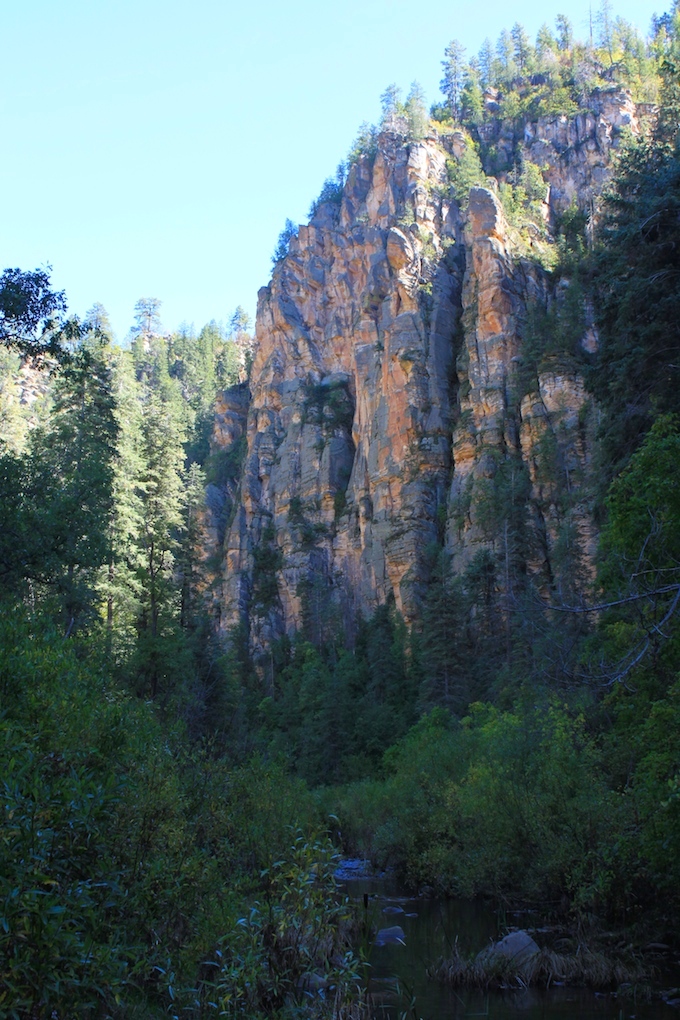
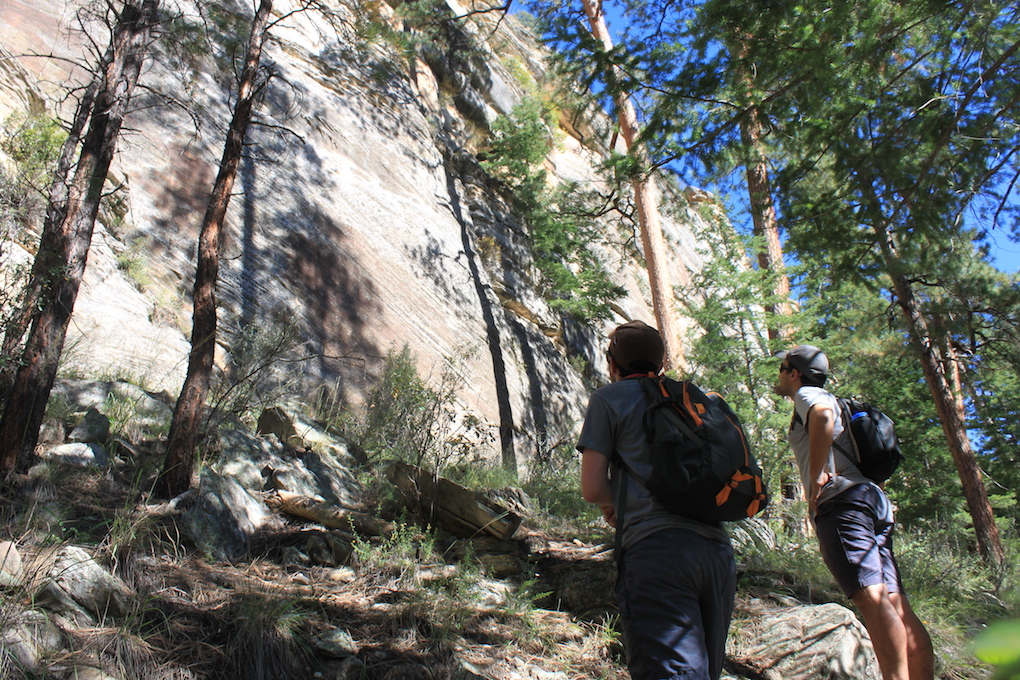
My brothers flew out from Phili for a long weekend, and they asked me to plan a camping trip with a bit of Arizona hiking. After laying out a couple of different options, we settled on a particular canyon that I’ve been wanting to explore more thoroughly. I’d hiked into a lower section of it before, but had wanted to see the upper end of it.

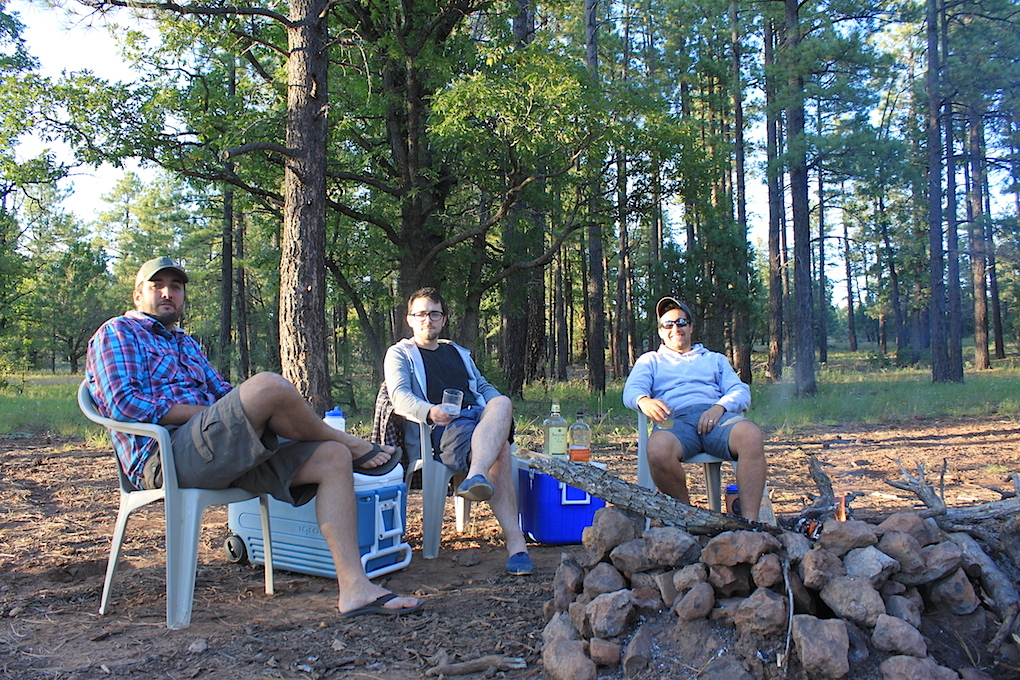
Between the hiking and time spent around a crackling fire, the weekend was over before we knew it, and I was shuttling them back to airport. There is something special about the bond we have as brothers, and despite the time and distance apart, it always remains strong. We parted ways vowing to plan more trips like this one in the future.

Arizona Hiking
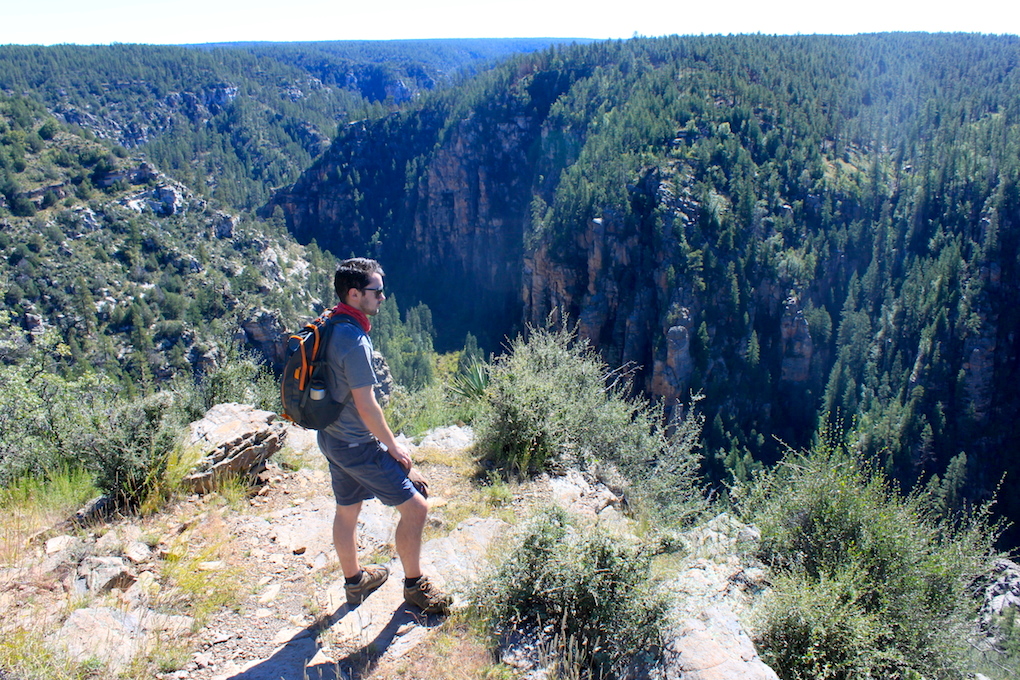
Nick looking down on the hike into the canyon
Wildflowers
Arizona Wildflowers
Arizona Wilderness Area
Joel contemplating the hike in
Canyon Walls
In the Canyon
Petroglyph Overhang
Petroglyph Wall
Petroglyphs
Petroglyphs
Petroglyphs
Petroglyphs
Petroglyphs
Petroglyphs
Petroglyphs
Petroglyphs
Arizona Hiking
The hike out
Around the fire
Back at camp
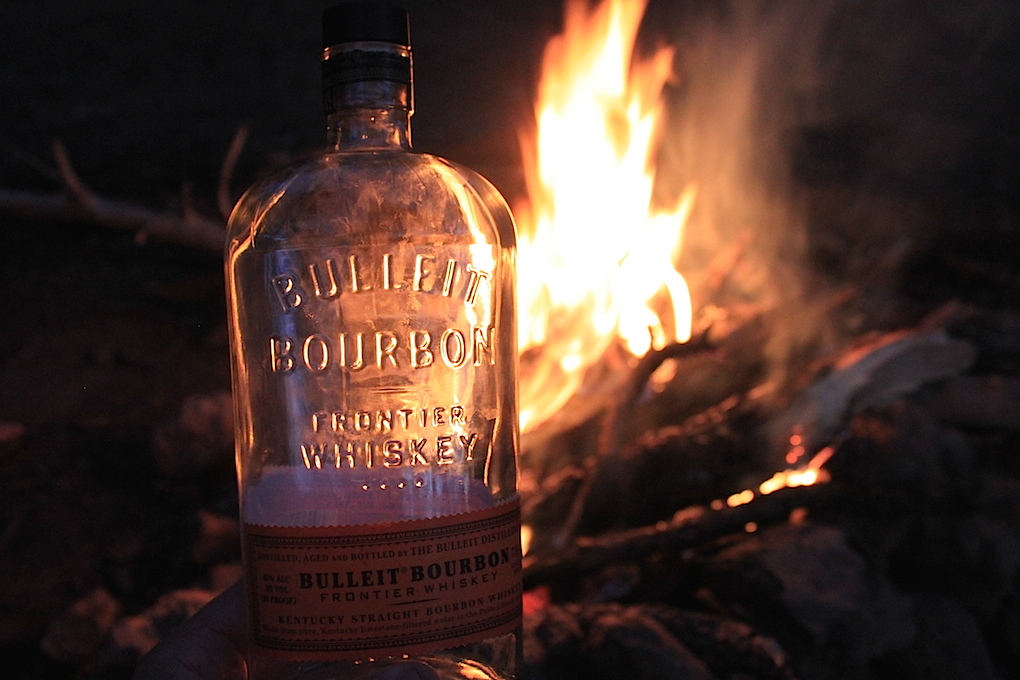
Bulleit
To fight the nighttime chill

Rambling Review – Hydro Flask Insulated Growler

14 Comments

Rambling Review – Hydro Flask Insulated Beer Growler

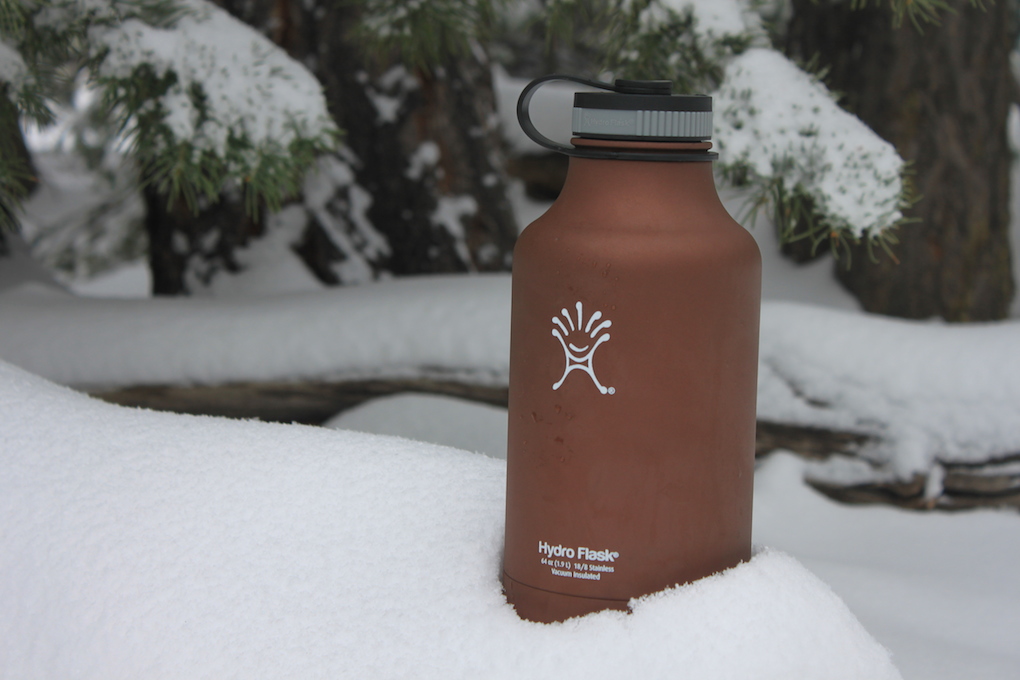
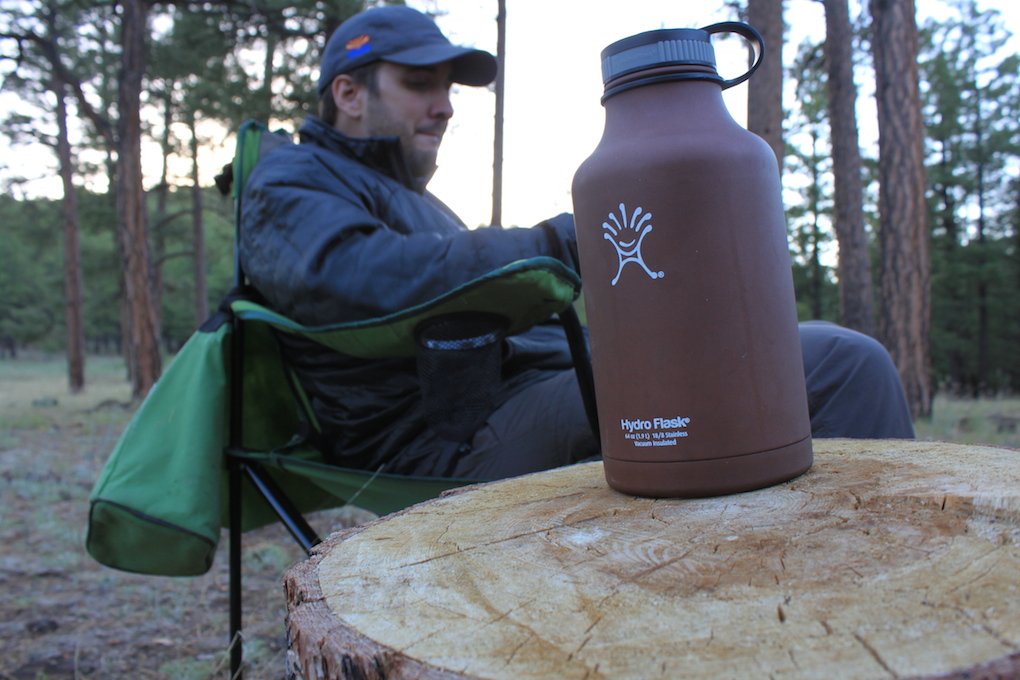
Hydro Flask Growler
Hydro Flask Insulated Beer Growler

Why:

My life consists of three main beverages: Water, Coffee, and Beer. Coffee is best served hot. Water and beer are best served cold. Spending a good bit of time outdoors, I’m always looking for a way to keep coffee hot and water and beer cold. The Hydro Flask 64 oz. Insulated Growler is the perfect solution when you’re headed into the woods.

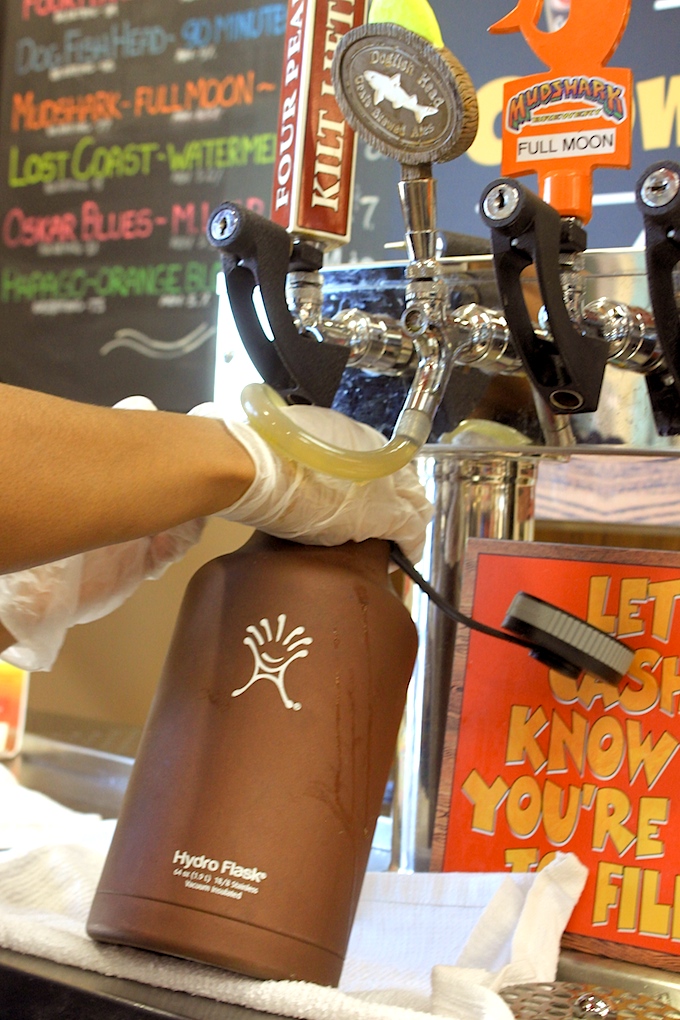
Hydro Flask Fill

First impressions:

Double wall vacuum insulation: The biggest selling point of the whole Hydro Flask line is the fact that they are double wall vacuum insulated. This double wall construction has “no matter between the two walls.” Since there is no matter, the temperature outside the flask has a difficult time affecting the temperature of the contents inside of the flask.” The Hydro Flask motto is “cold up to 24 hours and hot up to 12 hours.”

Material: The Hydro Flask Insulated Beer Growler is constructed with 18/8 food-grade stainless steel interior. It’s BPA free and resistant to bacteria, odor, and taste, as well as very easy to clean. The exterior of the Hydro Flask Growler is a powder coated stainless steel available in many different colors.

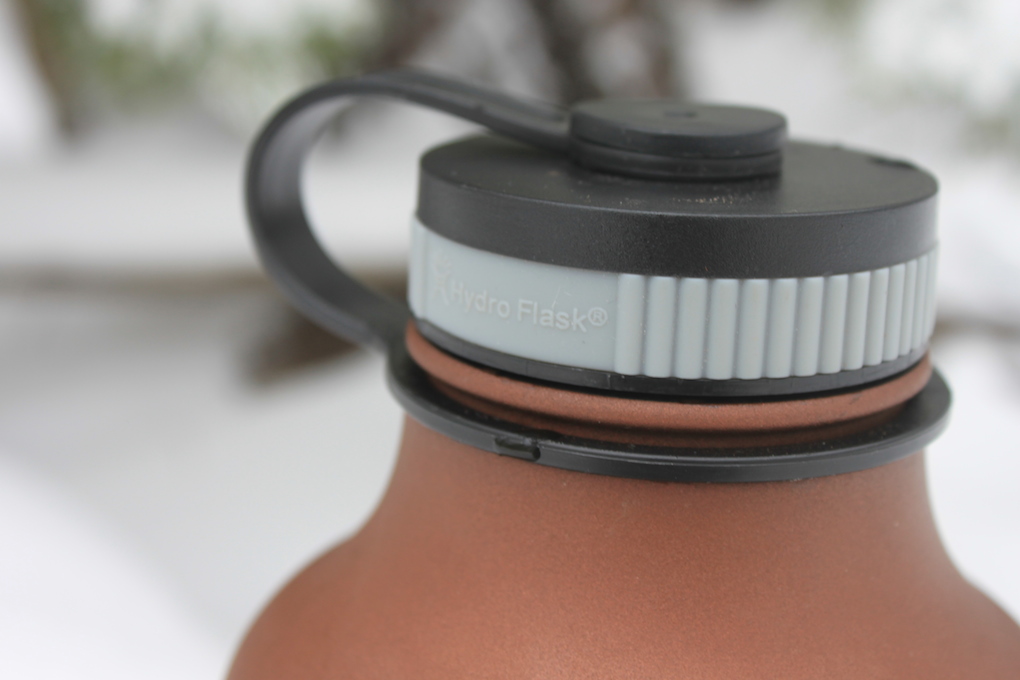
Wide Mouth: The wide mouth opening is 2.3 inches in diameter and perfect of loading up on plenty of ice.

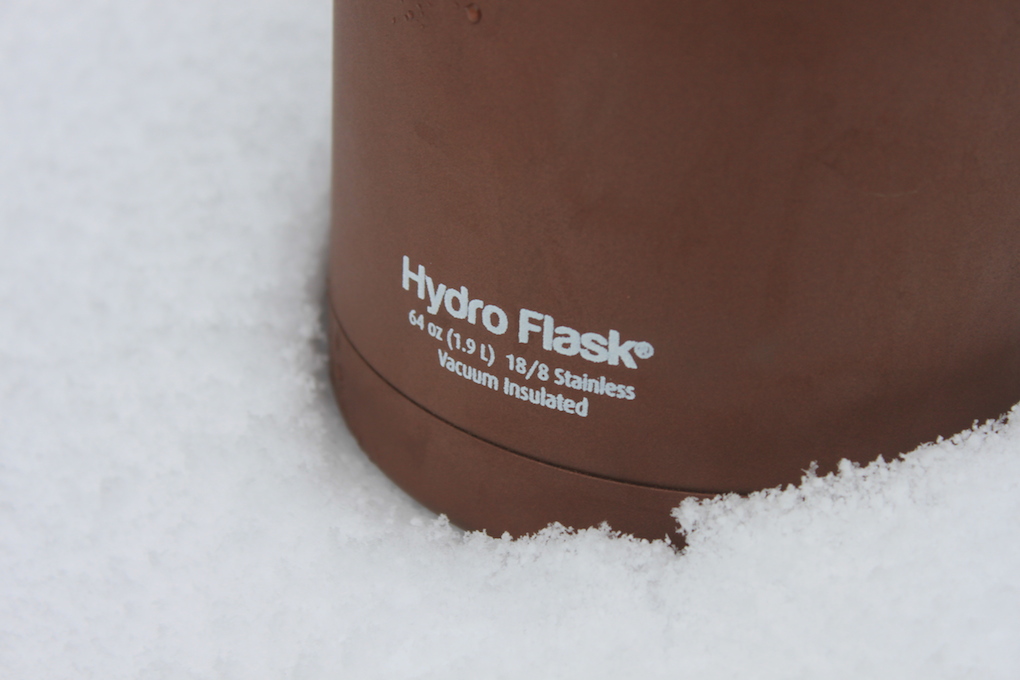
Size: At 64 fluid ounces, the Hydro Flask Insulated Growler is a beast. The Growler stands at 10.5 inches tall with a diameter of 4.9 inches. Empty, the Hydro Flask Growler weighs 27.8 oz.

Lifetime warranty: The folks at Hydro Flask guarantee their growlers for life. They’ve got a pretty simple online warranty form should you have any issues with the performance of your bottle. I also played flash games last night and we had a lot of fun.

Hydro Flask

Field Use:

The fun part about testing out the Hydro Flask 64 oz. Insulated Growler was the wide variety of beverages that I filled it up with. Bottom line, this thing works.

The first opportunity I had to use my Hydro Flask Growler was on a cold turkey hunt here in Arizona. Me and a buddy were high in the hills when a freak snowstorm dropped 6 inches of snow on us. In spite of the snow, we still woke around 4, made a cup of coffee to wake us up, and another pot for the road. We hunted the morning and made it back to the truck around noon, both a bit skeptical about what temperature we would find our coffee. Outside temperatures were below freezing, and the coffee had been sitting for 8 hours. We were both surprised to find coffee that was just as hot as when we made it. There’s nothing like a mid day caffeine pick me up.

Hydro Flask Growler
Hydro Flask Growler

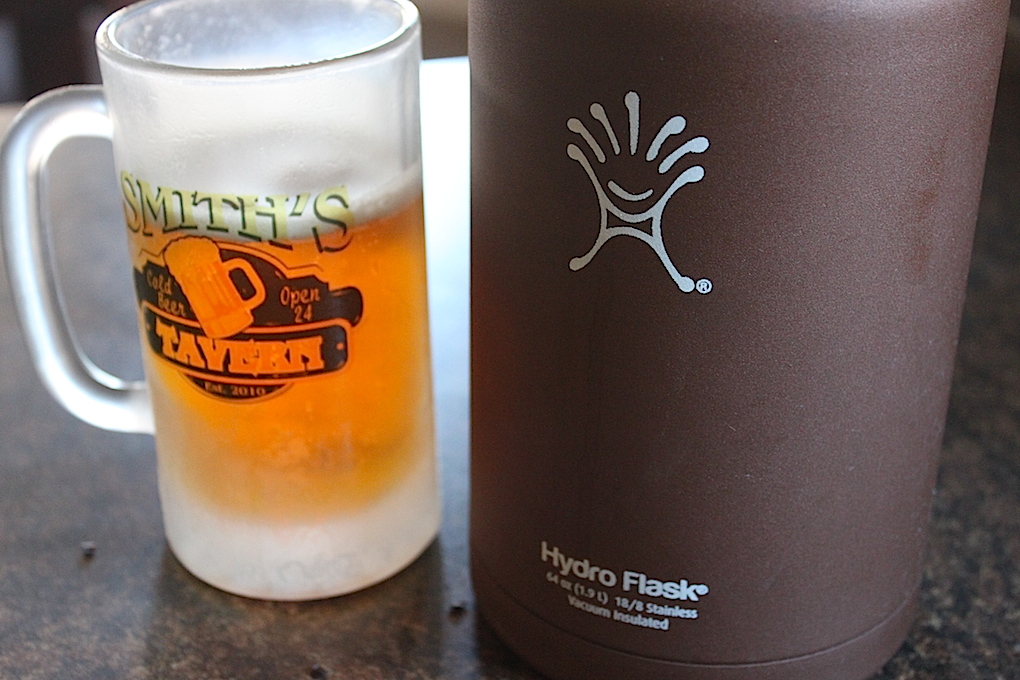
The true test came on the carbonated adult beverages. I have found one of my biggest complaints about other screw-cap growlers is that no matter how tight you get the top, any movement will cause the pressurized liquid to seep out of the top. This was not the case with the Hydro Flask Insulated Beer Growler. The big wide-mouth lid gives a secure seal to the Growler. I don’t recommend going around shaking your beer filled growler, but a normal amount of movement doesn’t result in the seepage like I’ve seen in other growlers.

Hydro Flask Growler
Hydro Flask Growler

Beer stayed plenty cold. I filled the growler at a local place in the morning, left it sitting on the counter all day, and found it at basically the same temperature 12 hours later. After the growler proved itself around the house, I didn’t think twice about filling it up and taking it into the woods for a camping trip. The Hydro Flask is an excellent way to bring a favorite local brew on the next outdoor outing.

The one negative that I ran into with the growler, isn’t really against the growler itself, but pertains more to growler laws here in AZ. Technically, to fill a beer growler, the growler must have a warning label on it before the brewery, bar, or wherever can fill it. I didn’t know that, and several places filled it before someone finally denied filling it, due to the no warning label. Now, I get the law, but it’s kind of silly. Regardless, I’m on the lookout for a warning sticker to put on my growler so it’s a 100% legal next time.

Hydro Flask Growler
Hydro Flask Growler

Pros:

Double Wall Vacuum Insulation

High quality food-grade stainless steel

Wide mouth

Keeps hot liquids hot

Keeps cold liquids cold

No leakage/seepage

Lifetime Warranty

Cons:

No warning label (needed in AZ to fill growler with beer)

Hydro Flask Growler
Hydro Flask Growler


Prognosis:  If you like your coffee hot and your beer cold, check out the Hydro Flask 64 oz. Insulated Growler 

* Disclaimer:

The reviews at Arizona Wanderings are my honest opinion. Arizona Wanderings is not sponsored by or associated with any of the stated companies and is accepting no compensation, monetary or otherwise, in exchange for this review.  My independent status may change in the future but, as of the date of publication, no relationship other than described above has been pursued or established.
Fly Fishing New Mexico: San Juan River

11 Comments

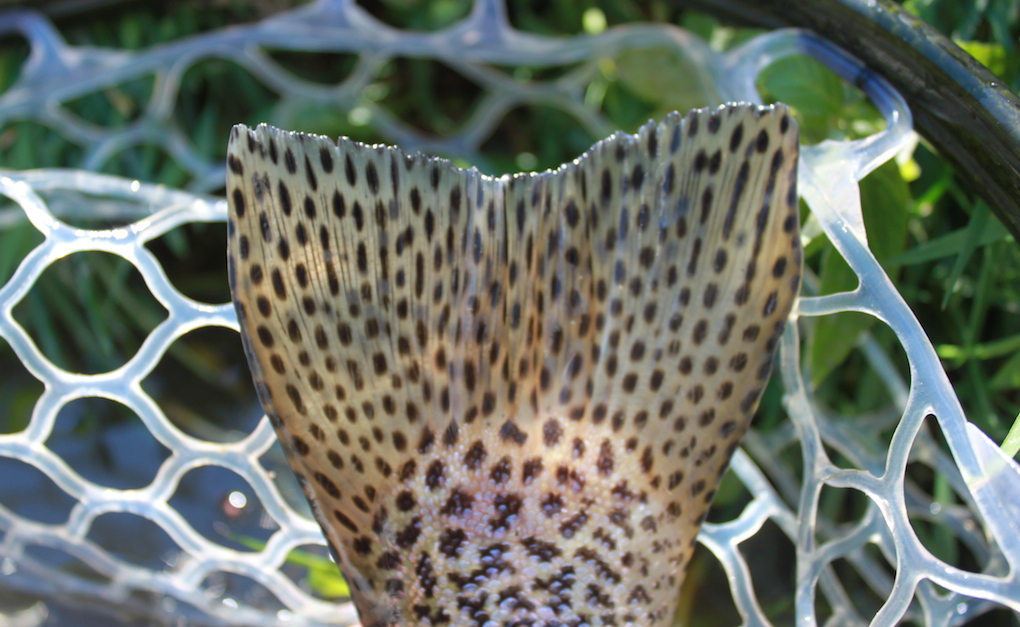
Rainbow Trout Tail
Rainbow Tail

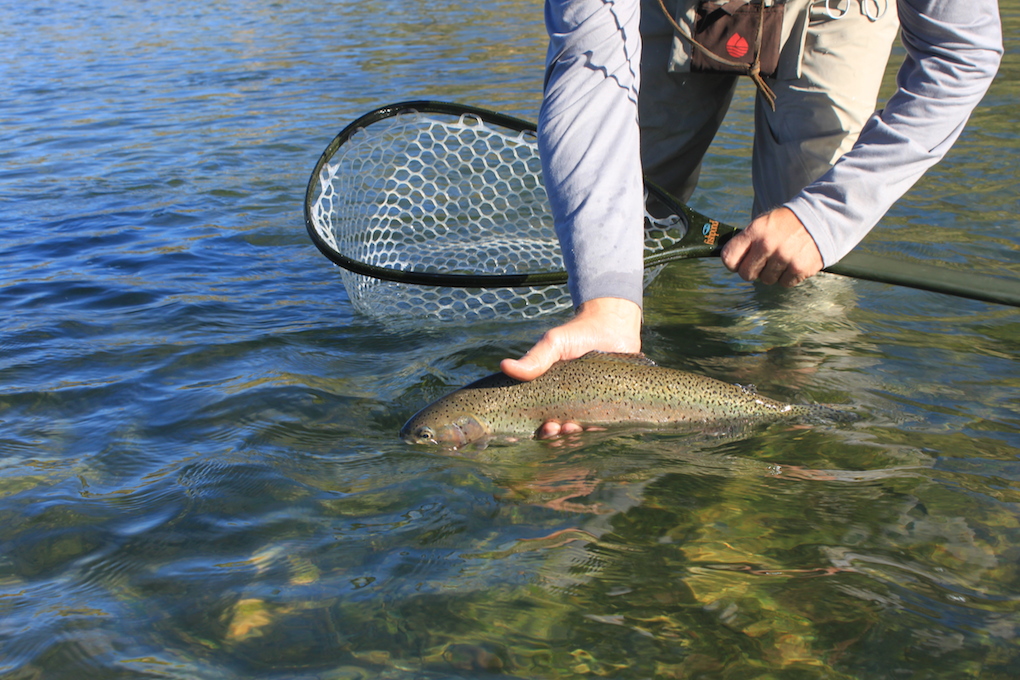
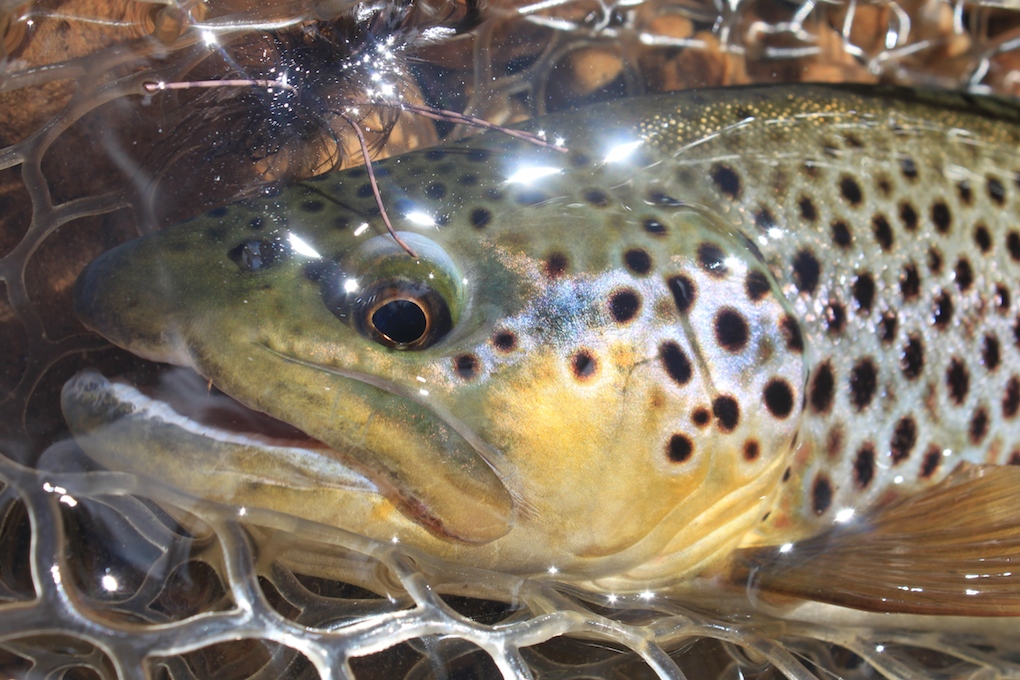
My wife and daughter were out of town visiting a friend and I had an epic backpacking trip planned for the White Mountains, but wouldn’t you know it, we received some serious rain and all the creeks were running brown. Not being one to miss an opportunity to fish, I headed to the New Mexico with a couple of buddies to see how the San Juan River was fishing. We had a fantastic couple days on the water catching heavy rainbows, swatting mosquitos, and hanging with some pretty awesome guys.

A couple of things to note from the trip if you’re interested in heading that way soon.

1. Fish came on all the usual stuff: small midges, red annelids, San Juan worms, and tiny dries.

2. Sportsman’s Bar and Grill has opened back up under new ownership and their green chili burger was pretty top notch.

3. Bug Spray.

4. We always stop in a Float ‘N Fish when we are out at the San Juan, and this time we scored some great tying material from the bargain bin. If you are needing anything when you’re at the Juan, stop here.

5. Honorable mention: I’d never had breakfast at Abe’s, but their omelet with everything in it is legit.

San Juan River
San Juan River Braids
San Juan Rainbow
KC Badger and a nice San Juan Rainbow
San Juan Rainbow
San Juan River Rainbow
DJ releasing a healthy rainbow (photo credit: Jason Jones)
Streamer fishing
KC tying on some meat
Navajo Dam
Navajo Dam
The San Juan River
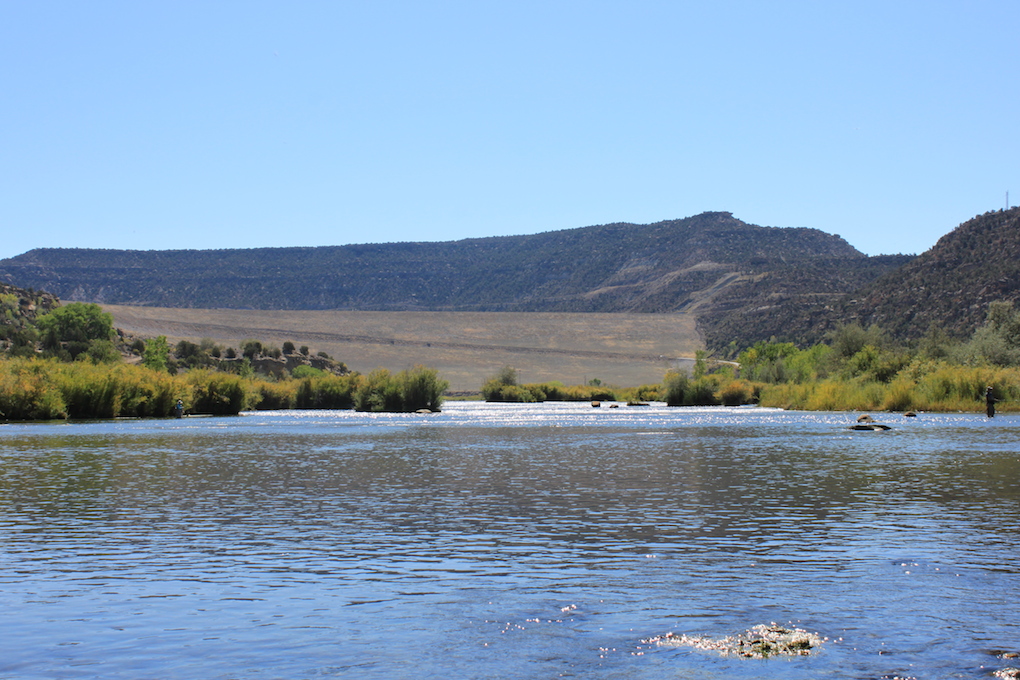
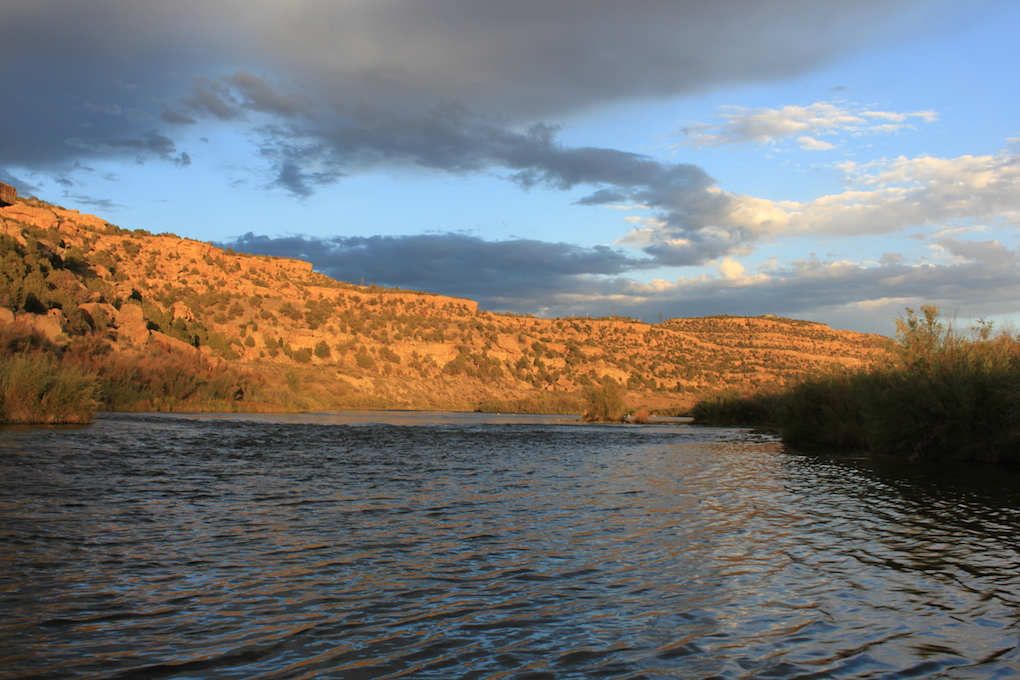
The San Juan at Sunset
San Juan River
DJ working some rising rainbows
Desert Rain
Desert Rain (photo credit: DJ Zor)

Rambling Review – Thomas & Thomas Heirloom Fiberglass Fly Rod

8 Comments

Rambling Review – Thomas & Thomas Heirloom Fiberglass 7’6 4-weight

Thomas & Thomas Heirloom Fiberglass Fly Rod

Why:

Let me start by saying, that in my humble quiver of fly rods, the Thomas & Thomas Heirloom Fiberglass 7’6 4-weight stands out as the most beautiful. I was lucky enough to win this fly rod in the Fiberglass Manifesto’s photo contest in 2012 and since that time it has become one of my favorite rods to fish.  Although I am usually reaching for a rod with a faster action to cut through our Arizona canyon winds or to throw big meaty streamers, I cherish the days when the wind dies down and the trout are looking up for a dry fly. On days such as this, I gladly reach for the Thomas & Thomas Heirloom Fiberglass 7’6 4-weight to fling dry flies at finicky trout.

Thomas & Thomas Heirloom Fiberglass Fly Rod
The Thomas & Thomas Heirloom 7’6 4-weight on a small stream in Colorado

First impressions:

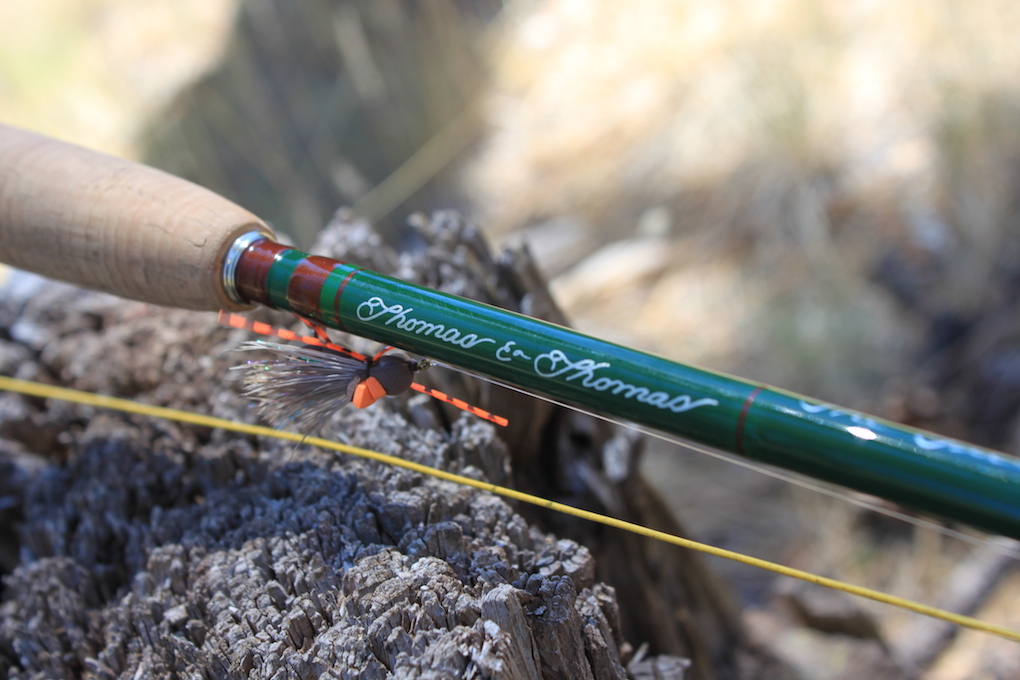
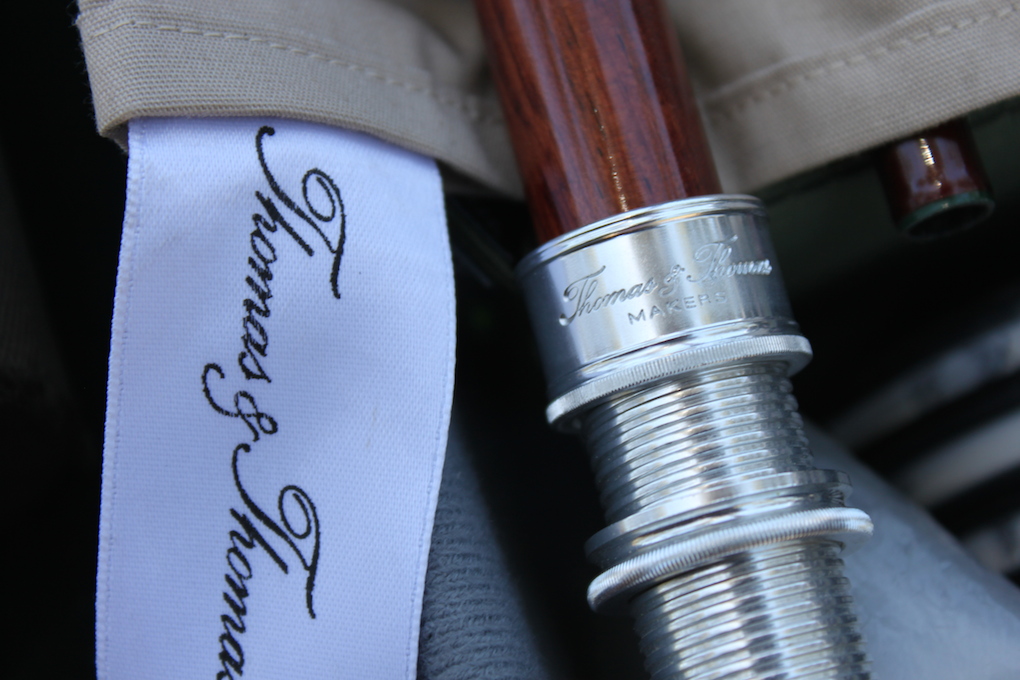
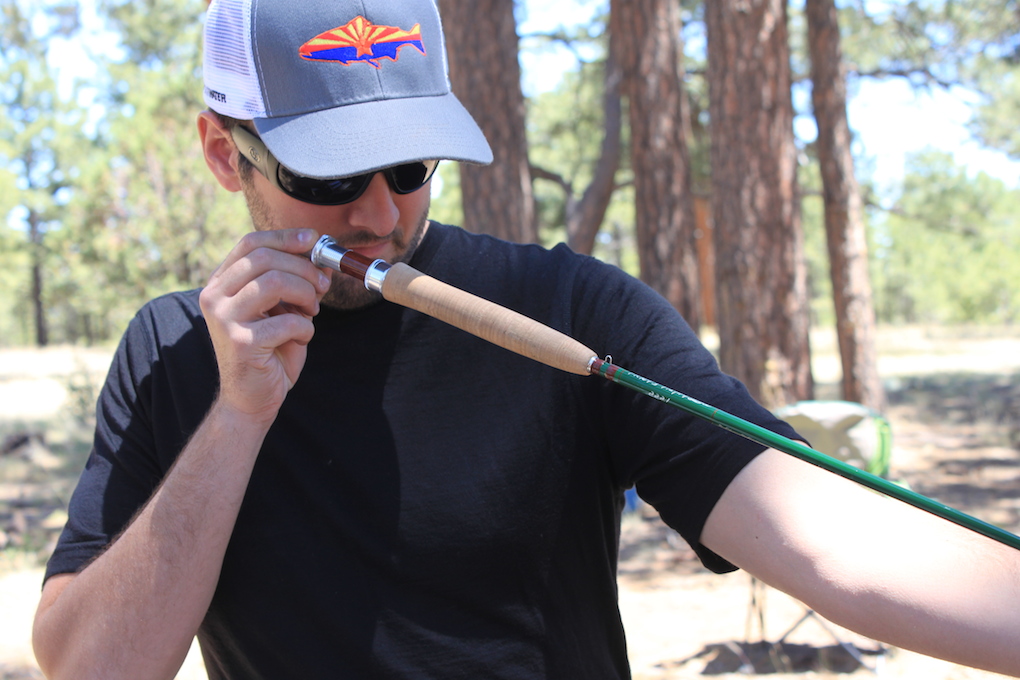
The look – The T&T Heirloom rod is built on an 3 piece olive green blank and contrasted beautifully with deep orange/brown wraps that match the bubinga wood spacer. The final touch of a bright aluminum uplocking hardware with the Thomas & Thomas engraving give this fly rod an extremely classy look.

American made – All Thomas and Thomas rods are made, start to finish, in New England.

The price tag – I was a bit taken aback when I looked at the price tag on the Heirloom series, as the number is a bit out of my wheelhouse here. In all honesty though, at $700, the Heirloom fiberglass rods are certainly not T&T’s most expensive rods. The Thomas & Thomas name is synonymous with fine American made fly rods and the Heirloom series is not an exception.

Thomas & Thomas Heirloom Fiberglass Fly Rod


Field Use:

Thomas & Thomas Heirloom Fiberglass 7’6 4-weight is a very fine rod and is was built to do one thing exceptionally well – delicately present dry flies. Thomas & Thomas describe the action of this rod as “subtle” and every time I read that word it makes me smile, because it so perfectly captures this rod. Not to get all weird and cerebral on you but the Heirloom is a wand. It has a rhythm all of it’s own and once you find that rhythm the presentation is nothing short of magic.

Thomas & Thomas Heirloom Fiberglass Fly Rod

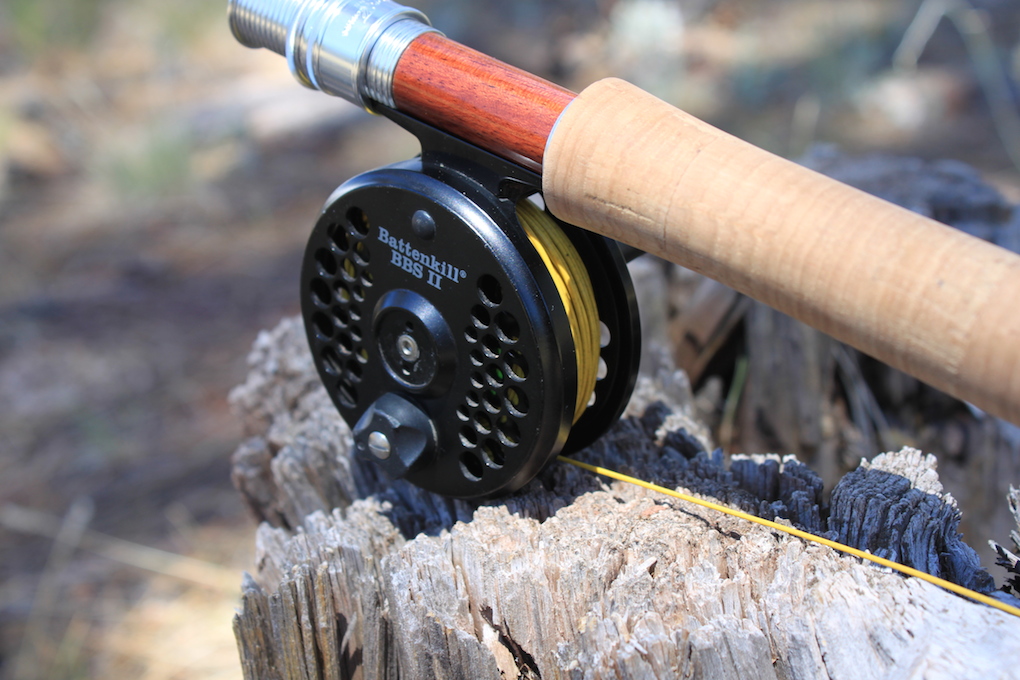
I paired the Thomas & Thomas Heirloom fiberglass fly rod with my Orvis Battenkill Barstock, Cortland’s Sylk Line in 4wt  (which is an awesome throwback to old-school silk lines), and a 4′ furled leader. With the bamboo-like action of the Heirloom, I was able flick flies to fish rising on the creek in that 10-15′ range with ease but also found that airing out an ant pattern to a rising fish at 35′ from my pontoon boat was just as pleasing.

Thomas & Thomas Heirloom Fiberglass Fly Rod
Thomas & Thomas Heirloom Fiberglass Fly Rod on a high country Apache trout

Nothing puts a smile on your face like a big fish on a glass rod. The pulsing 16 inch Apache trout put a beautiful bend in the 7’6 4-weight while protecting the lightweight tippet. I’m not above getting down and dirty, so I also took the T&T Heirloom to Canyon Lake after some panfish in the spring. Equally as entertaining and proof that fine fiberglass fly rods play just as well with sunfish, dirty water, and cut-offs as they do with trout, crystal clear water, and waders.

Thomas & Thomas Heirloom Fiberglass Fly Rod paired with a BBS II and Cortland Sylk Line
Thomas & Thomas Heirloom Fiberglass Fly Rod paired with a BBS II and Cortland Sylk line


Pros:

Beautiful craftsmanship

American made

Subtle bamboo-like action

Superb dry fly presentation

Cons:

Price tag

Thomas & Thomas Heirloom Fiberglass Fly Rod
Lining up the guides

Prognosis:  The Thomas & Thomas Heirloom fiberglass fly rod truly is a work of art and a very fine fly rod.  If you are interested in adding a beautiful fiberglass rod to your collection, the Heirloom 7’6 4-weight certainly deserves your consideration.

* Disclaimer:

The reviews at Arizona Wanderings are my honest opinion. Arizona Wanderings is not sponsored by or associated with any of the stated companies and is accepting no compensation, monetary or otherwise, in exchange for this review.  My independent status may change in the future but, as of the date of publication, no relationship other than described above has been pursued or established.

Arizona Fly Fishing: The White Mountains

8 Comments

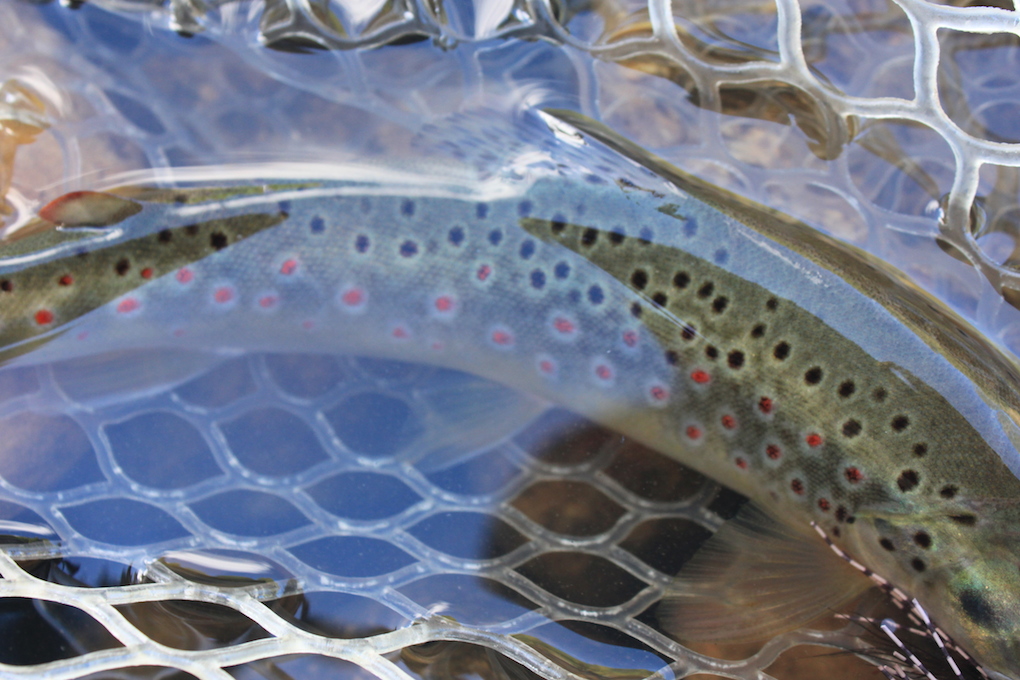
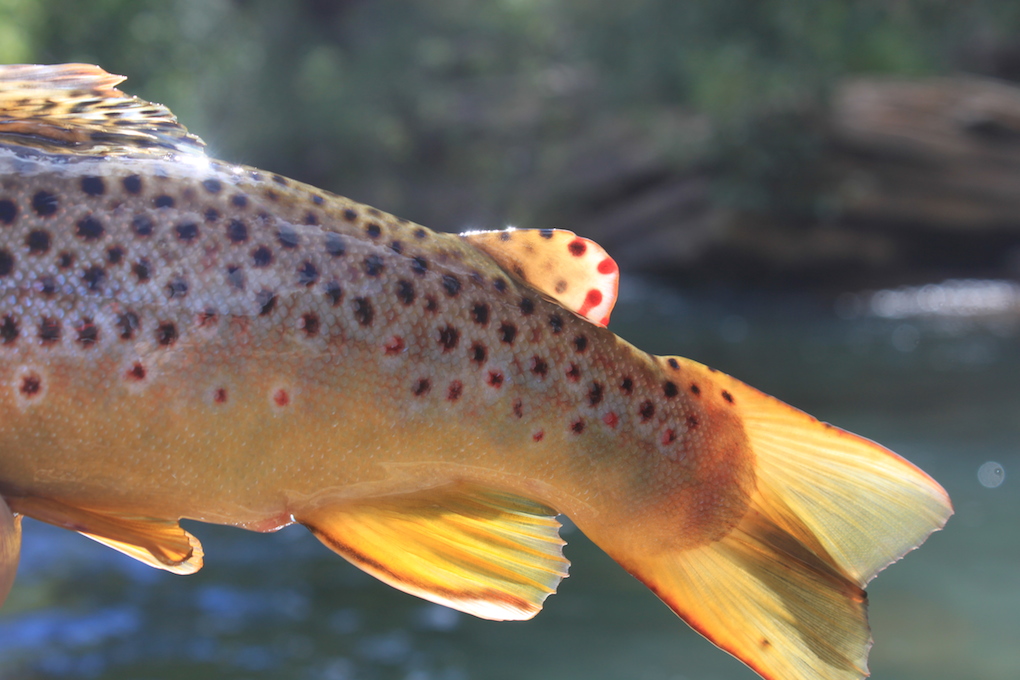
Arizona Brown Trout
Arizona Brown Trout

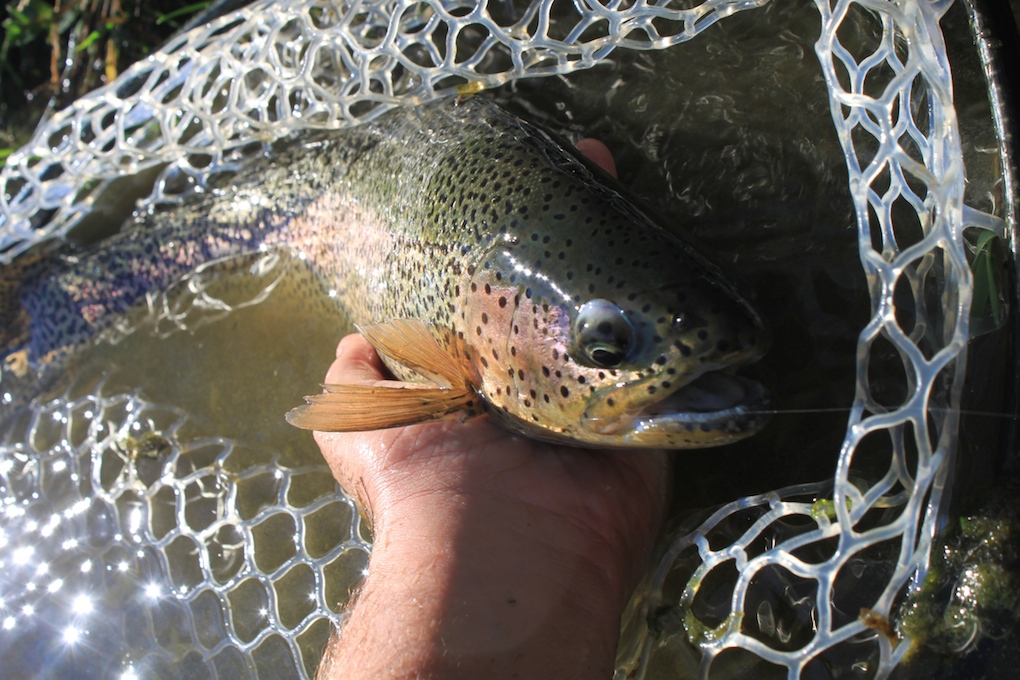
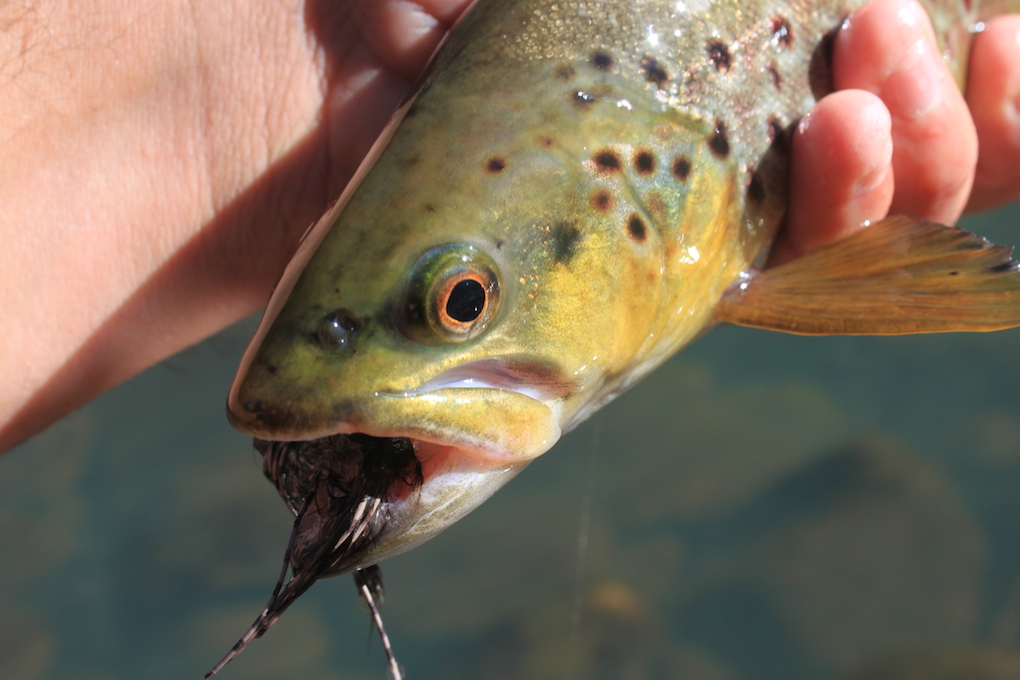
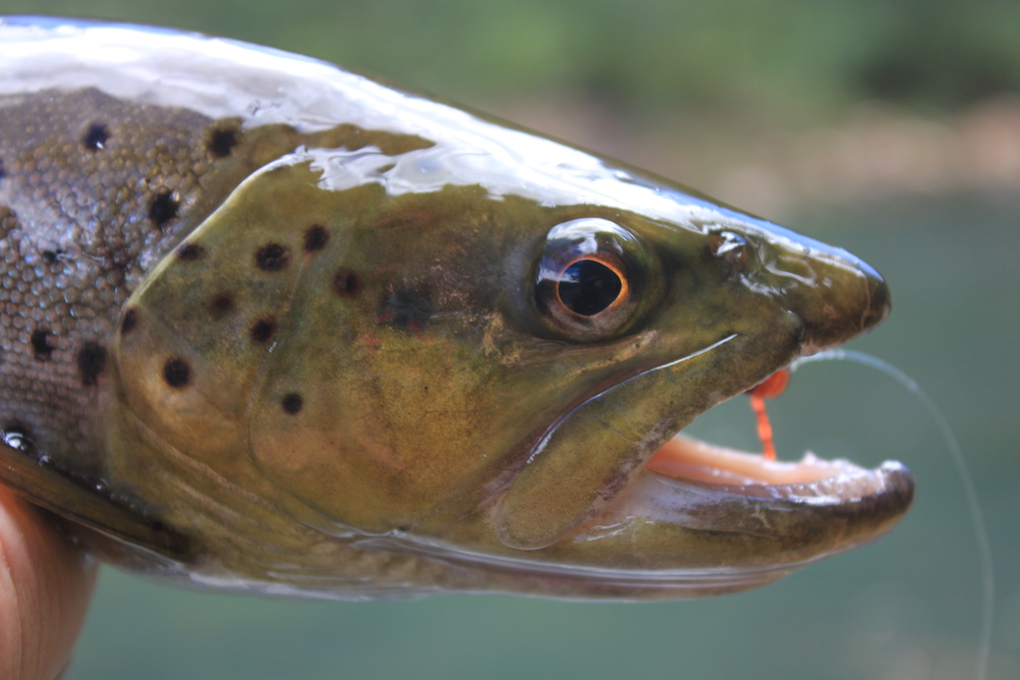
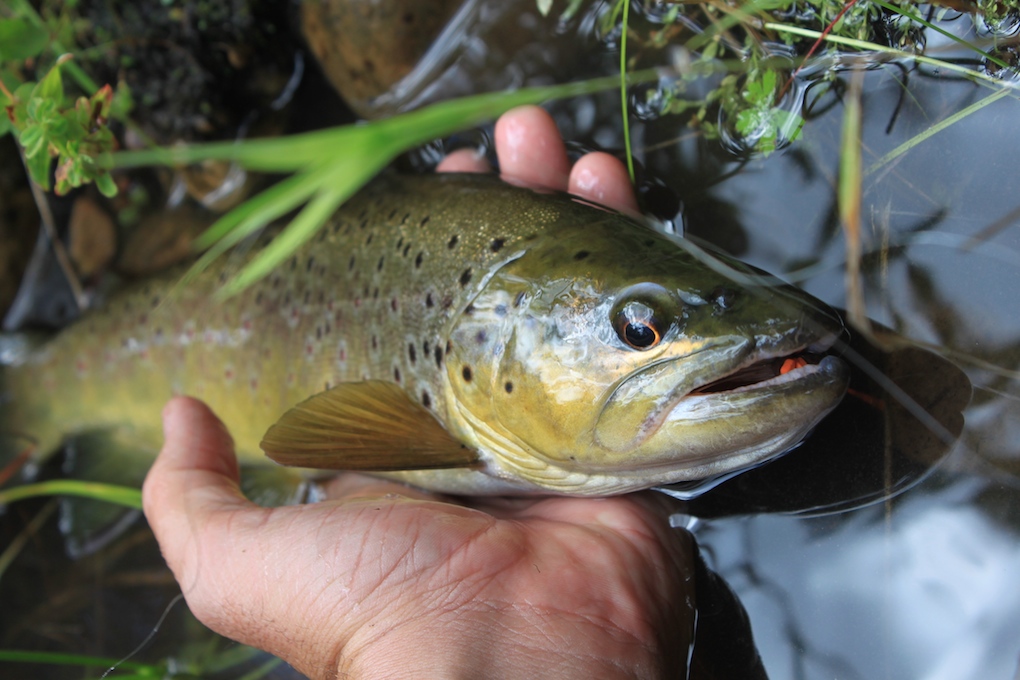
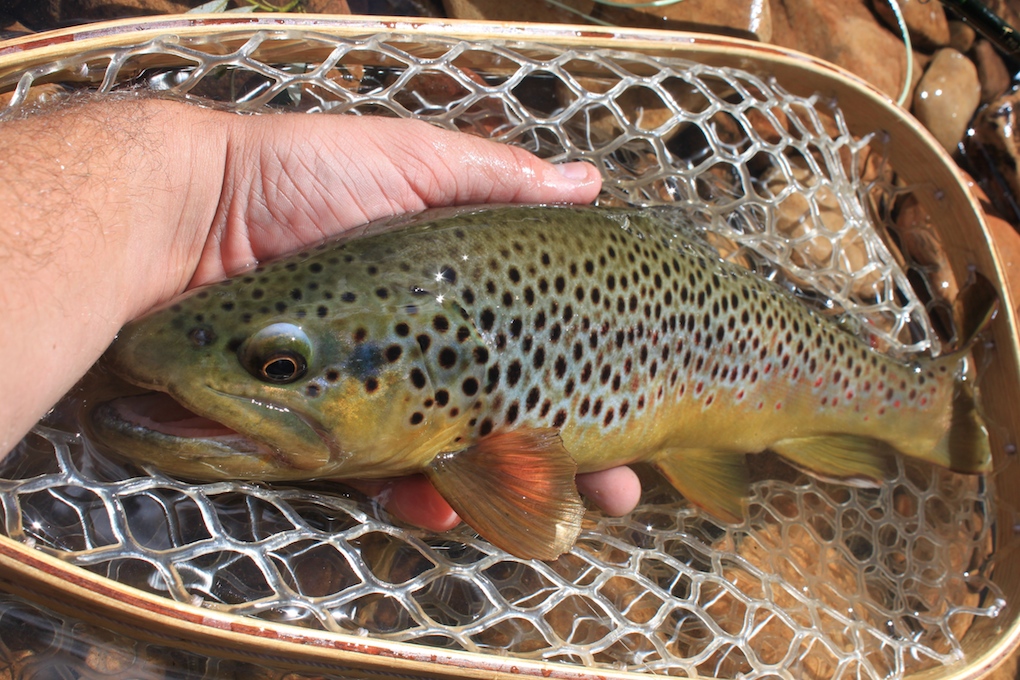
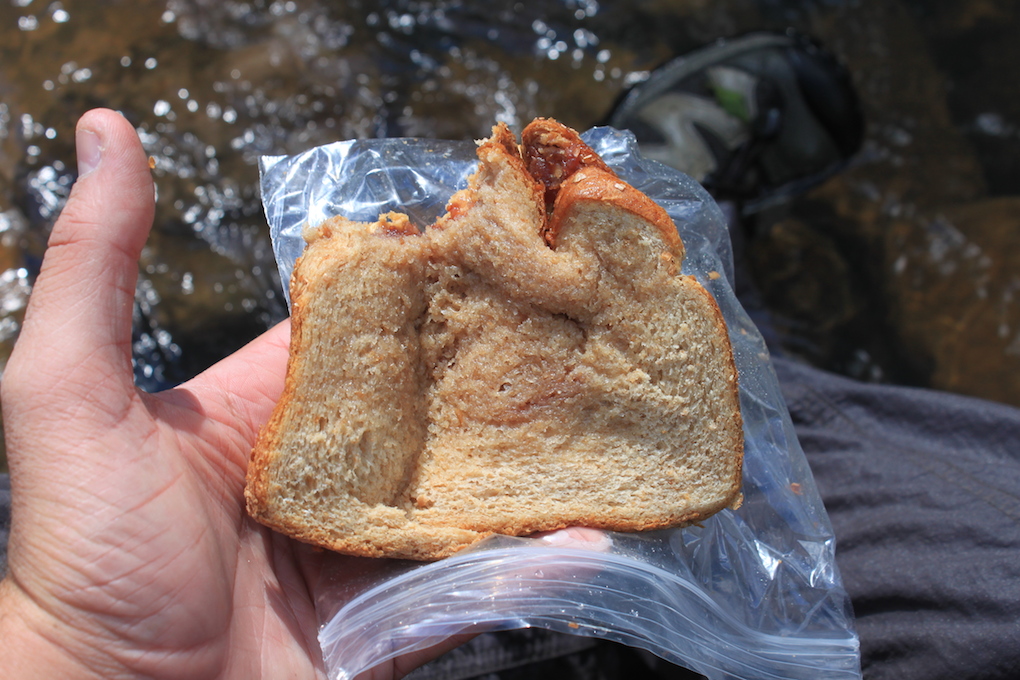
A last minute trip fell into my lap a couple weekends back, and I found myself driving through the night to check out new spot. When driving at night, be more cautious of your surrounding to avoid a car accident. If it happens for instance, consult with the best car accident lawyer Maryland. Armed with a 5 weight, a box of flies and a few smushed peanut butter and jelly sandwiches, I hiked in to find the water off color but still fishable. The first pool gave up a nice creamy Arizona brown trout, as did a couple of the remaining pools. It’s my opinion that fishing stained water can be extremely productive for bigger fish. I wasn’t disappointed.

Arizona Brown Trout
Spots
Arizona Brown Trout
Mouthful
Arizona Brown Trout
Hopper
Arizona Brown Trout
Hopper
Arizona Brown Trout
Arizona Brown Trout
PBJ
PB&J
Arizona Brown Trout
Adipose
Water
Water


Rambling Review: BabyBjörn Travel Crib Light

4 Comments

BabyBjörn Travel Crib Light

Rambling Review

Why:

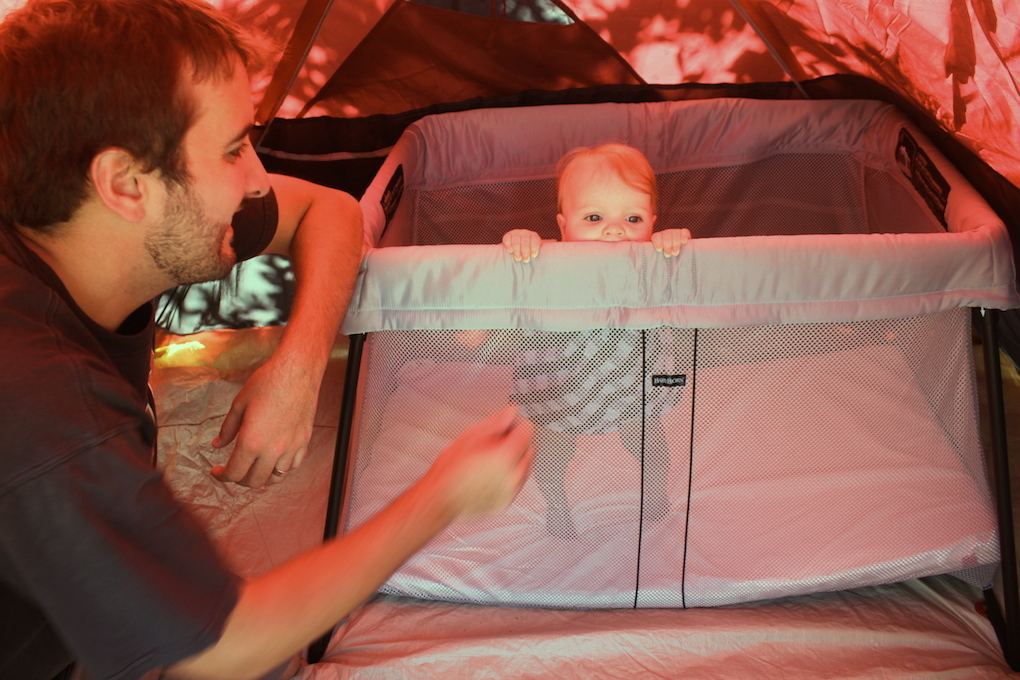
For those of you following this blog, you know that my life has greatly changed this past year with the birth of my daughter. Although my weekend trips are a bit fewer in number and more calculated when planned, I’ve still been able to get out here and there. I do have to say that my greatest joy has come from spending time in the woods and on the water with my wife and baby girl. Camping with a 6 month old has turned out to be a bit of a trick, but my wife and I are adjusting. Our inquisitive little girl is always on the go and so happy when she’s outside. I received more than a few emails from friends and readers asking me about how my wife and I have managed camping with our little girl. One of the greatest editions to our camping arsenal has been the BabyBjörn Travel Crib Light. 

Papa and JoJo
Munchkin

First impressions:

The weight – Compared to the 30+ pounds of our standard pack and play, the BabyBjörn Travel Crib Light weighs in at a measly 13 pounds. That’s pretty nice when you’re hefting it into the bed of the truck at the end of a long weekend in the woods.

Dimensions – Folded up in the carrying case, theTravel Crib Light measures 19 x 23.5 x 5.5 in. Fully set up it runs 32 x 44 x 24 in.

The materials – The BabyBjörn Travel Crib Light is manufactured to some pretty high standards and all the material is fair game for chewing and gumming, which, as I have learned, is what babies do.

Field Use:

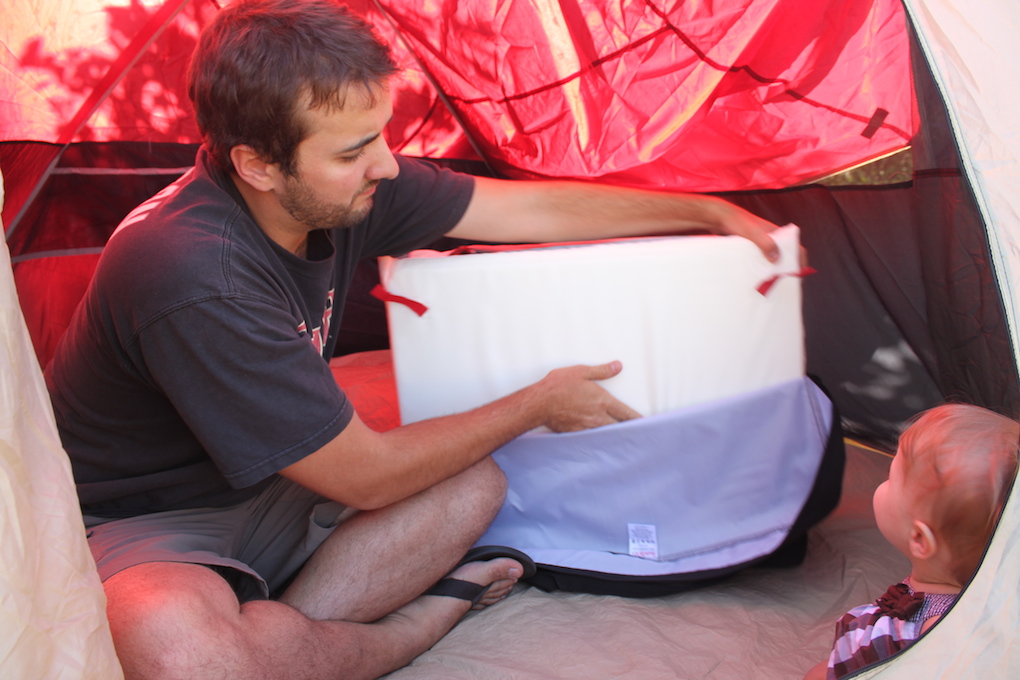
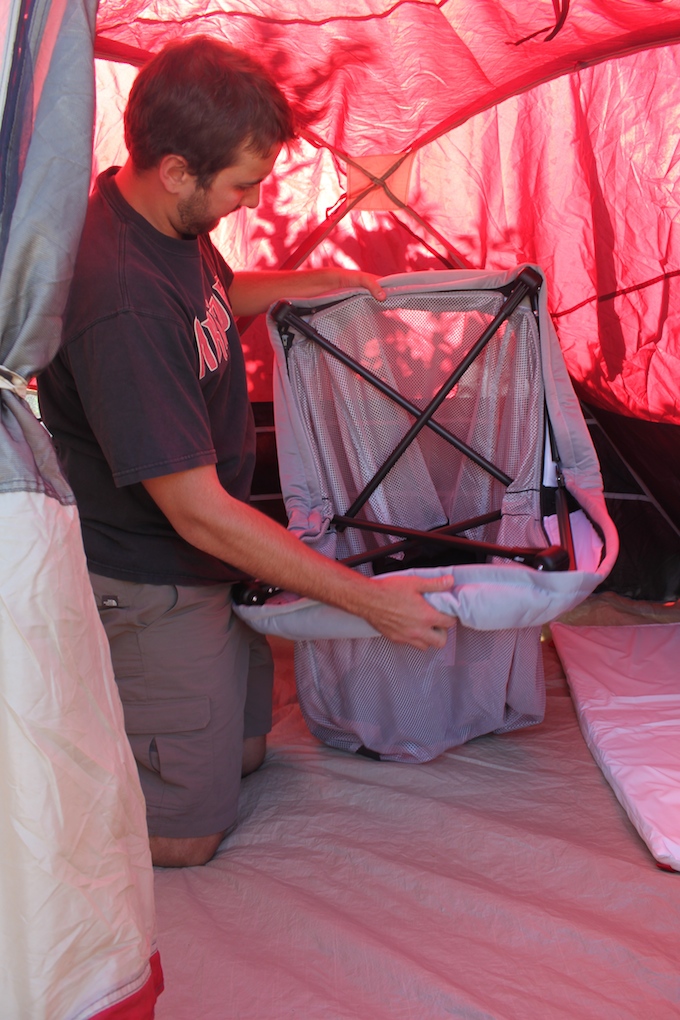
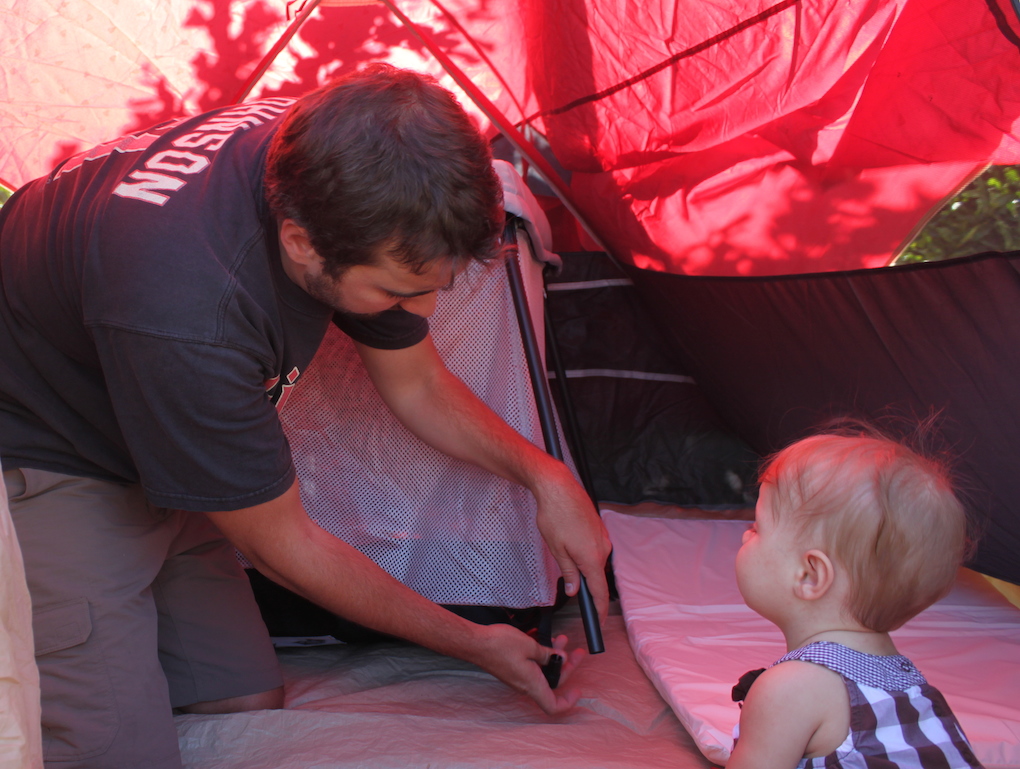
As a new father, I’ve learned that a college degree doesn’t necessarily make you qualified to put baby furniture together. To be honest, those first couple months were touch and go as I assembled cribs, swings, and all the other paraphernalia that comes with fatherhood. The BabyBjörn Travel Crib Light certainly bucks that trend. It comes in a handy carrying bag and once unzipped, it’s pretty straightforward on setting it up.

BabyBjörn Travel Crib Light 2
1. Take it out of the bag.
BabyBjörn Travel Crib Light 3
2. Fold it open
BabyBjörn Travel Crib Light
3. Insert handy peg into the leg of the crib
BabyBjörn Travel Crib Light
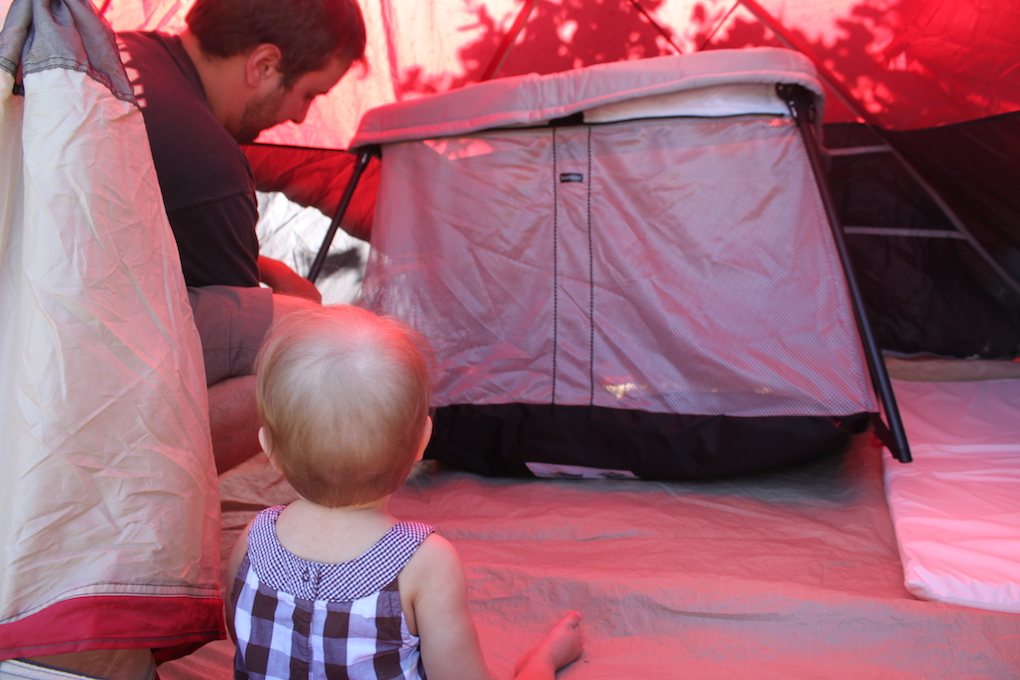
4. Move to desired location
BabyBjörn Travel Crib Light
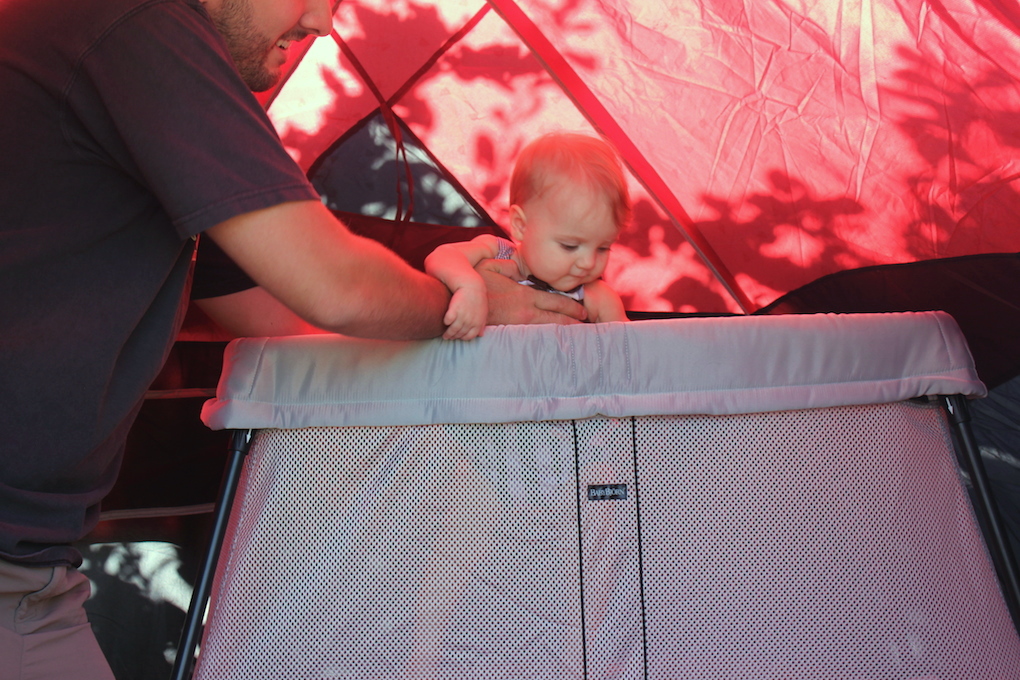
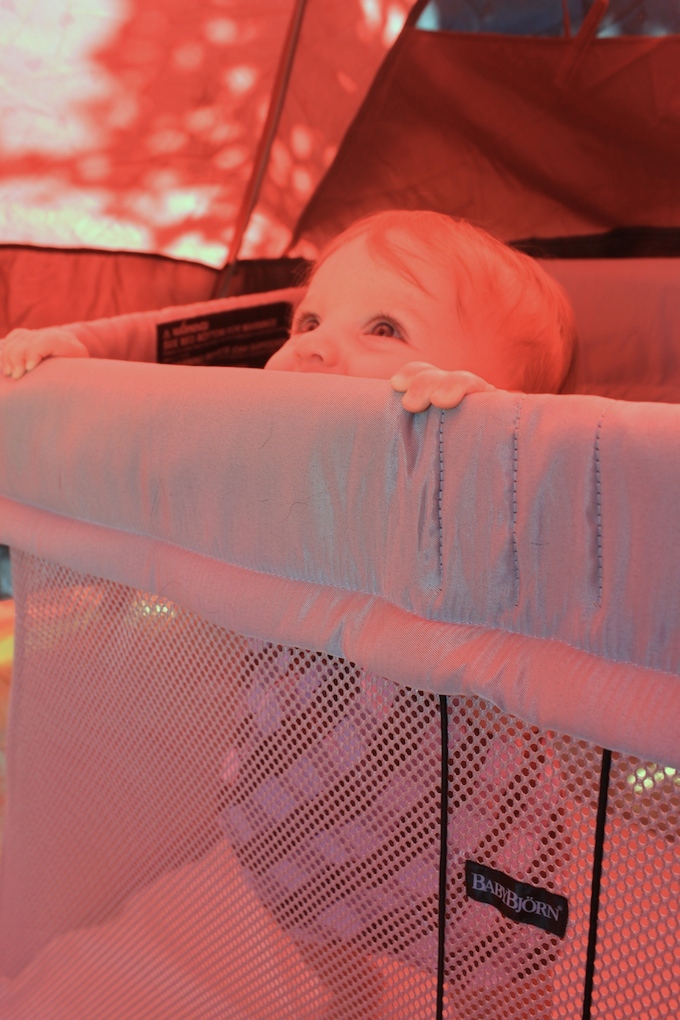
5. Insert Baby

We were extremely happy with how the whole BabyBjörn Travel Crib Light worked for us on our couple of camping trips. One thing that was really nice was that were able to come home and unzip the actual fabric cover and throw it in the washing machine. You can only imagine how much dirt our gorgeous little girl found in the woods.

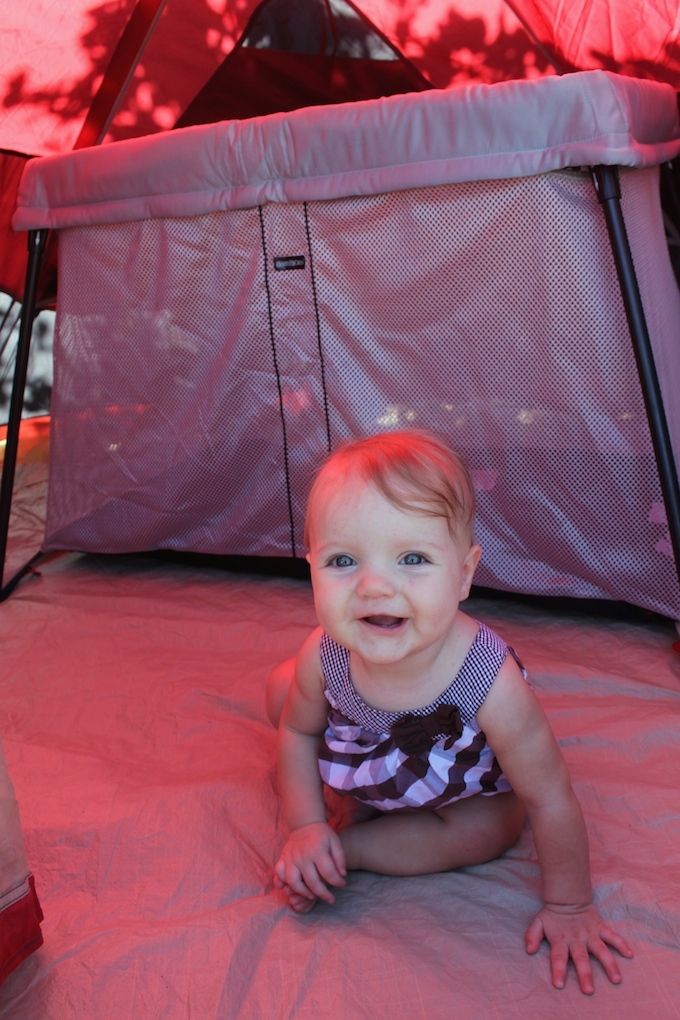
As you can see from the picture, the legs of the crib are at an angle which really adds the stability of the whole crib. The BabyBjörn Travel Crib Light sits very low which causes it to have a low center of gravity and keep it from tipping over.

BabyBjörn Travel Crib Light

Pros:

Extremely light weight

Super simple and intuitive to set up

Quick to set up and take down

Carrying case

Washable

Perfect for camping and travel

Cons:

Cost – As with most quality made products, the price tag on the BabyBjörn Travel Crib Light reflects the high quality manufacturing that has become synonymous with BabyBjörn.

BabyBjörn Travel Crib Light

Prognosis:  If you are looking into the logistics of camping with a baby, do yourself a favor and pick up a BabyBjörn Travel Crib Light. You won’t regret it.


* Disclaimer:

The reviews at Arizona Wanderings are my honest opinion. Arizona Wanderings is not sponsored by or associated with any of the stated companies and is accepting no compensation, monetary or otherwise, in exchange for this review.  The BabyBjörn Travel Crib Light was provided by BabyBjörn for the purpose of this review.  My independent status may change in the future but, as of the date of publication, no relationship other than described above has been pursued or established.


DIY Boat Fly Box

6 Comments

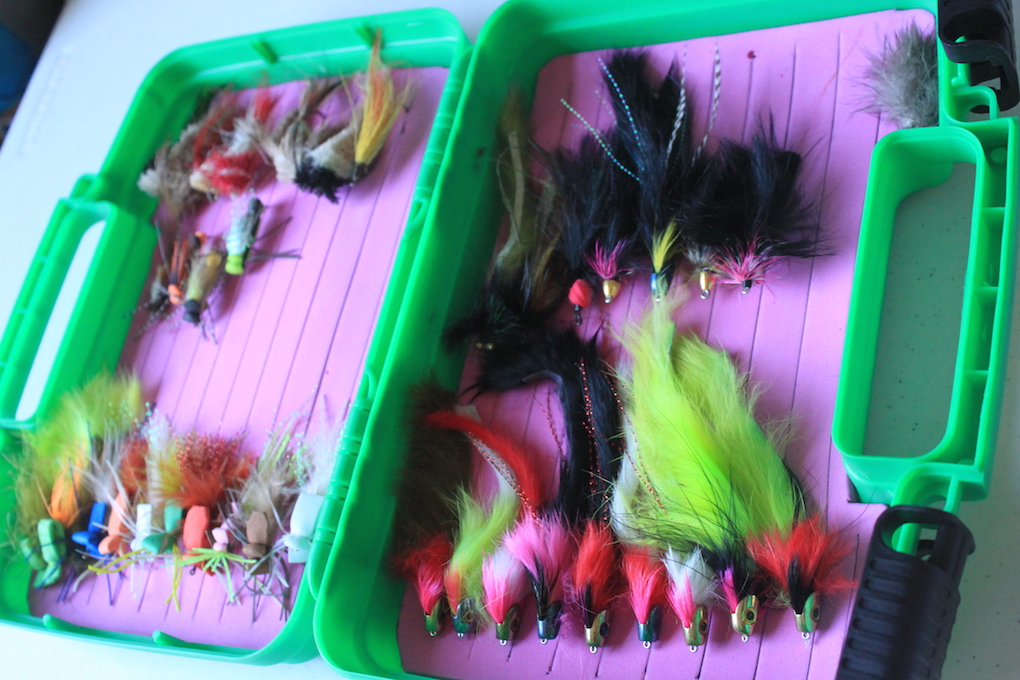
DIY Bugger Box
DIY Bugger Box

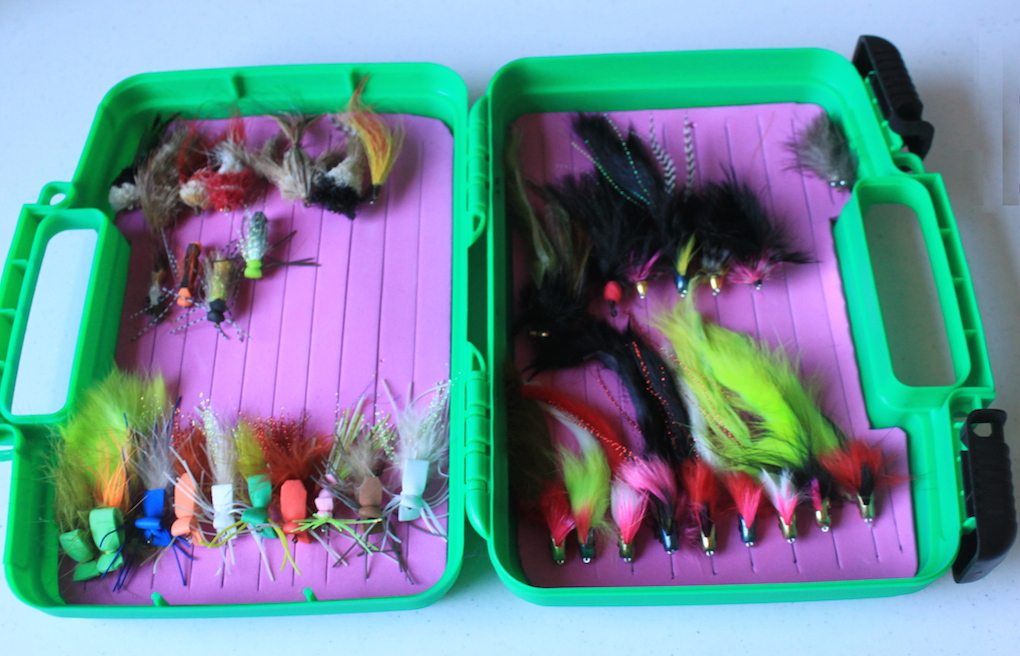
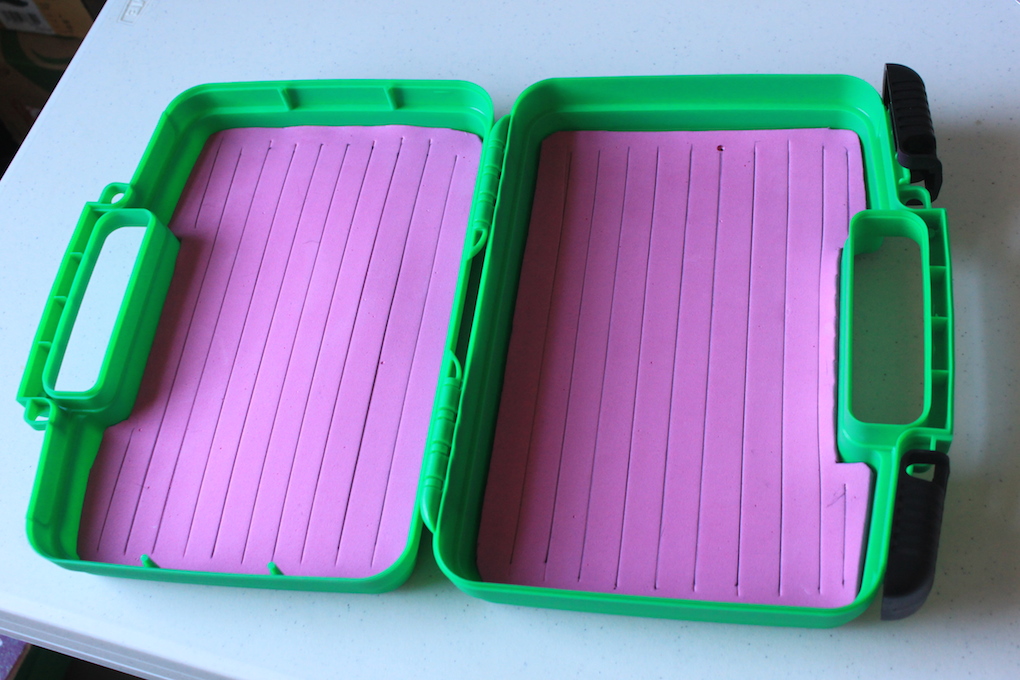
I’ve almost pulled the trigger on buying one of the big bugger boxes or boat fly boxes from the big name companies more than a couple times. Each time, my better judgement stopped me from spending the $40-50 on a fly box, but I kept my eyes out for a deal. Eventually, I found a screaming deal on a blank box, and figured I’d make my own for under $10.

Ingredients:

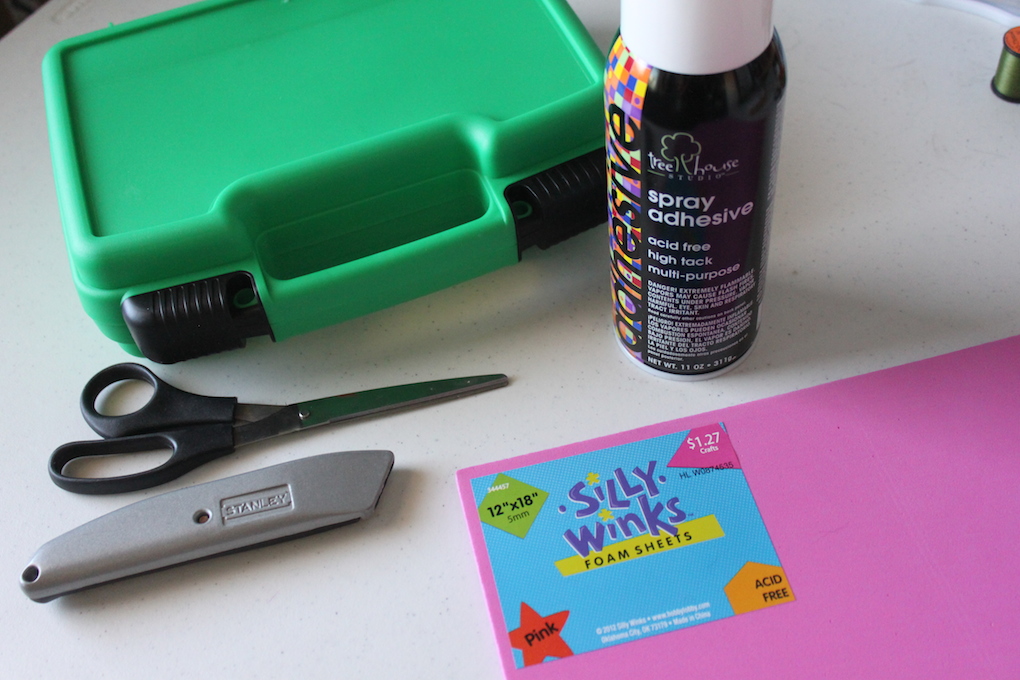
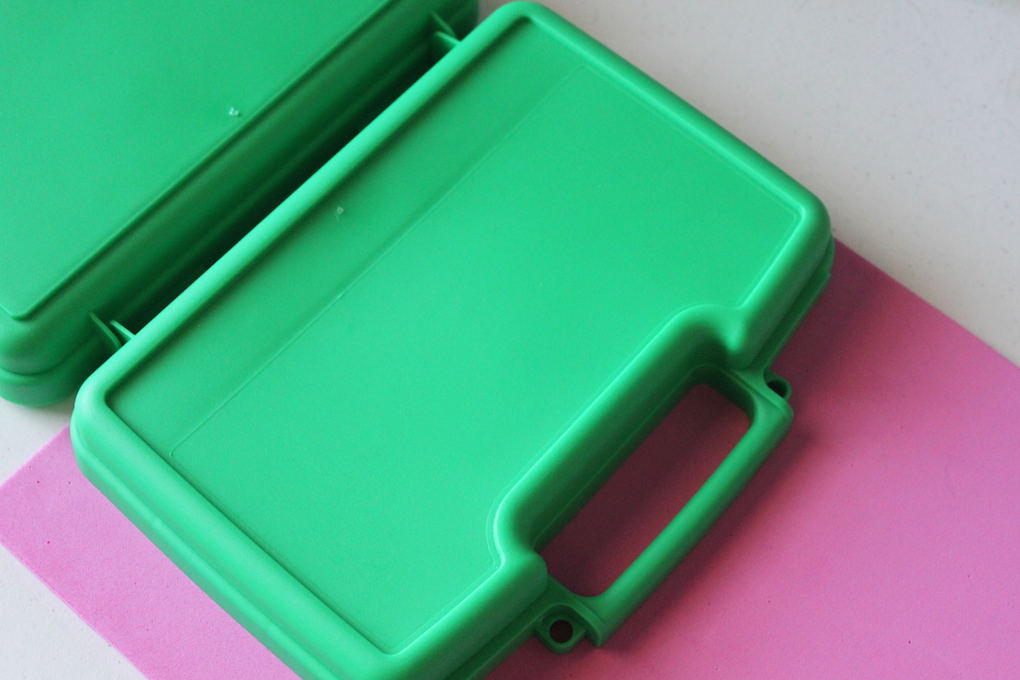
  • Box – I found these green Flambeau Tradesman 10.5 boxes on sale for $1.84
  • 6mm Foam – You can find 6mm online. I was a bit impatient and didn’t want to wait for it to ship. The local craft store had one piece of 6mm foam left. Of course it was pink.
  • Spray Adhesive – My wife had some of this spray adhesive laying around. Pretty simple to use.
  • Scissors
  • Utility knife
DIY Boat Fly Box
DIY Boat Fly Box
DIY Boat Fly Box
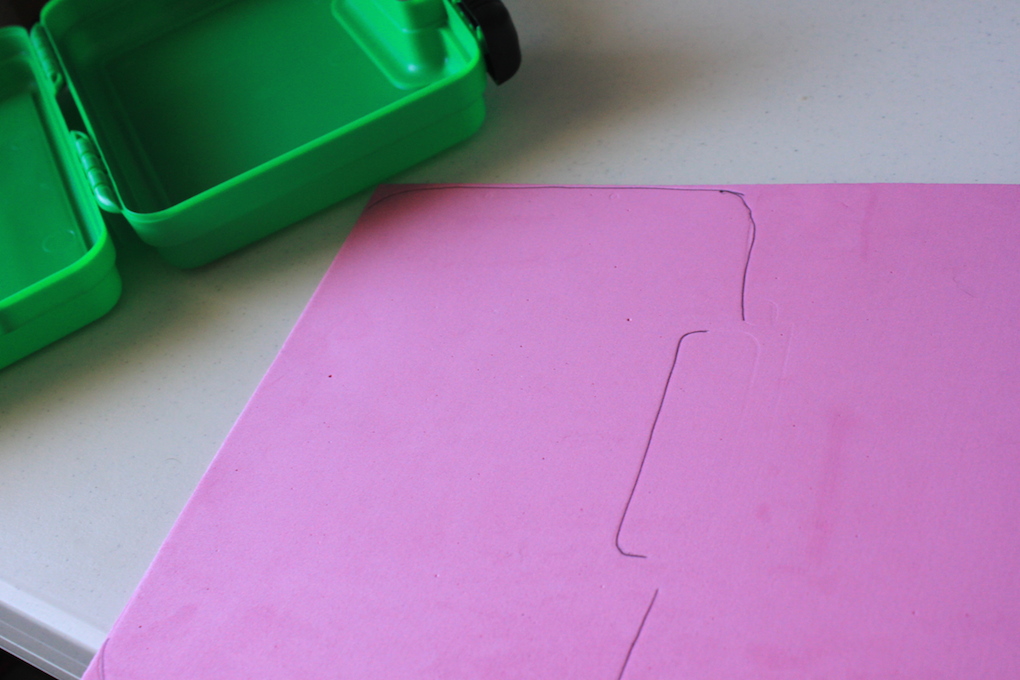
1. Flip the box open and push it down firmly on the foam.
DIY Boat Fly Box
This makes a pretty distinct outline which is easy to mark with a pen.
DIY Boat Fly Box
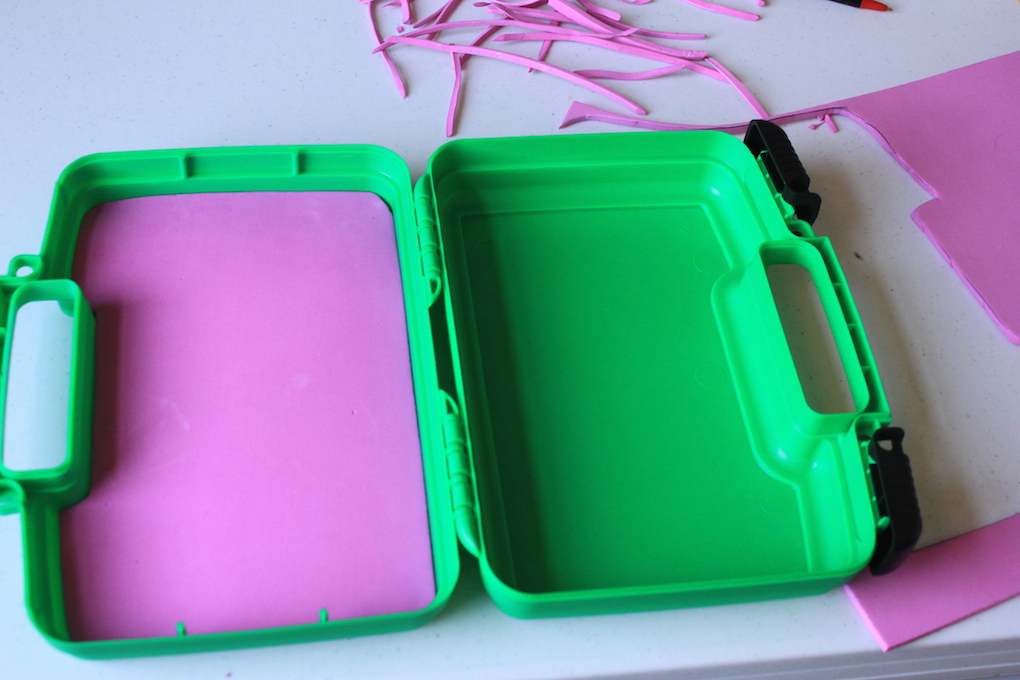
Trim the foam to fit in the bottom of the box.
DIY Boat Fly Box
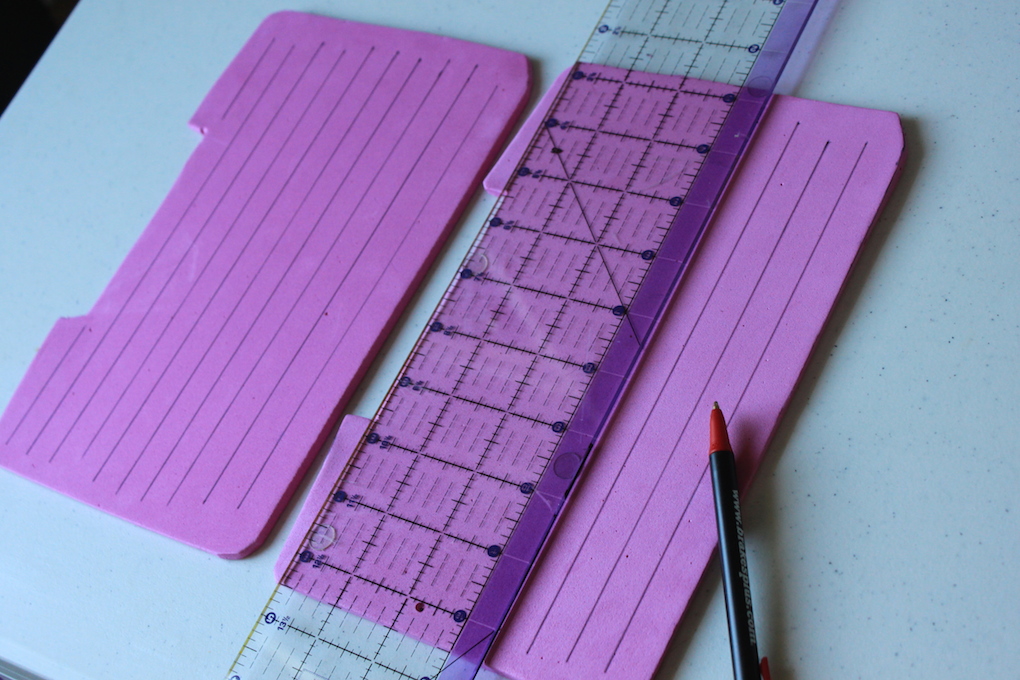
Take a straight edge and mark where you want your slits in the foam. Follow it up with a utility knife blade.
DIY Boat Fly Box
In a well ventilated area, spray the back side of the foam and press it firmly to the bottom of the box. I also ran a line of super glue around the edges for a more secure bond.
DIY Boat Fly Box
Fill and Fish.